Configuring Pinpoint MCP in Microsoft Copilot with configuration file
This method is recommended
This guide walks through creating a Power Apps Custom Connector from the Pinpoint OpenAPI file, then adding it as a tool in a Copilot Studio agent.
Prerequisites
- Access to Microsoft Copilot Studio and Power Apps (or Power Automate)
- A Pinpoint API key
- The
Pinpoint-API.swagger.jsonOpenAPI file
If you don't have access to creating a custom connectors in Power Apps or Power Automate please check the alternative method.
Part 1 — Create the Custom Connector in Power Apps
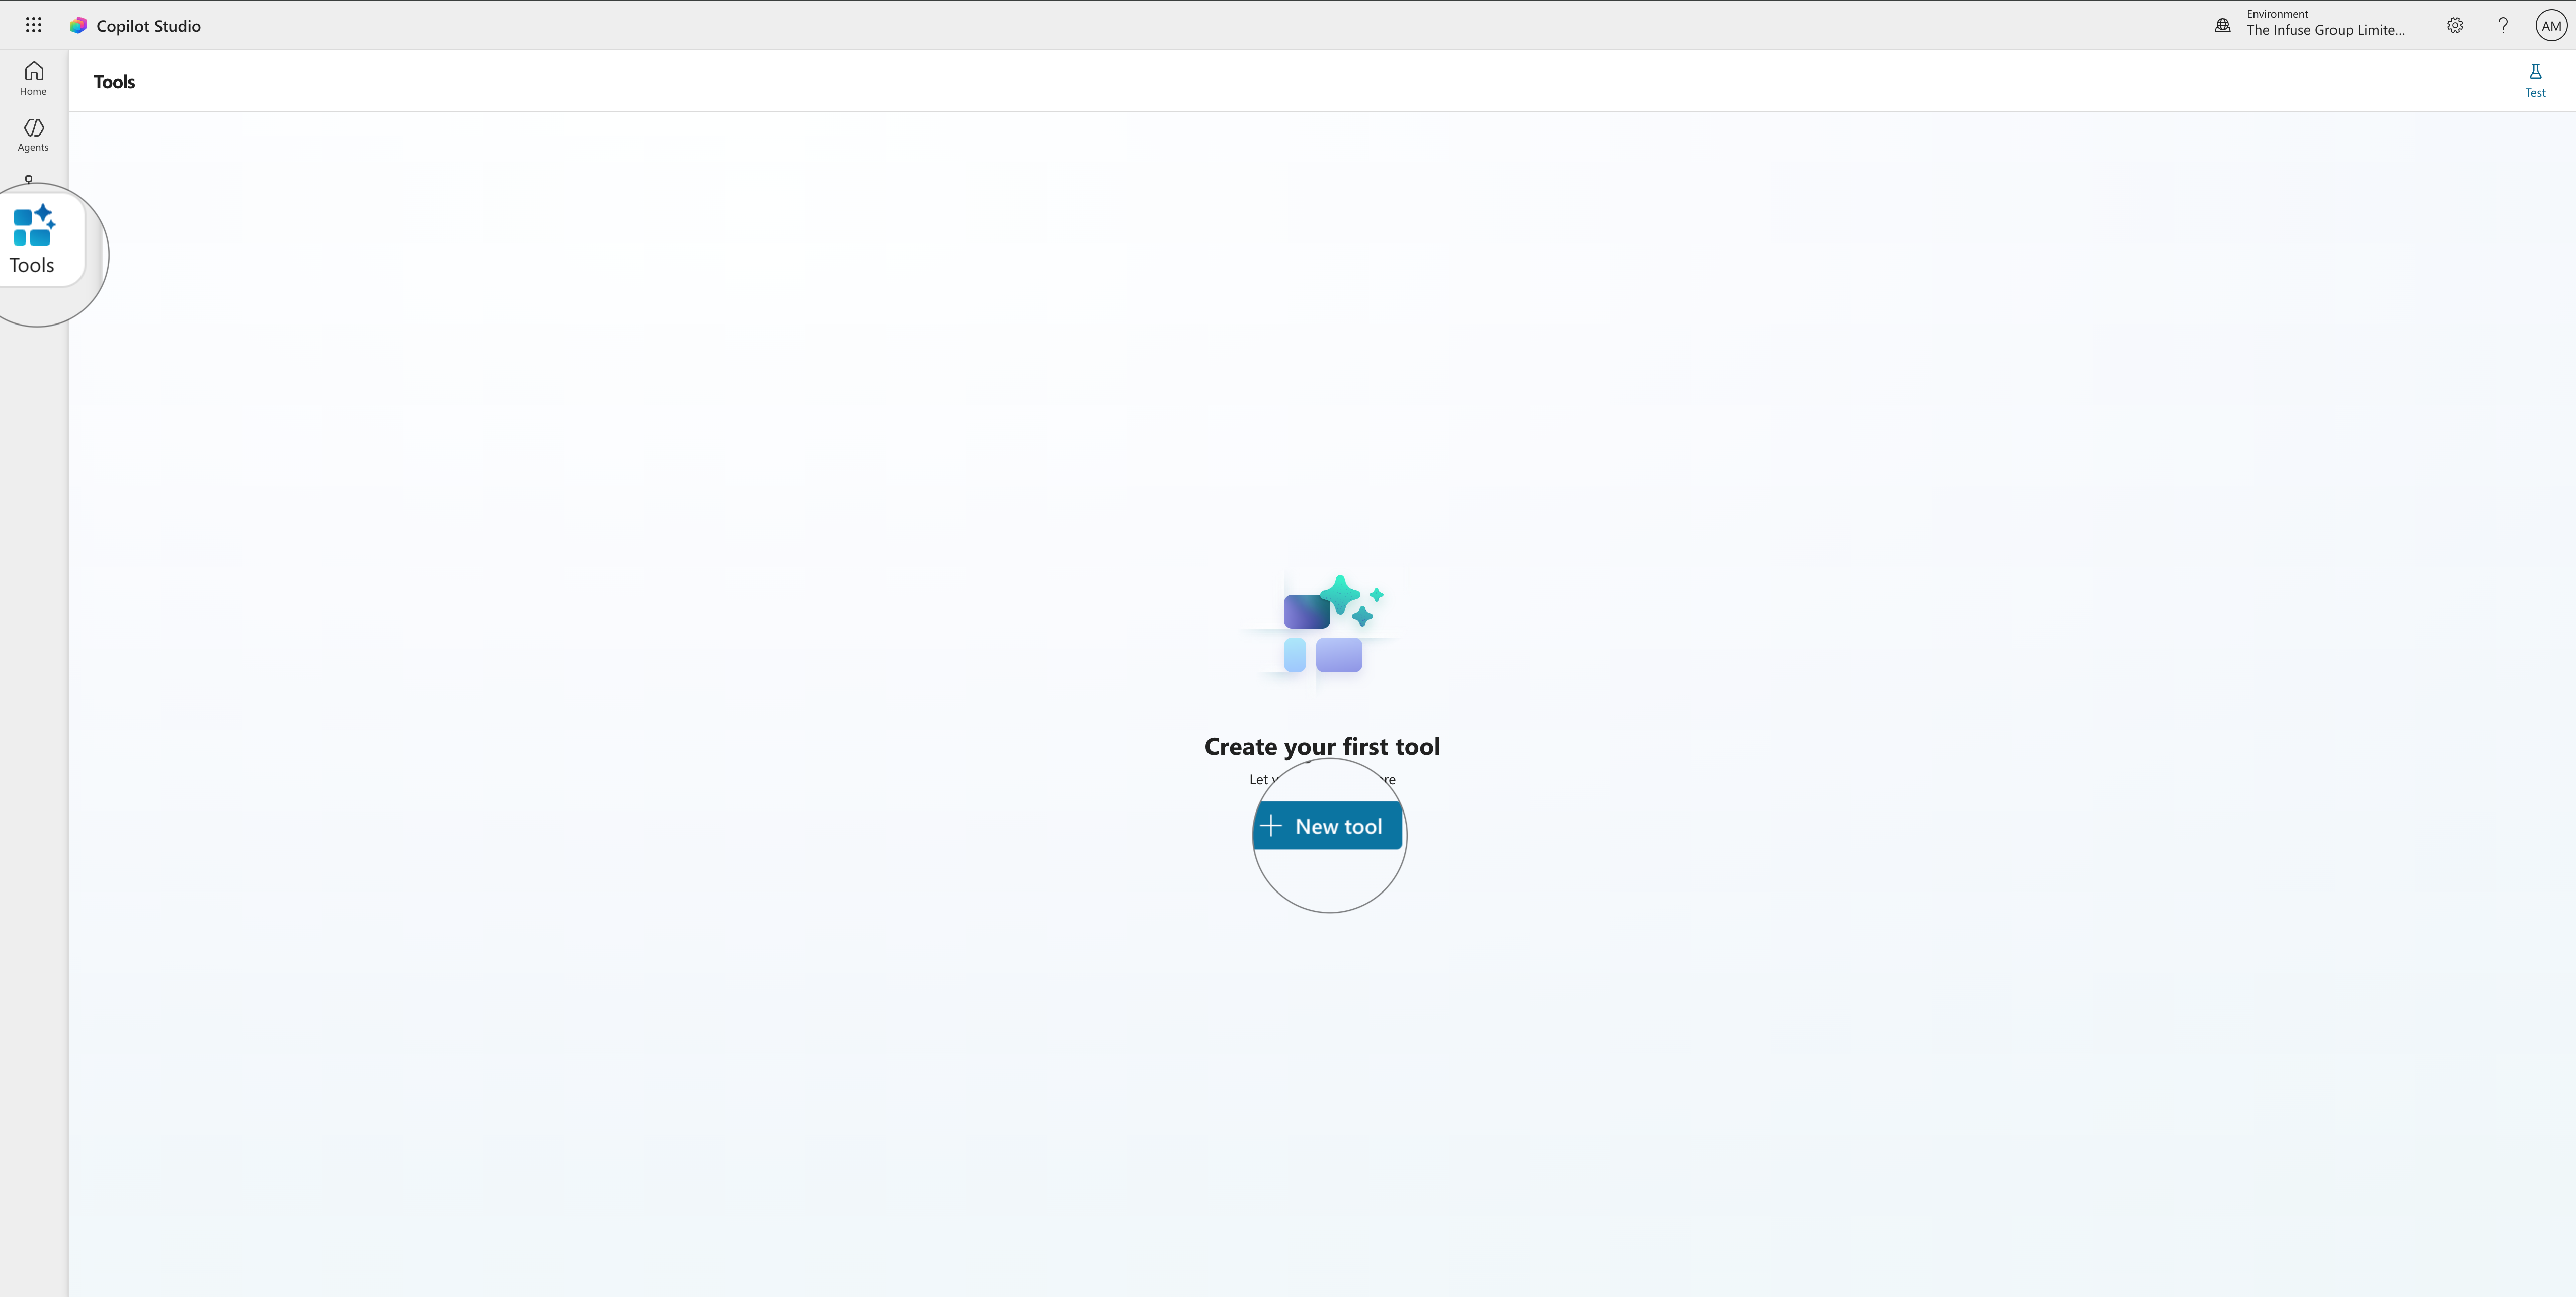
Step 1 — Go to Tools in Copilot Studio
In Copilot Studio, click Tools in the left navigation bar. You will see the empty Tools page. Click + New tool.
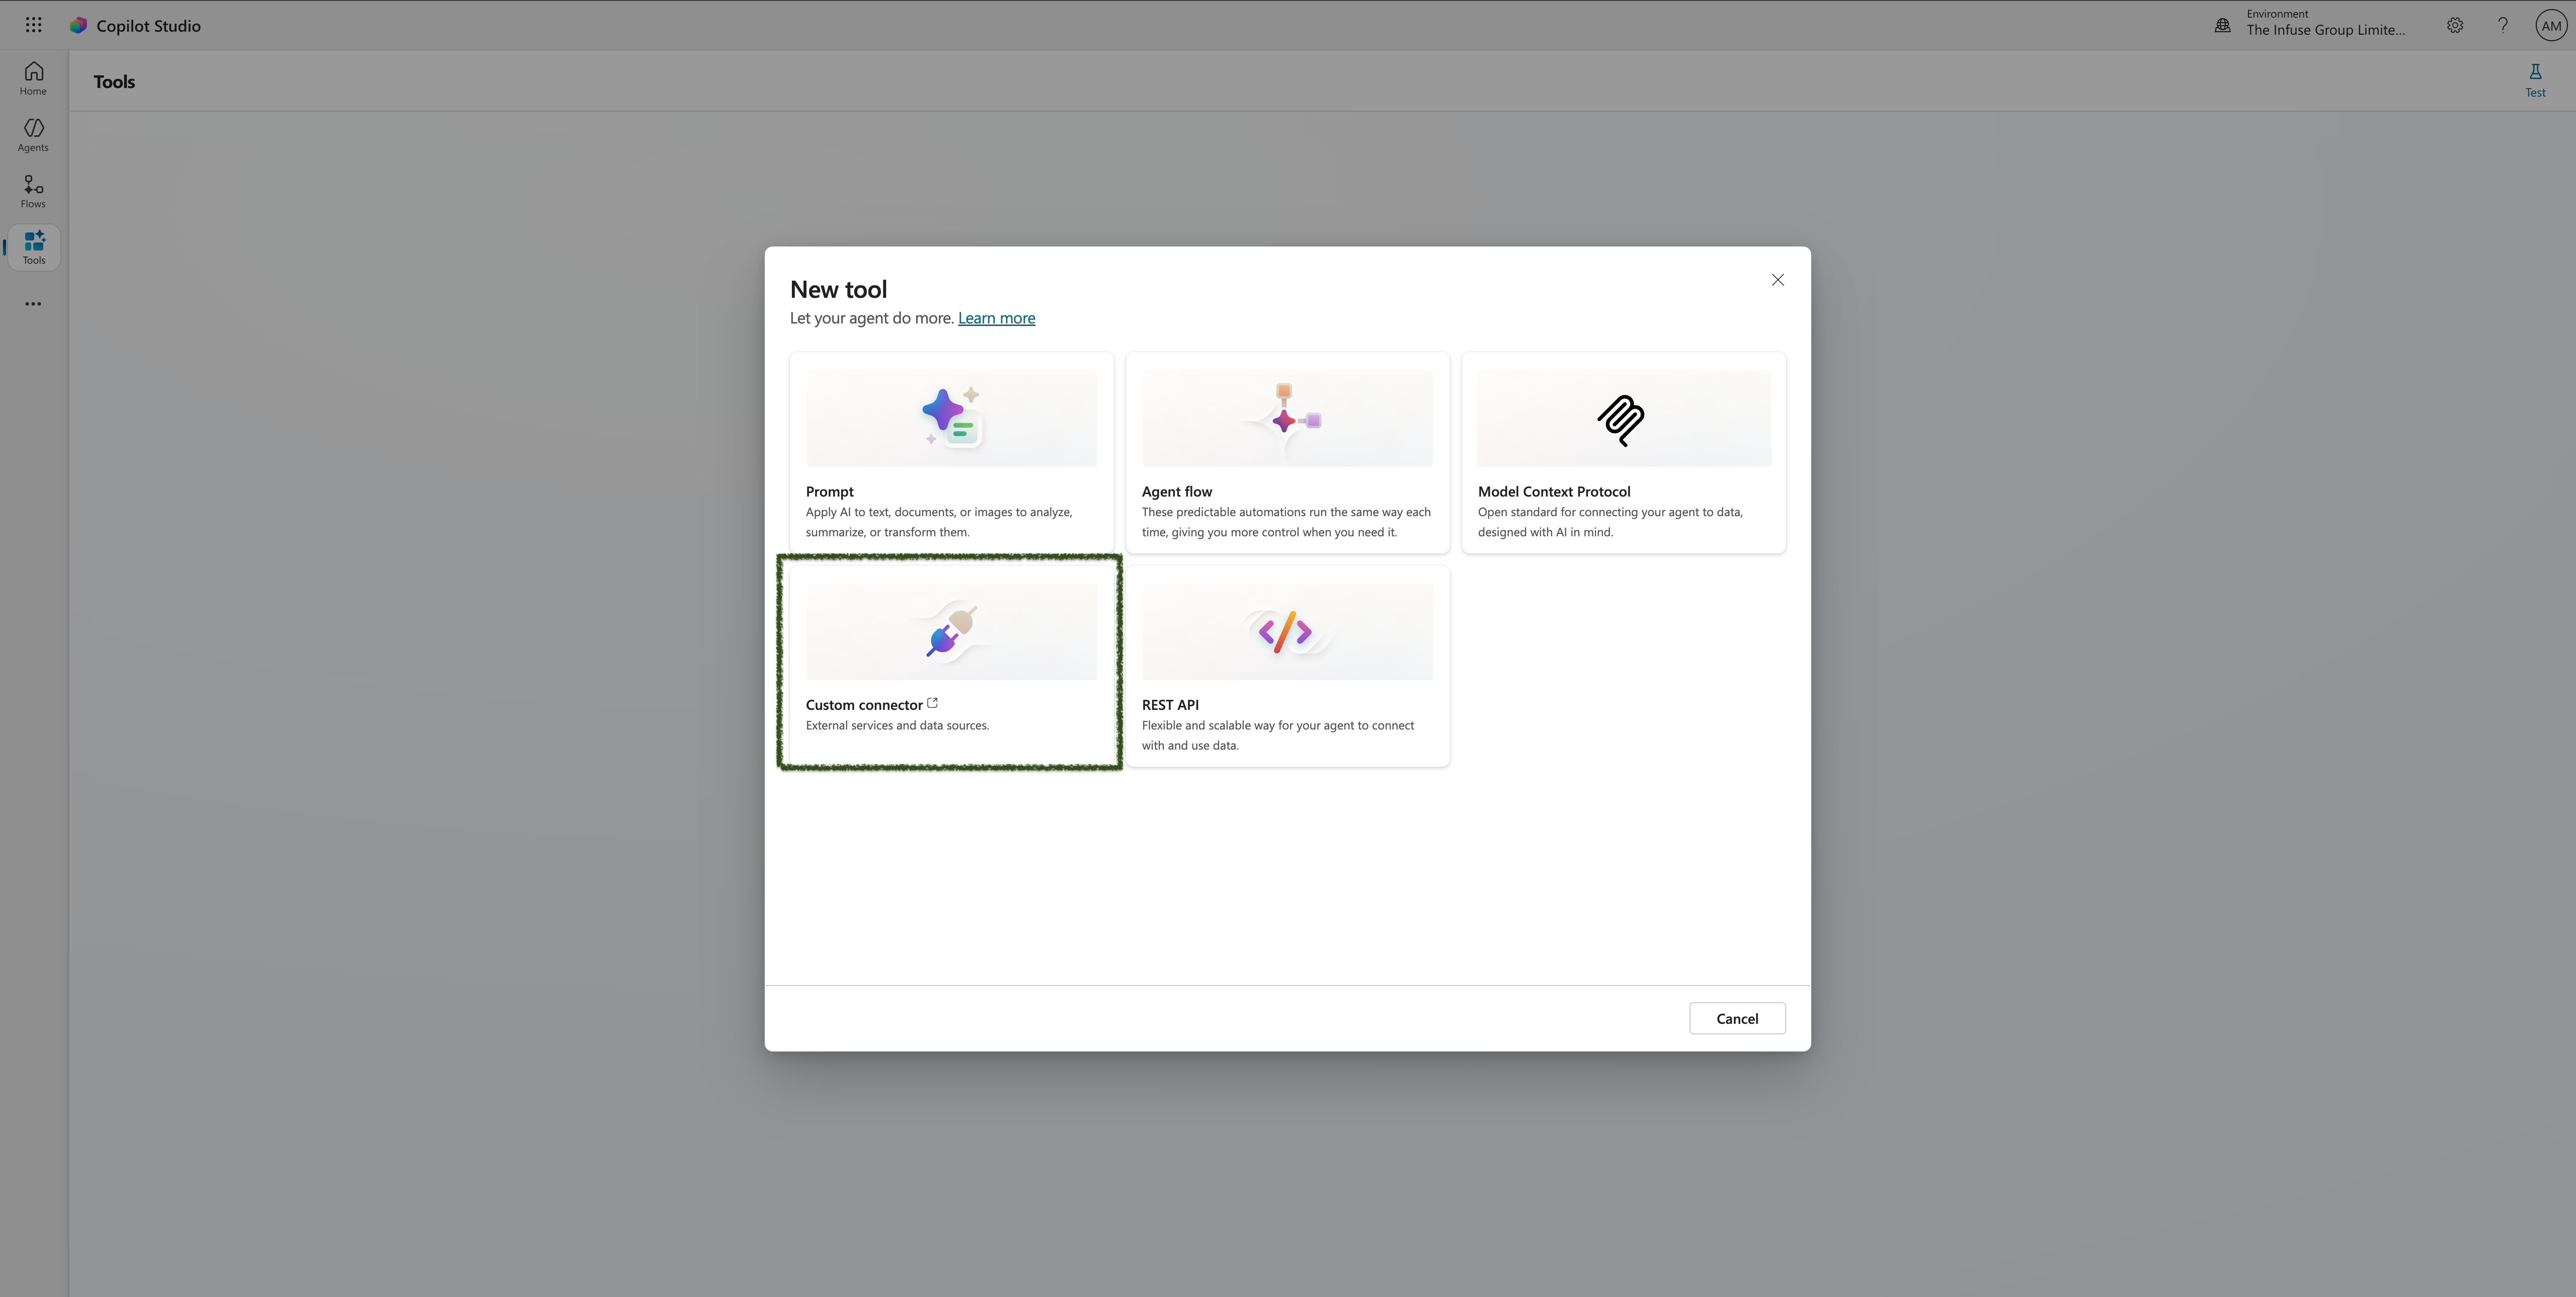
Step 2 — Select Custom Connector
In the New tool dialog, select Custom connector. This will open Power Apps.
Step 3 — Import the OpenAPI file
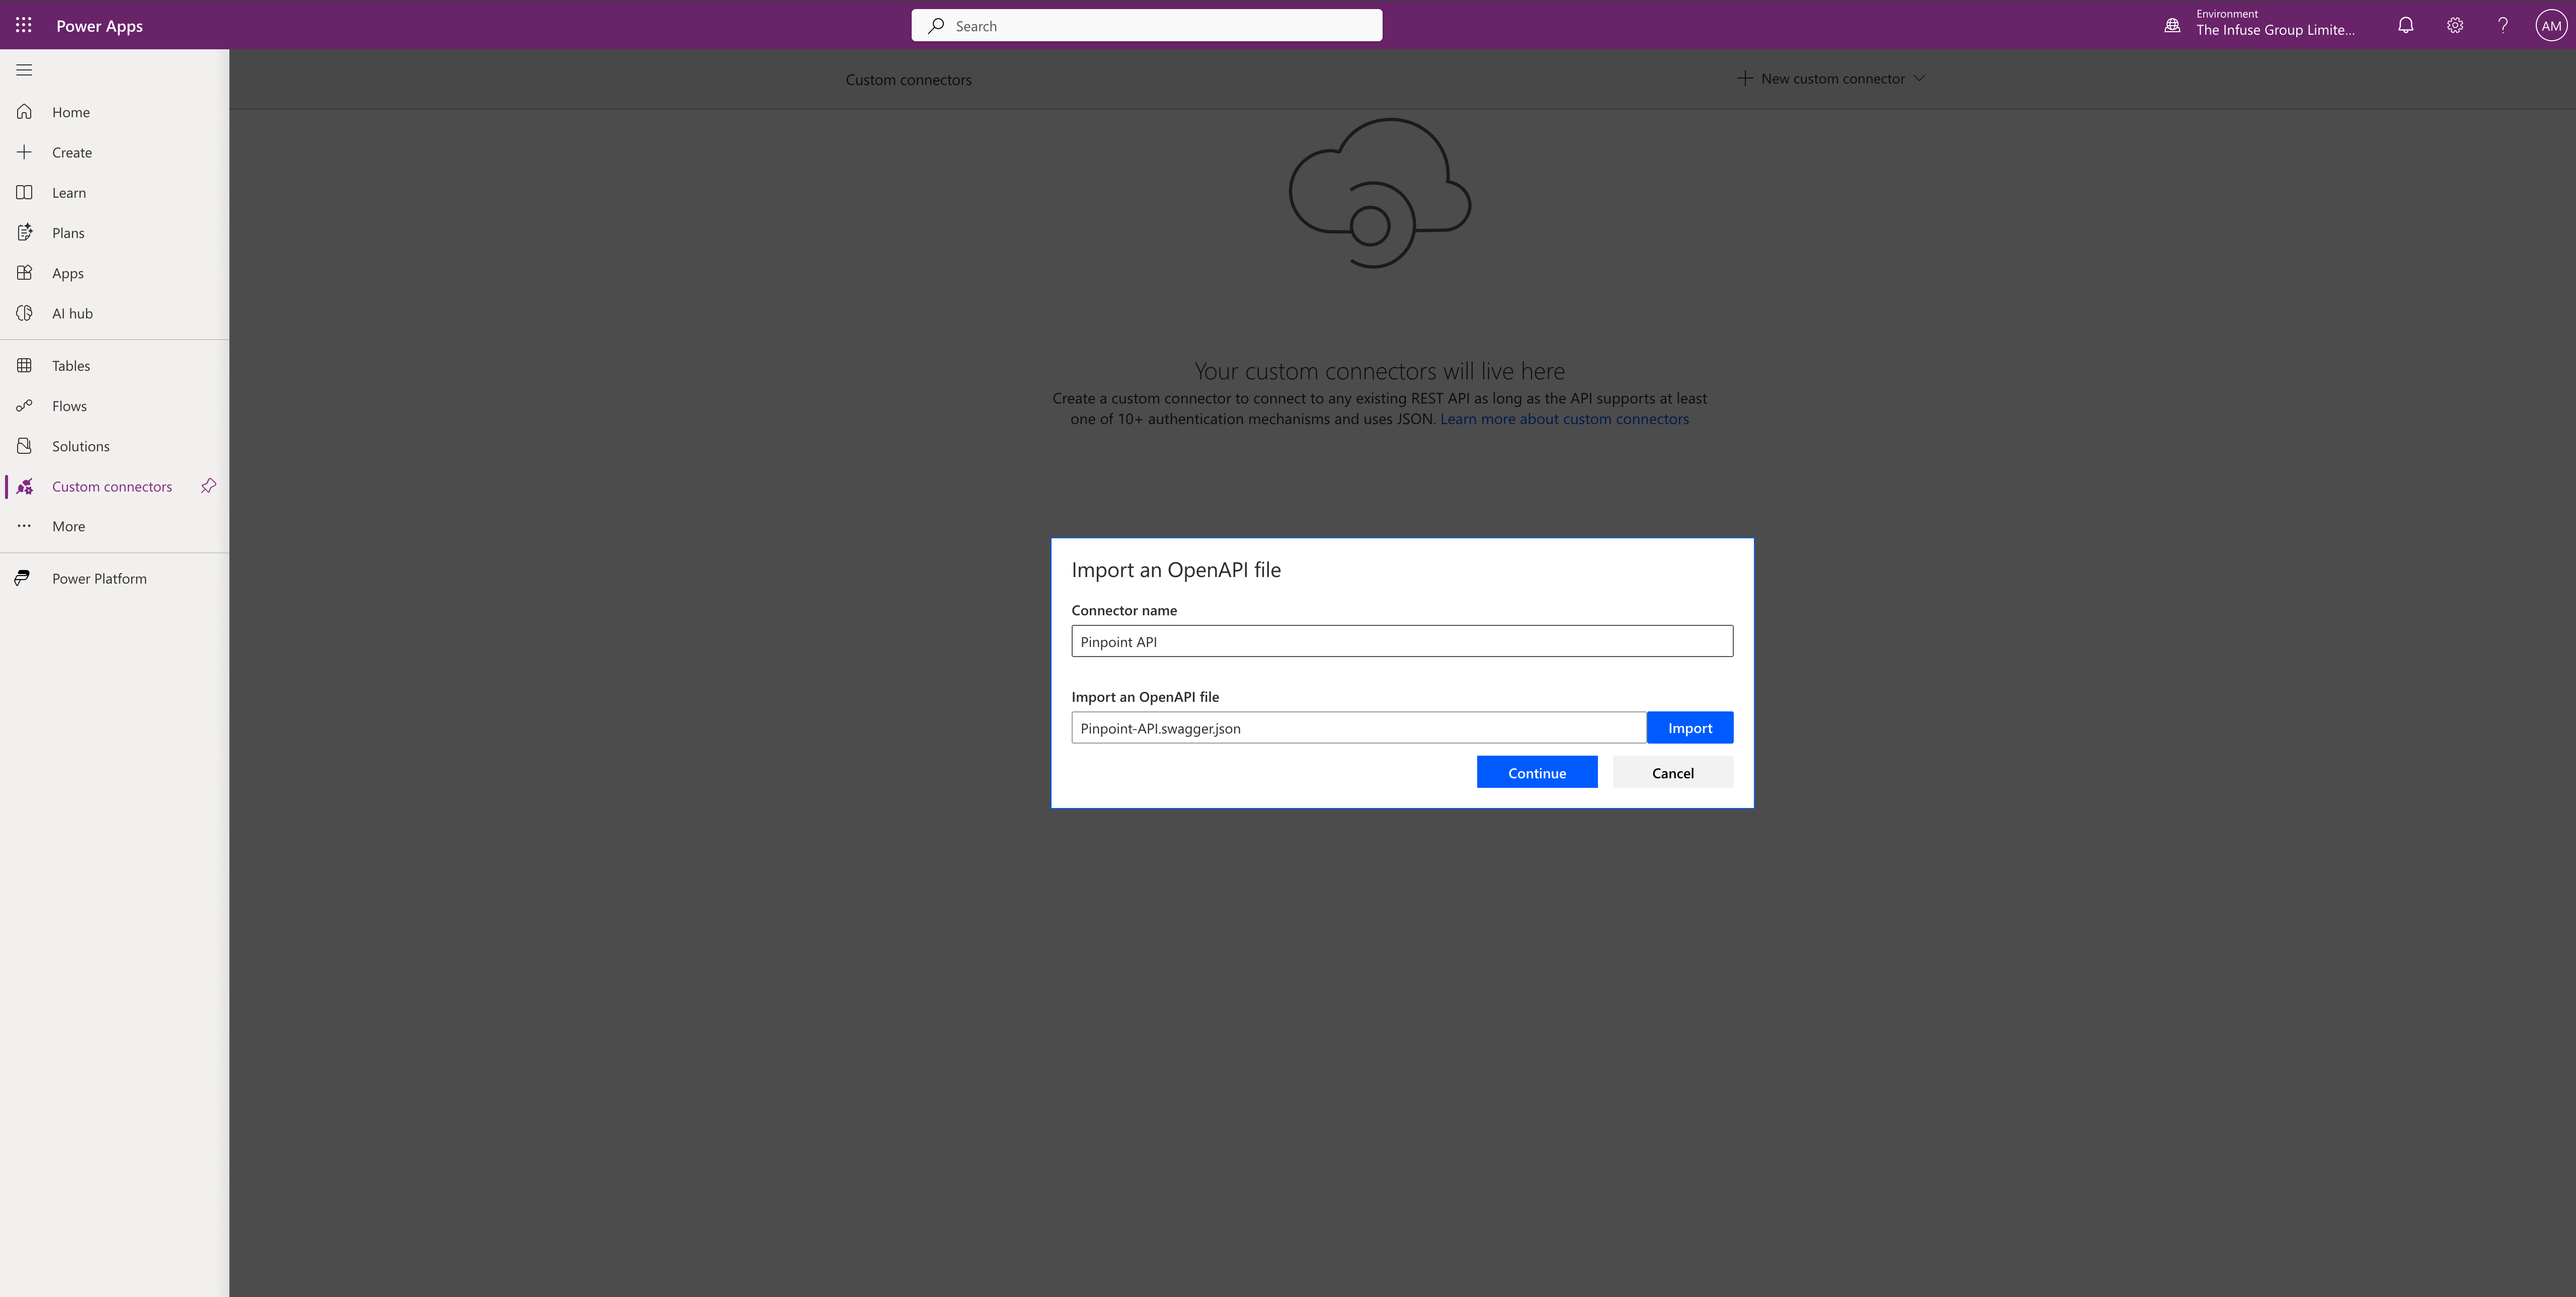
In Power Apps, navigate to Custom connectors in the left navigation. Click + New custom connector and select Import an OpenAPI file from the dropdown.

Step 4 — Name the connector and upload the file
In the Import an OpenAPI file dialog:
- Set the Connector name to
Pinpoint API - Click Import and select the
Pinpoint-API.swagger.jsonfile (Download from GitHub) - Click Continue
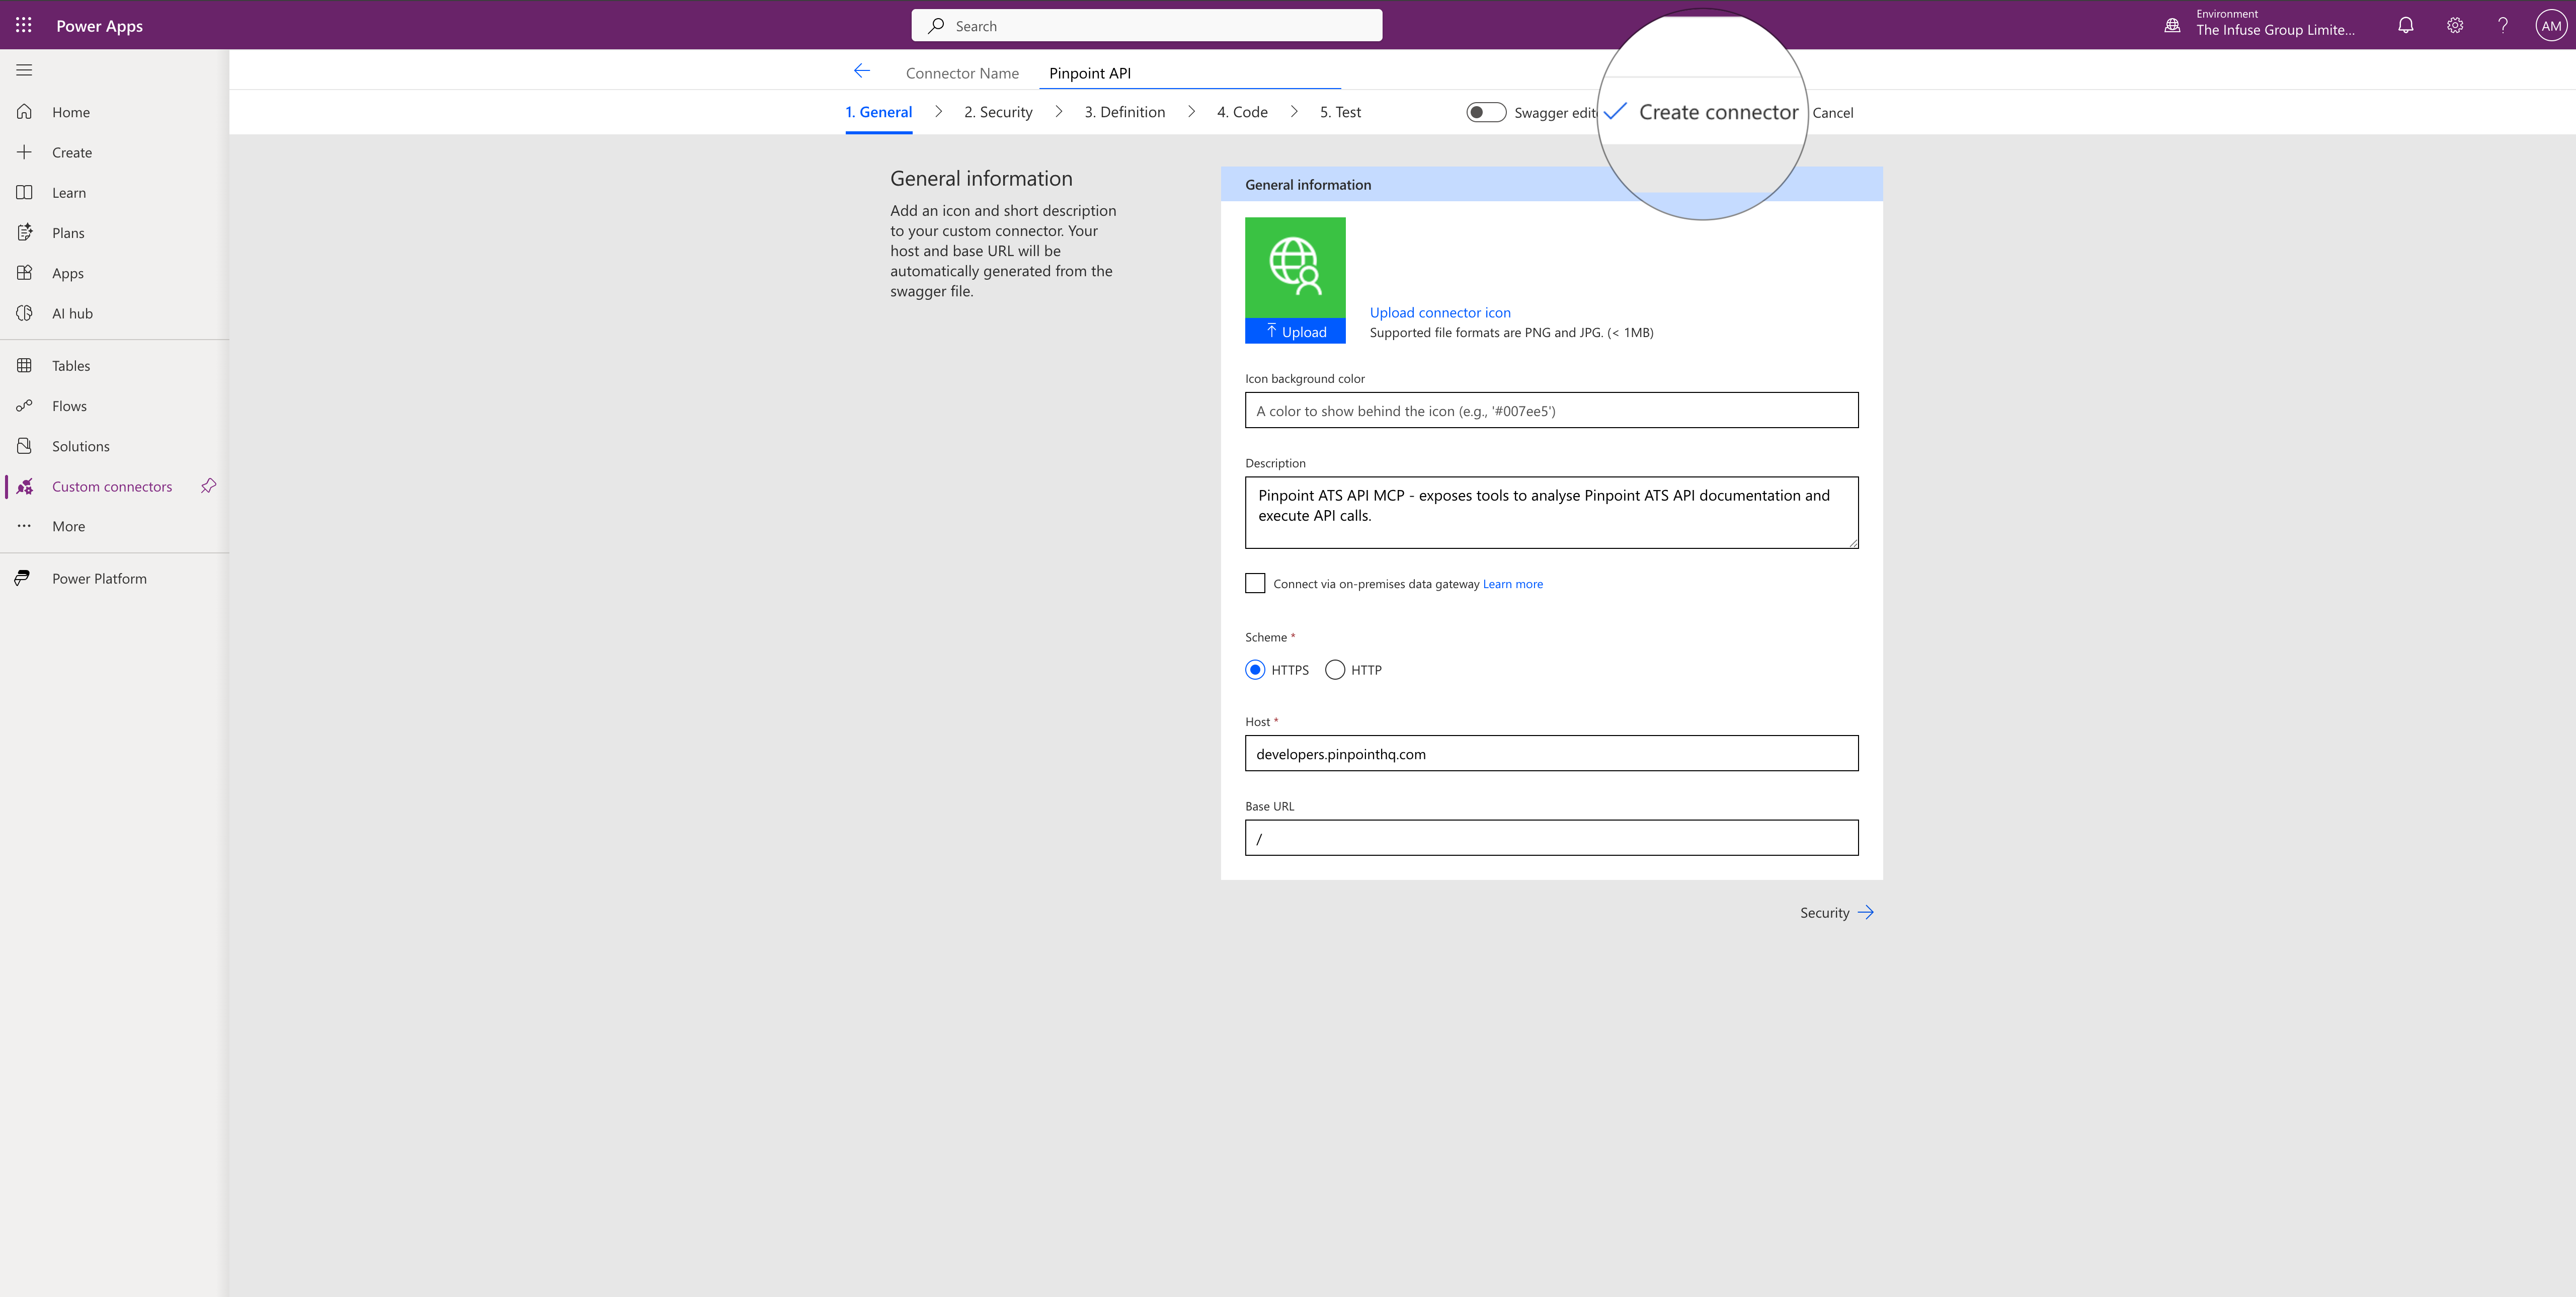
Step 5 — Review and create the connector
The connector creation wizard opens on the General tab. The details will be pre-populated from the OpenAPI file:
- Description: Pinpoint ATS API MCP – exposes tools to analyse Pinpoint ATS API documentation and execute API calls.
- Scheme: HTTPS
- Host:
developers.pinpointhq.com - Base URL:
/
Click Create connector to finish.
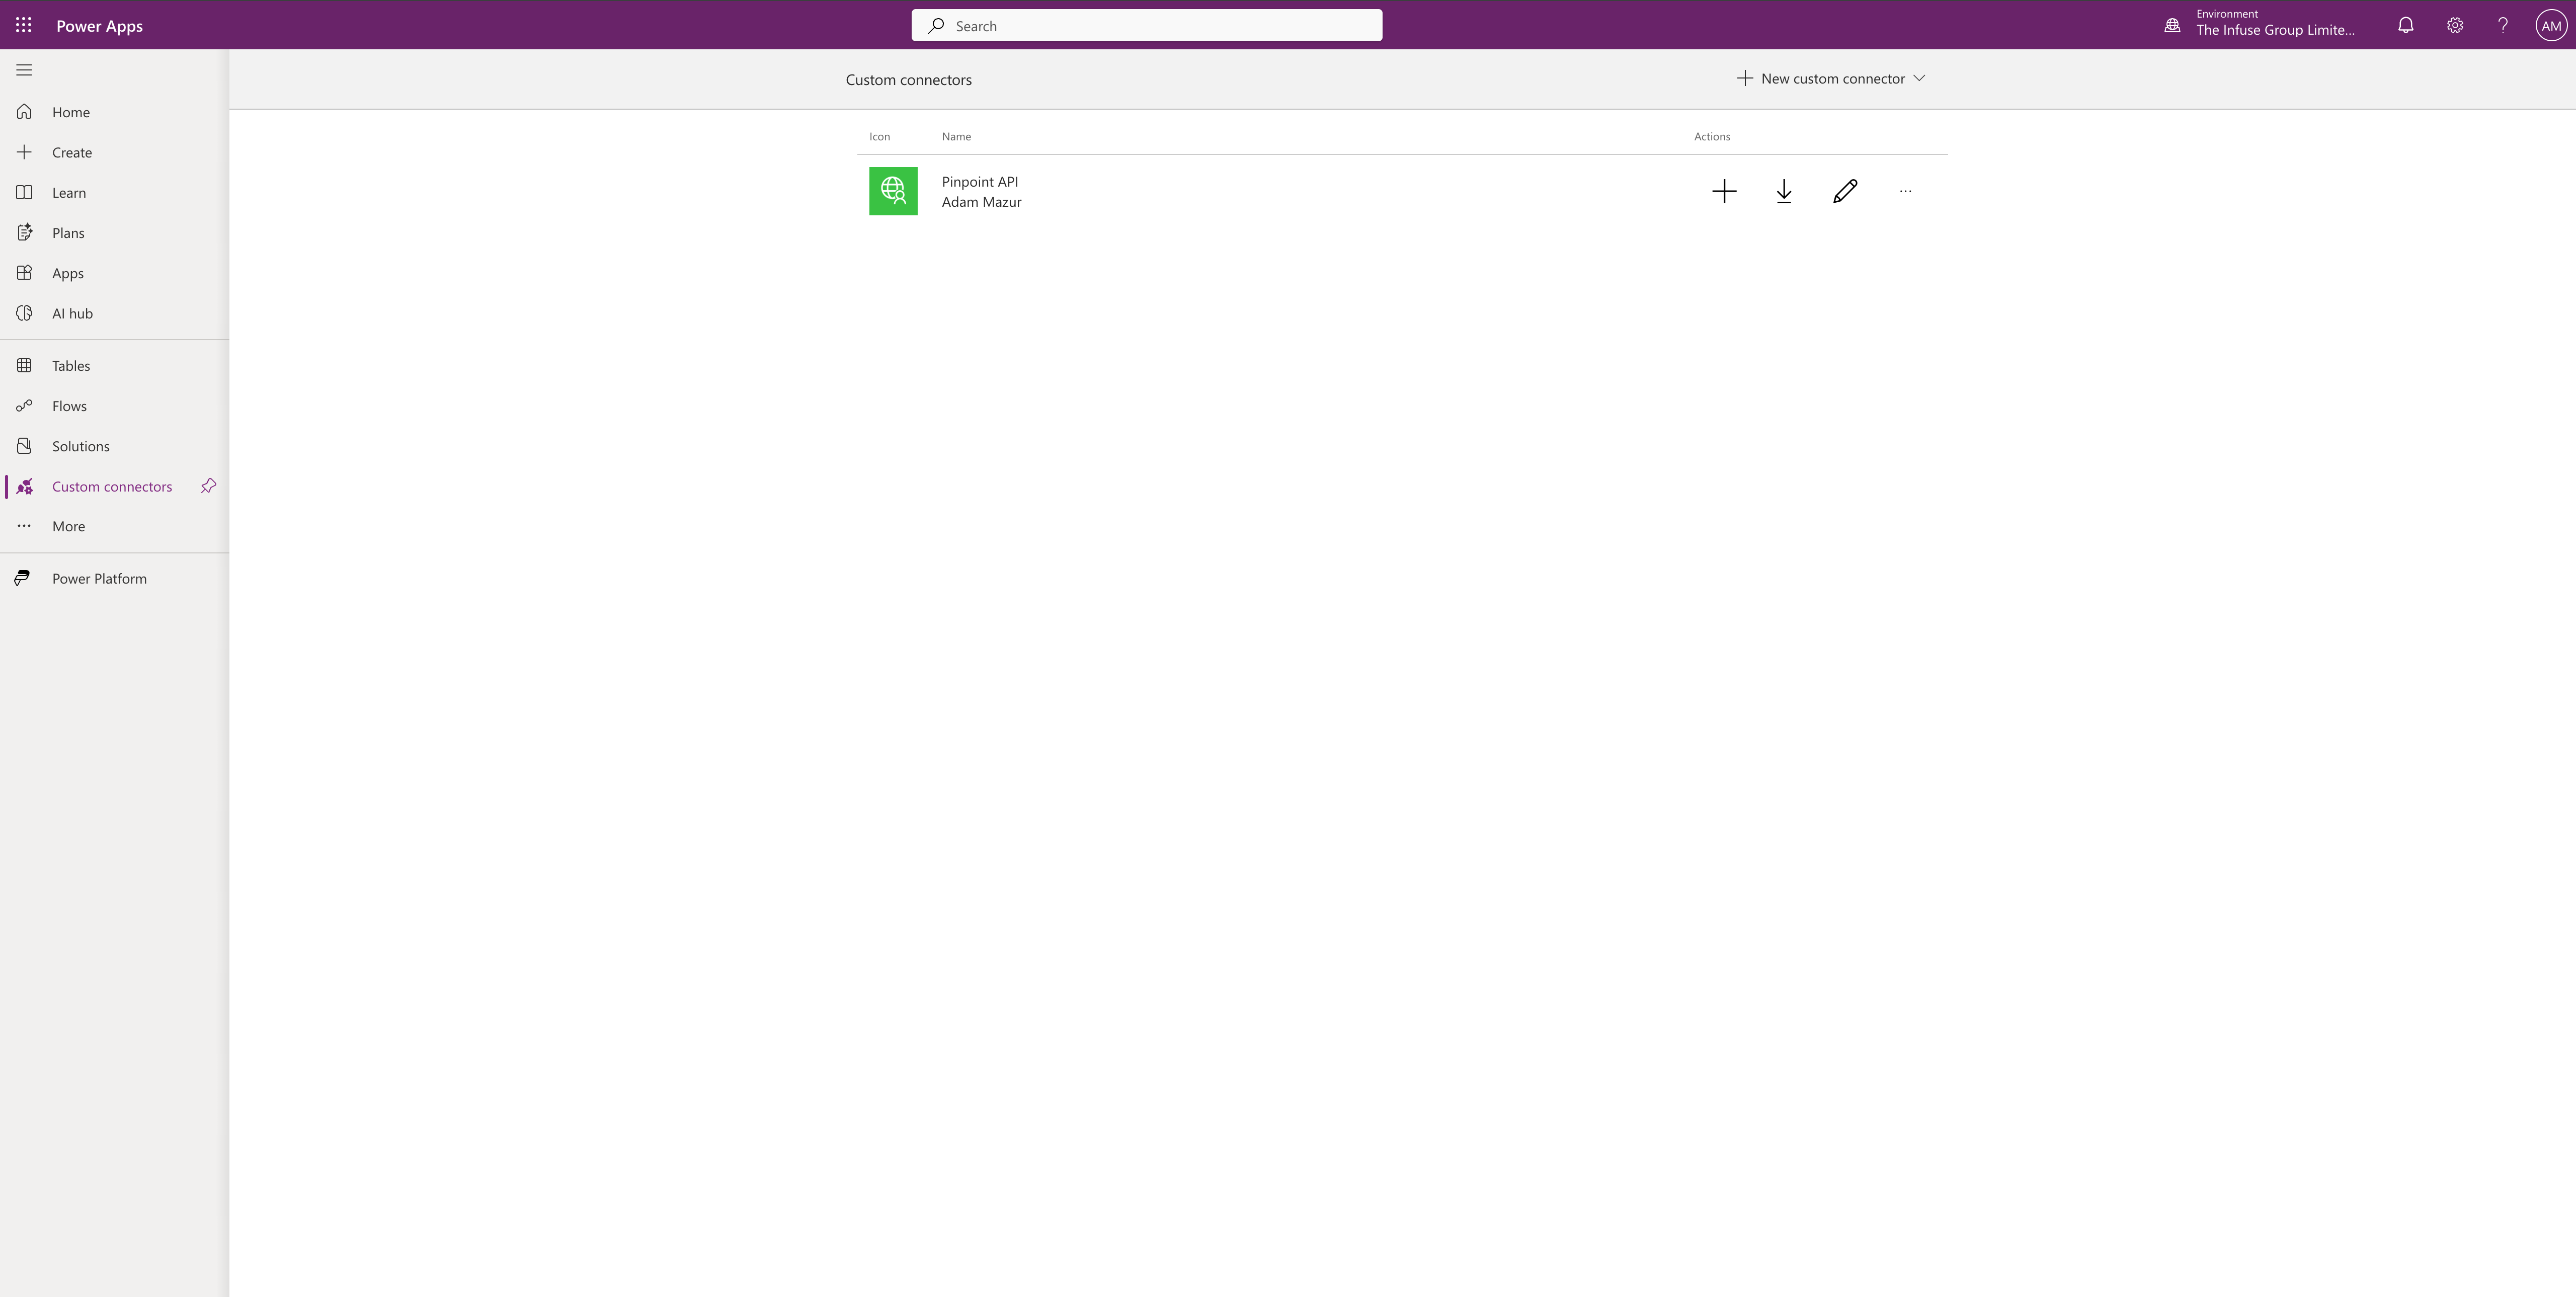
Step 6 — Connector created
Power Apps returns to the Custom connectors list where Pinpoint API now appears.
Part 2 — Add the Connector to a Copilot Studio Agent
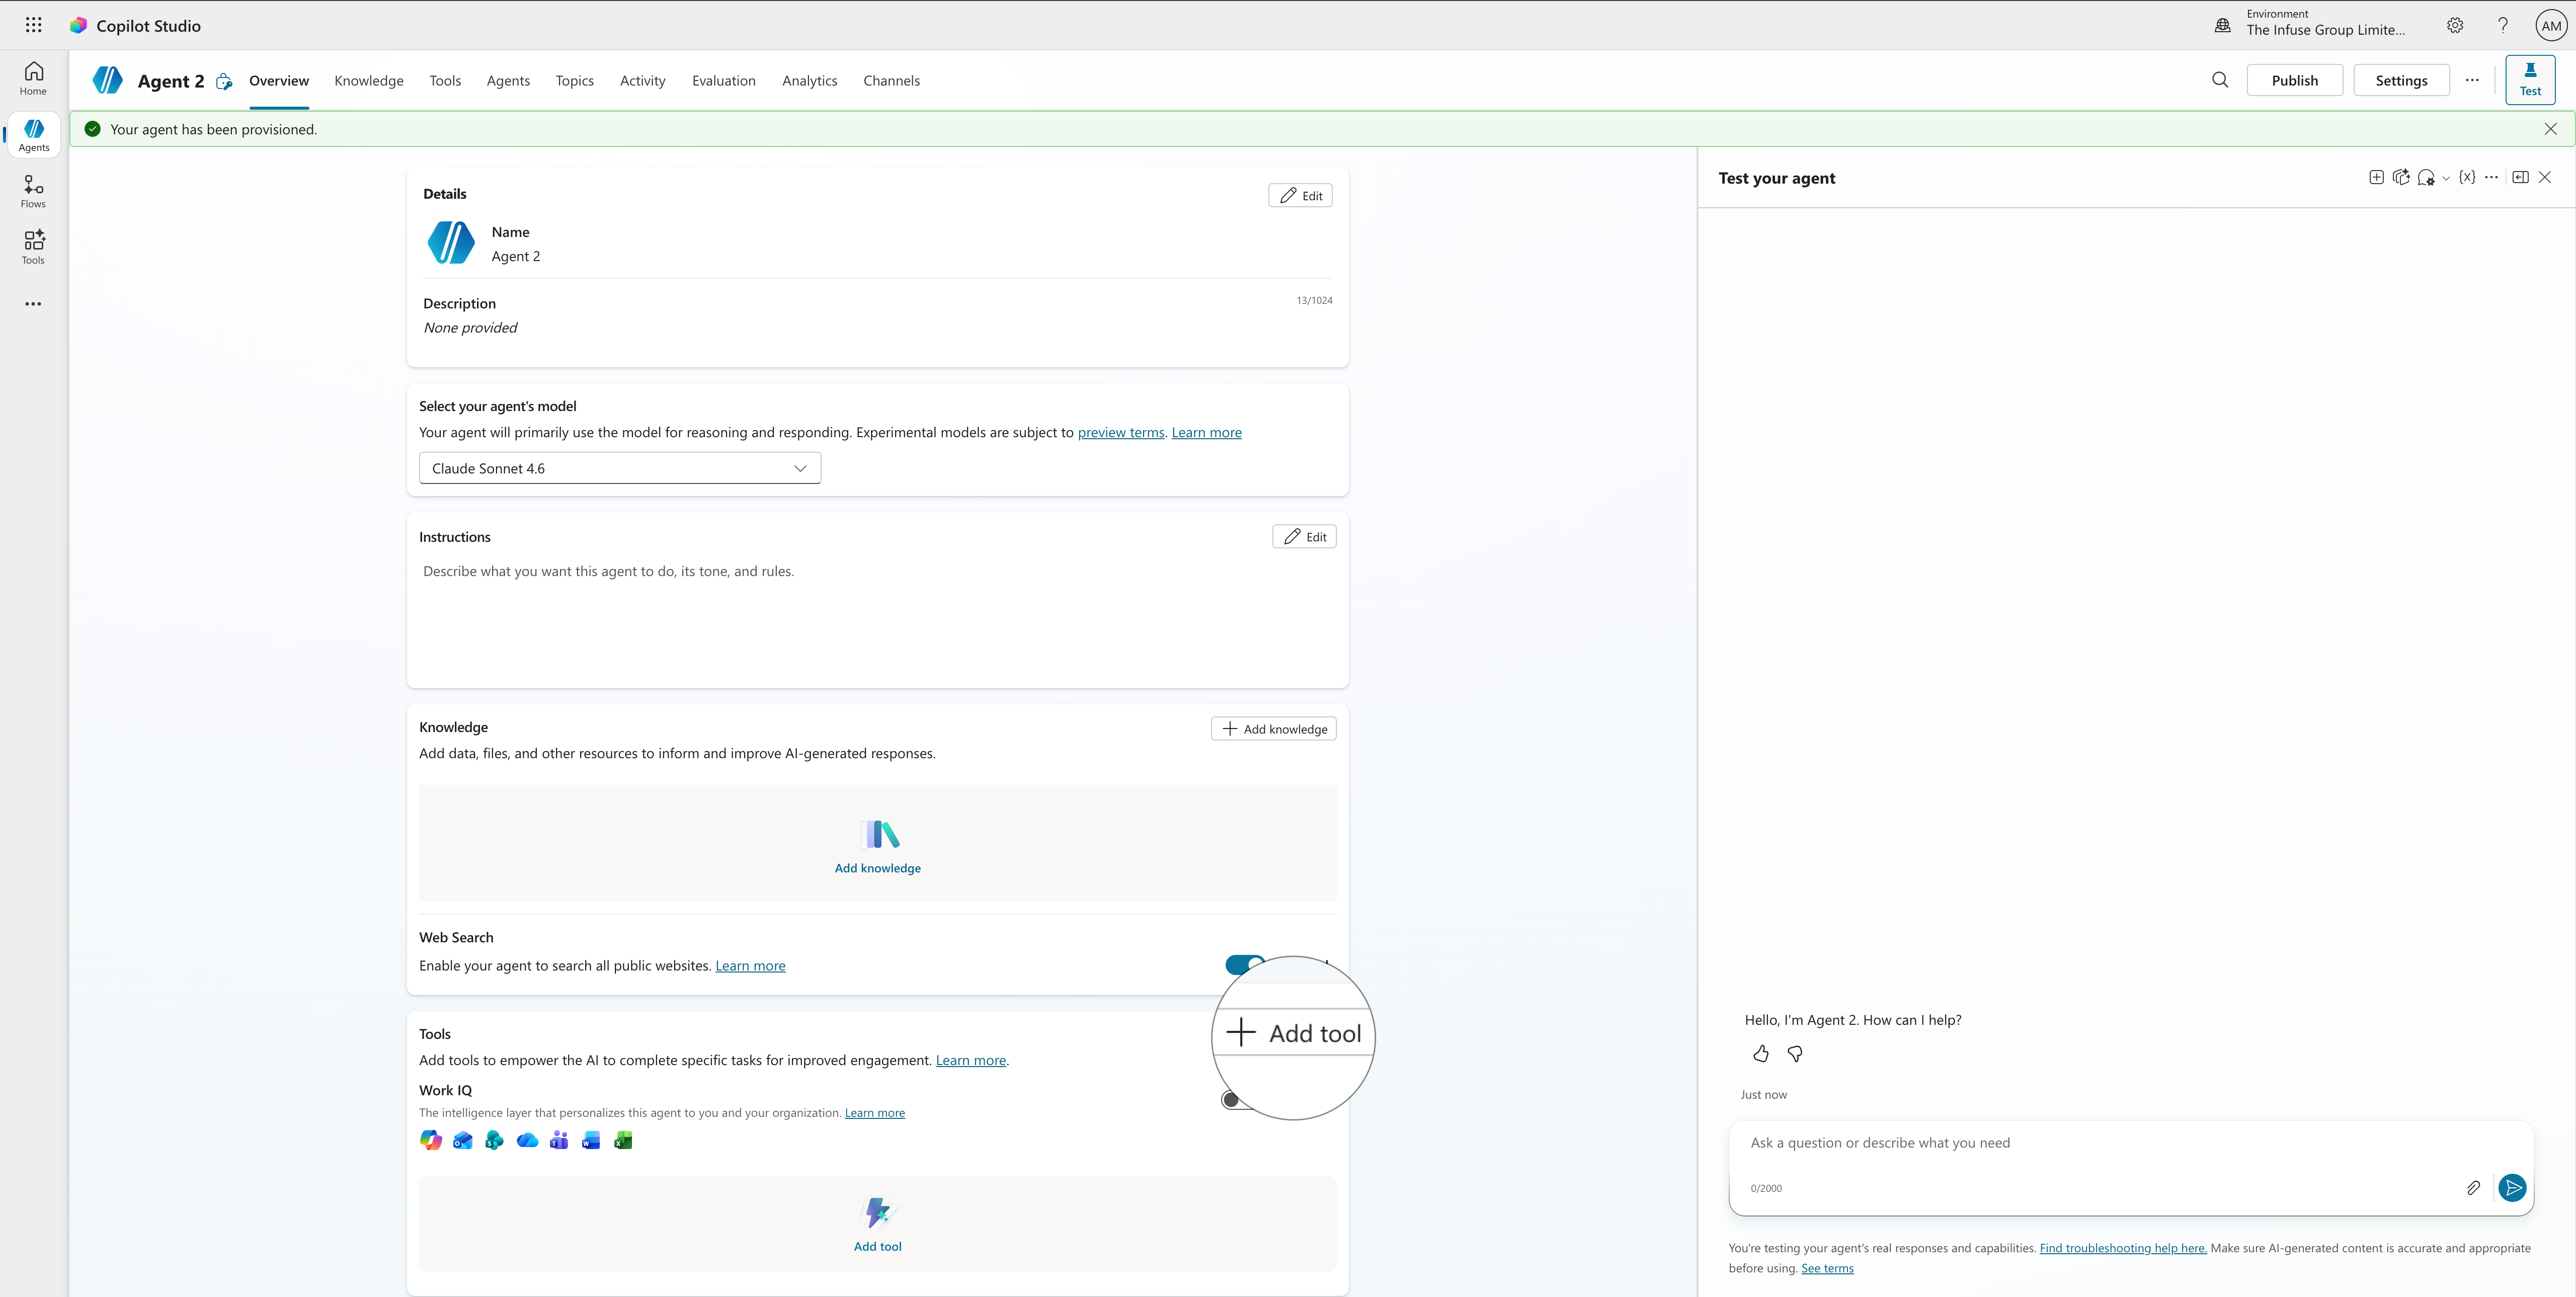
Step 7 — Open an agent and click Add tool
Back in Copilot Studio, open an existing agent or create a new one. In the Tools section of the agent overview, click Add tool.
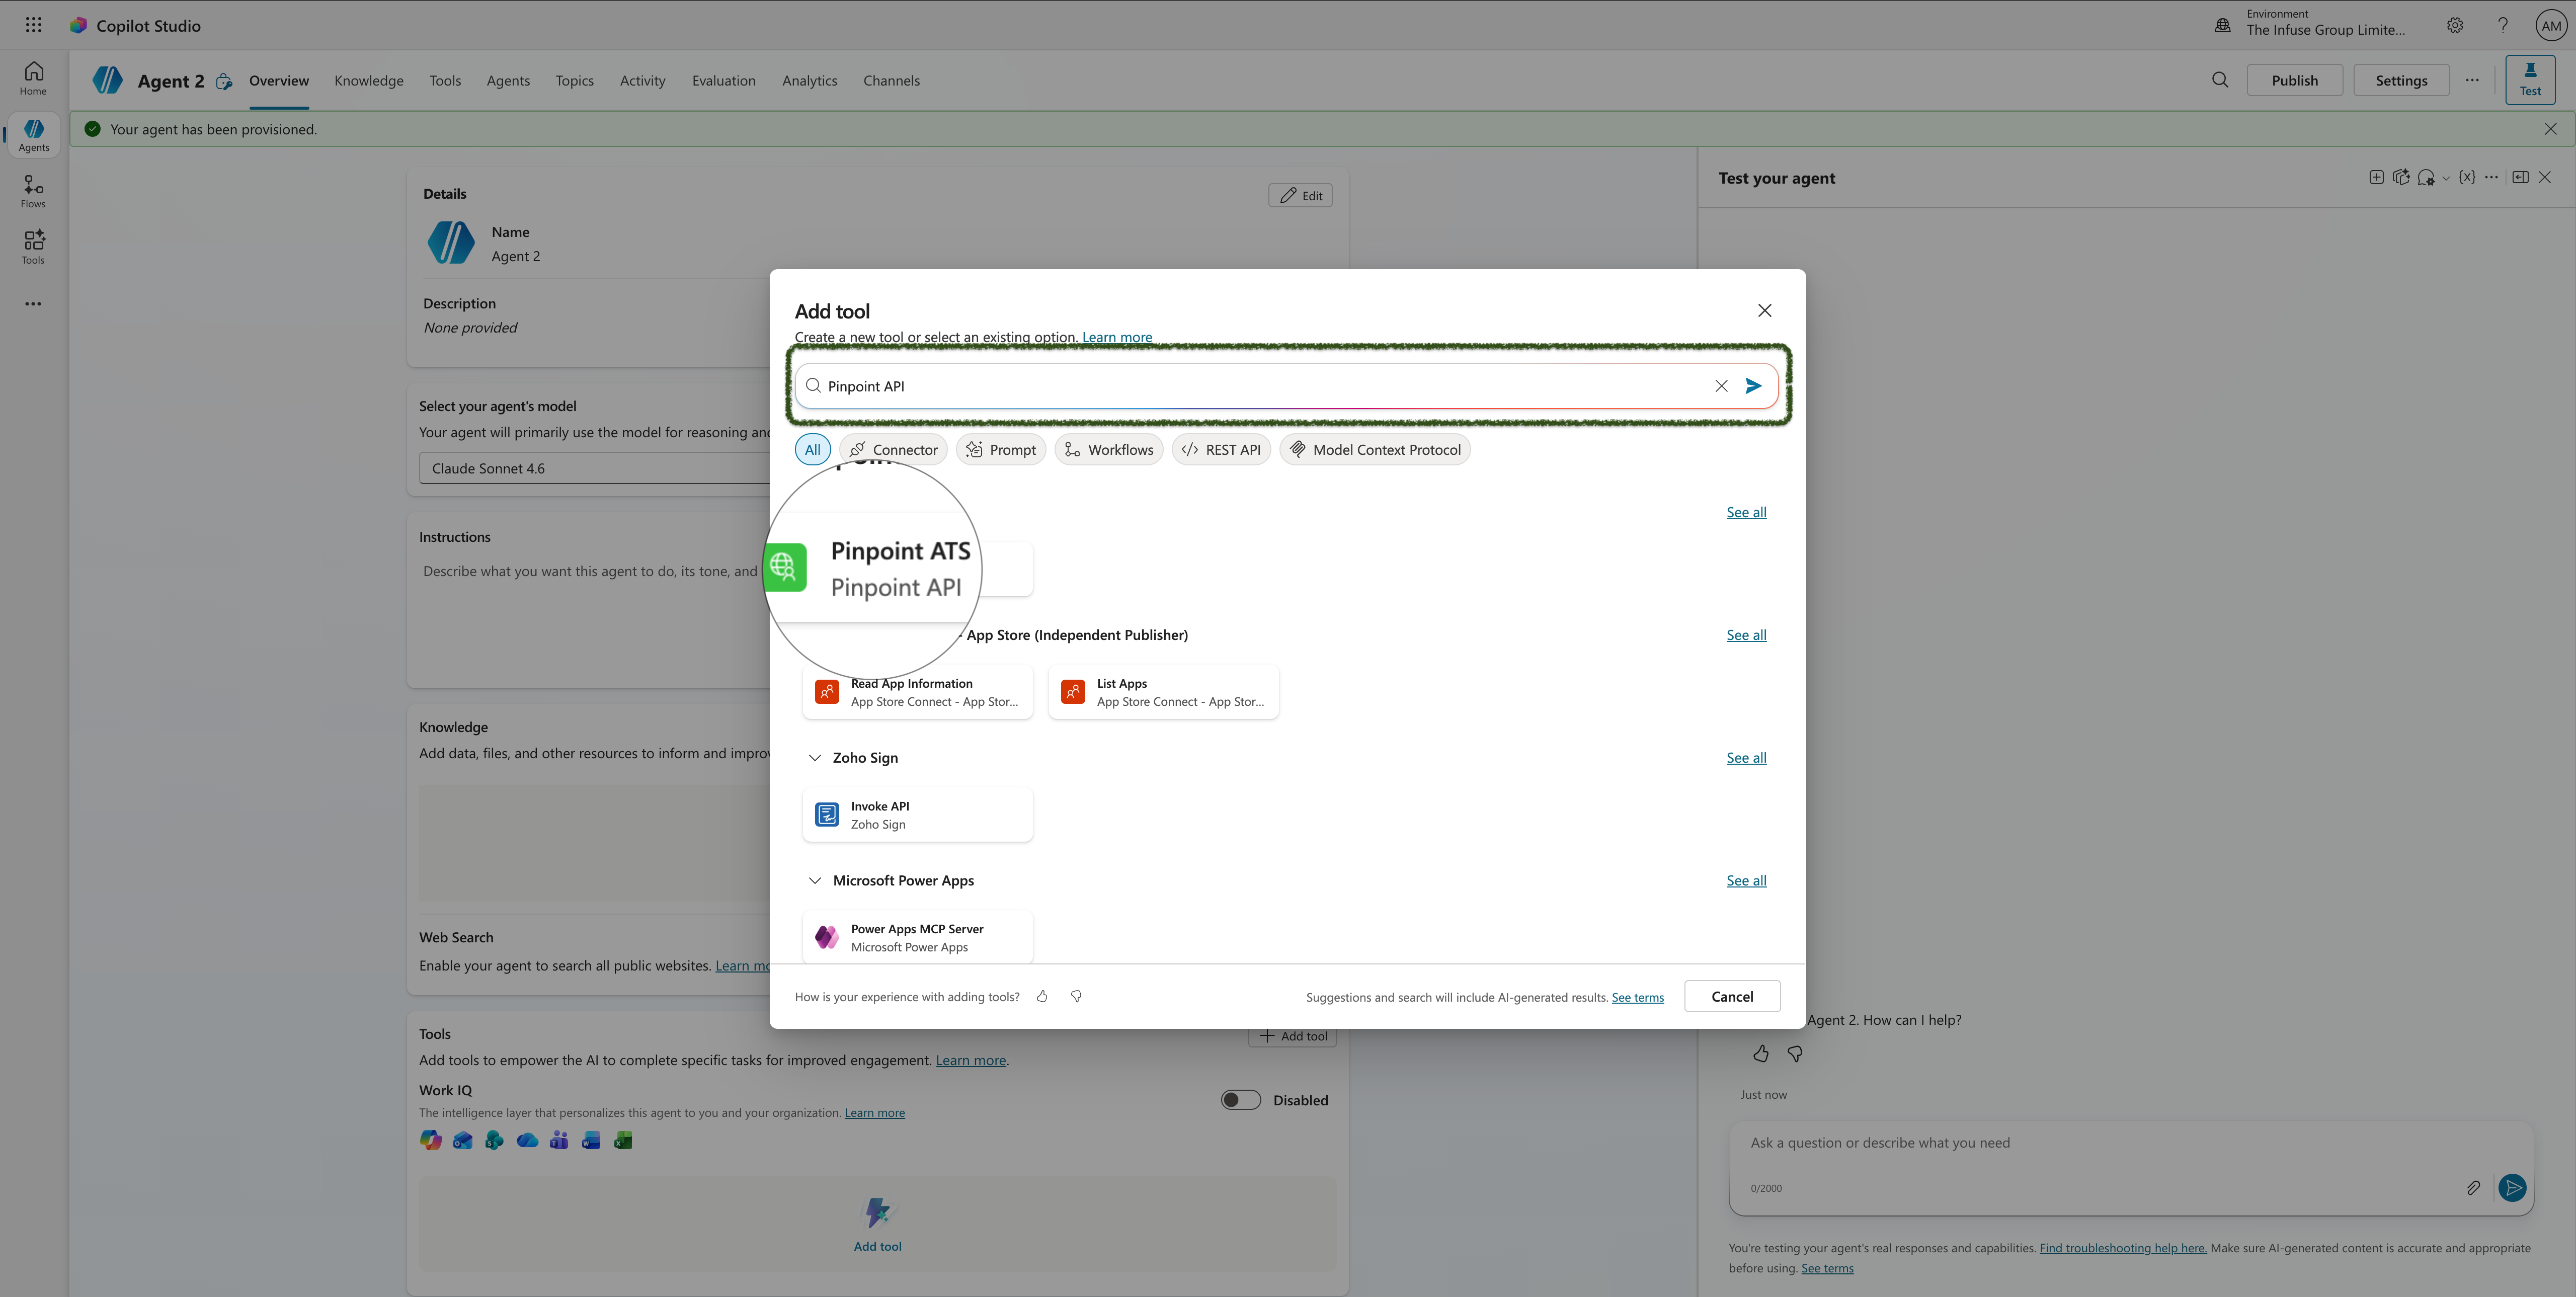
Step 8 — Search for and select your connector
In the Add tool dialog, type Pinpoint API in the search box. The Pinpoint ATS connector you created will appear under Pinpoint API. Select it.
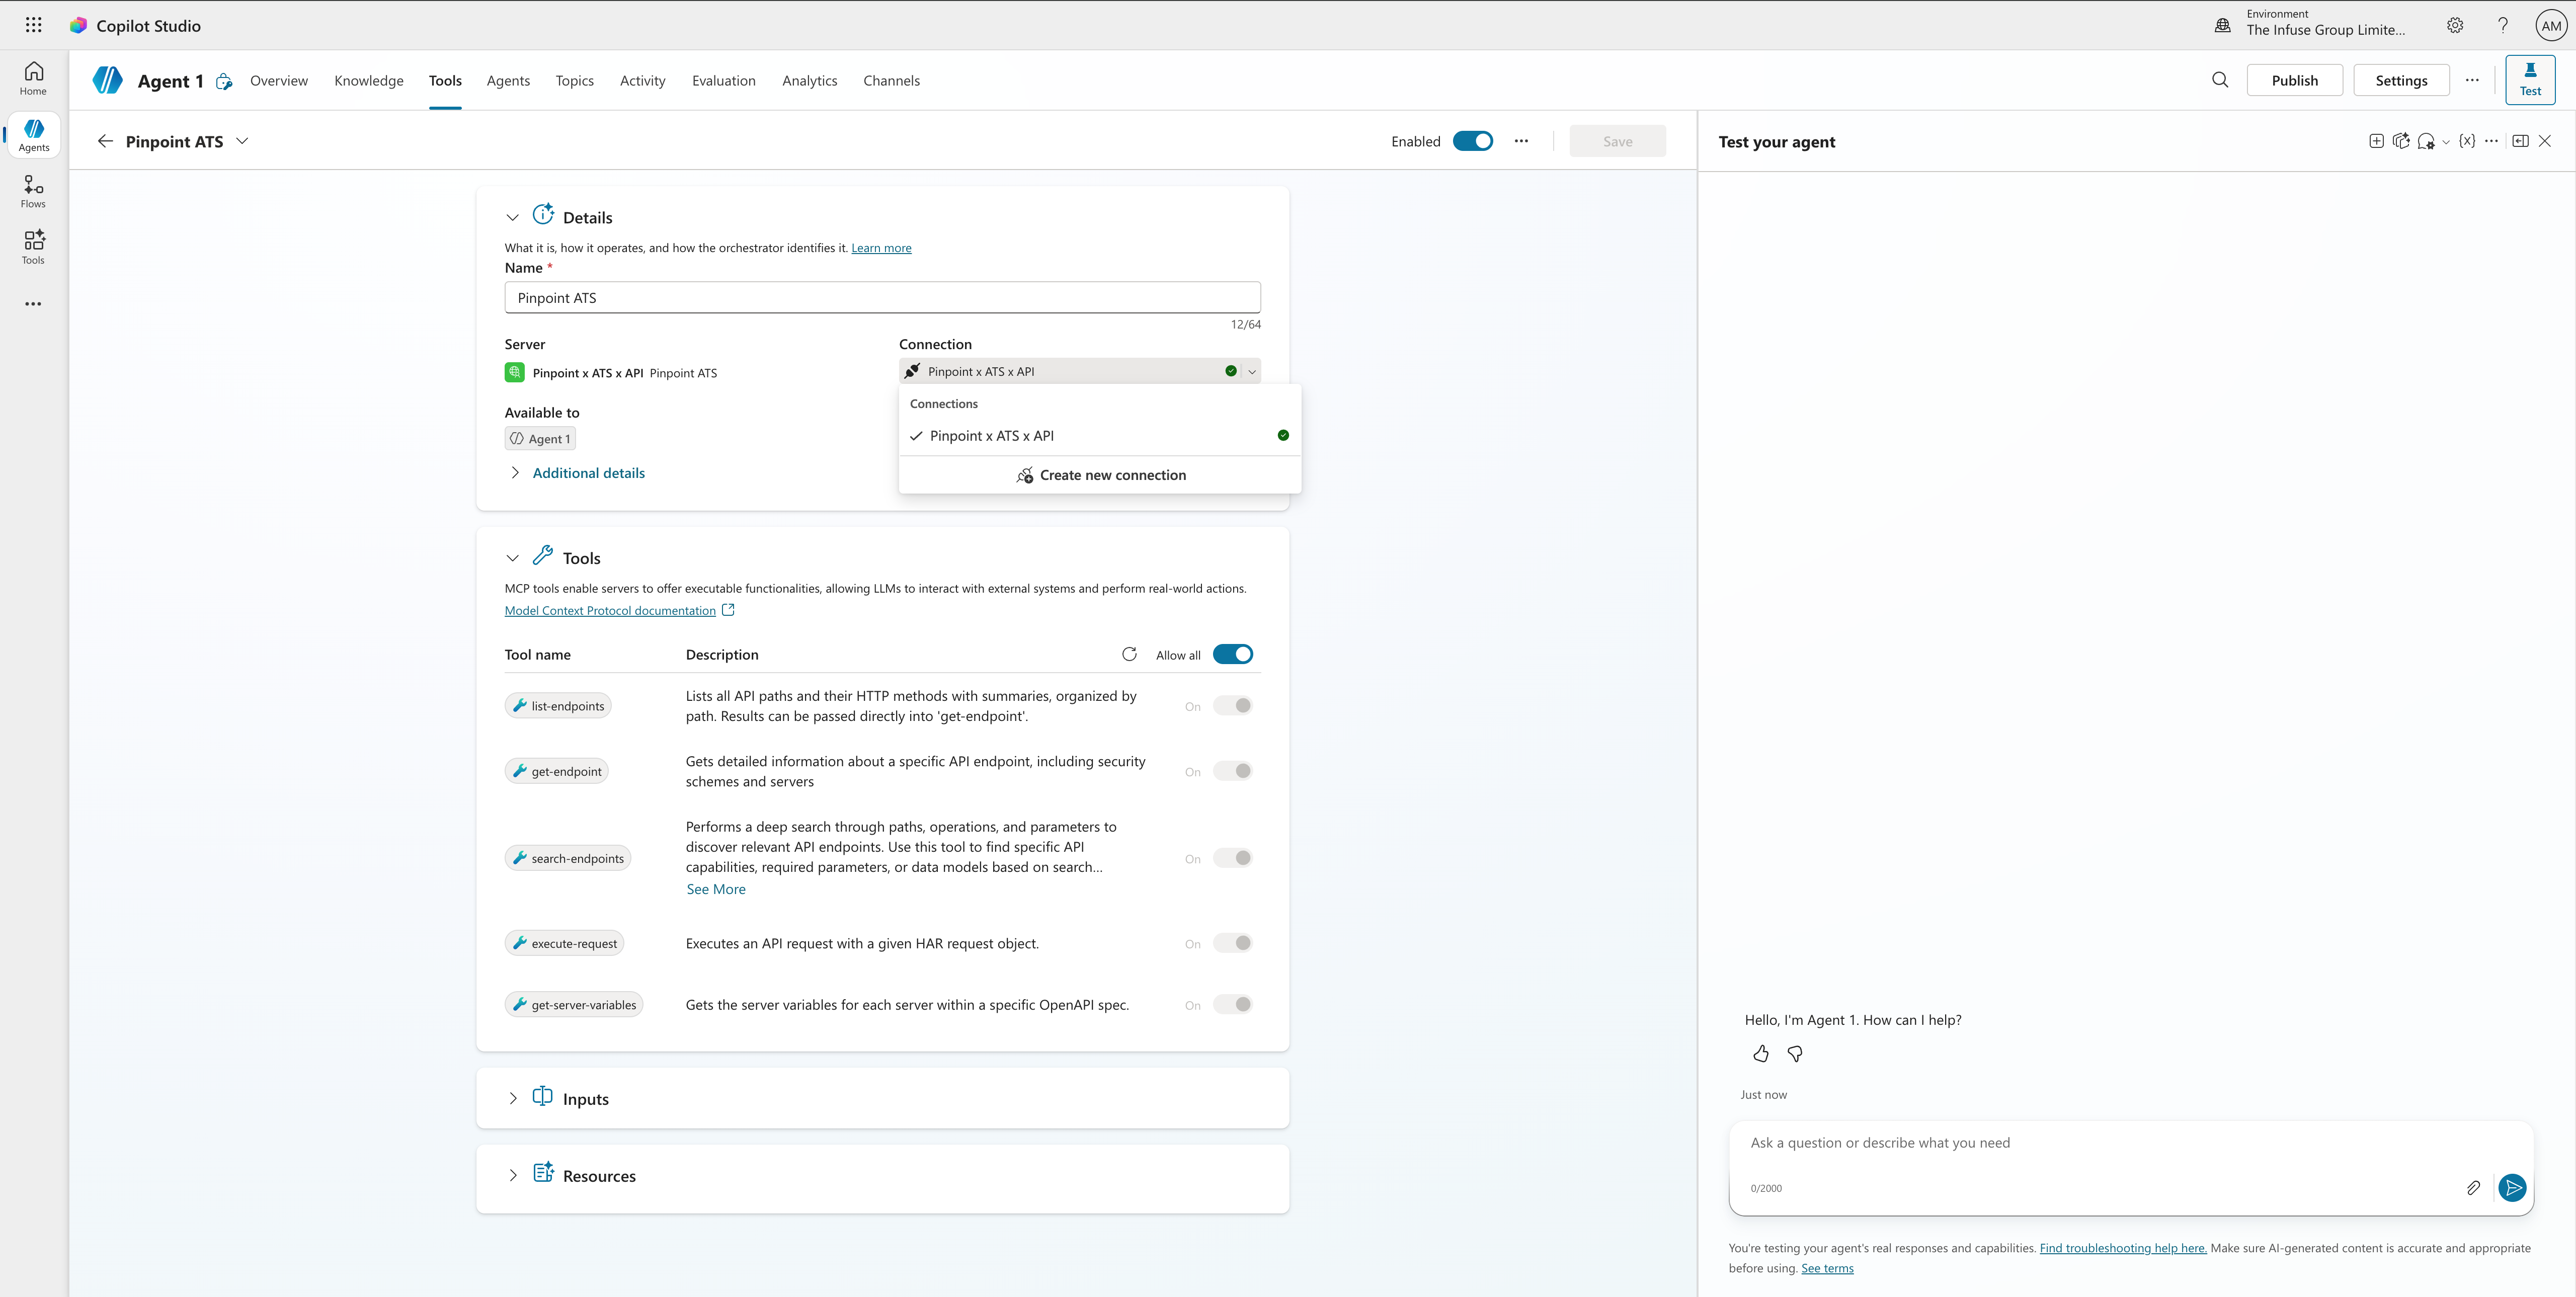
Step 9 — Review the tool details
The tool details panel shows the Pinpoint ATS description and a Connection field showing Not connected. Click on Not connected and then select Create new connection option from the dropdown.
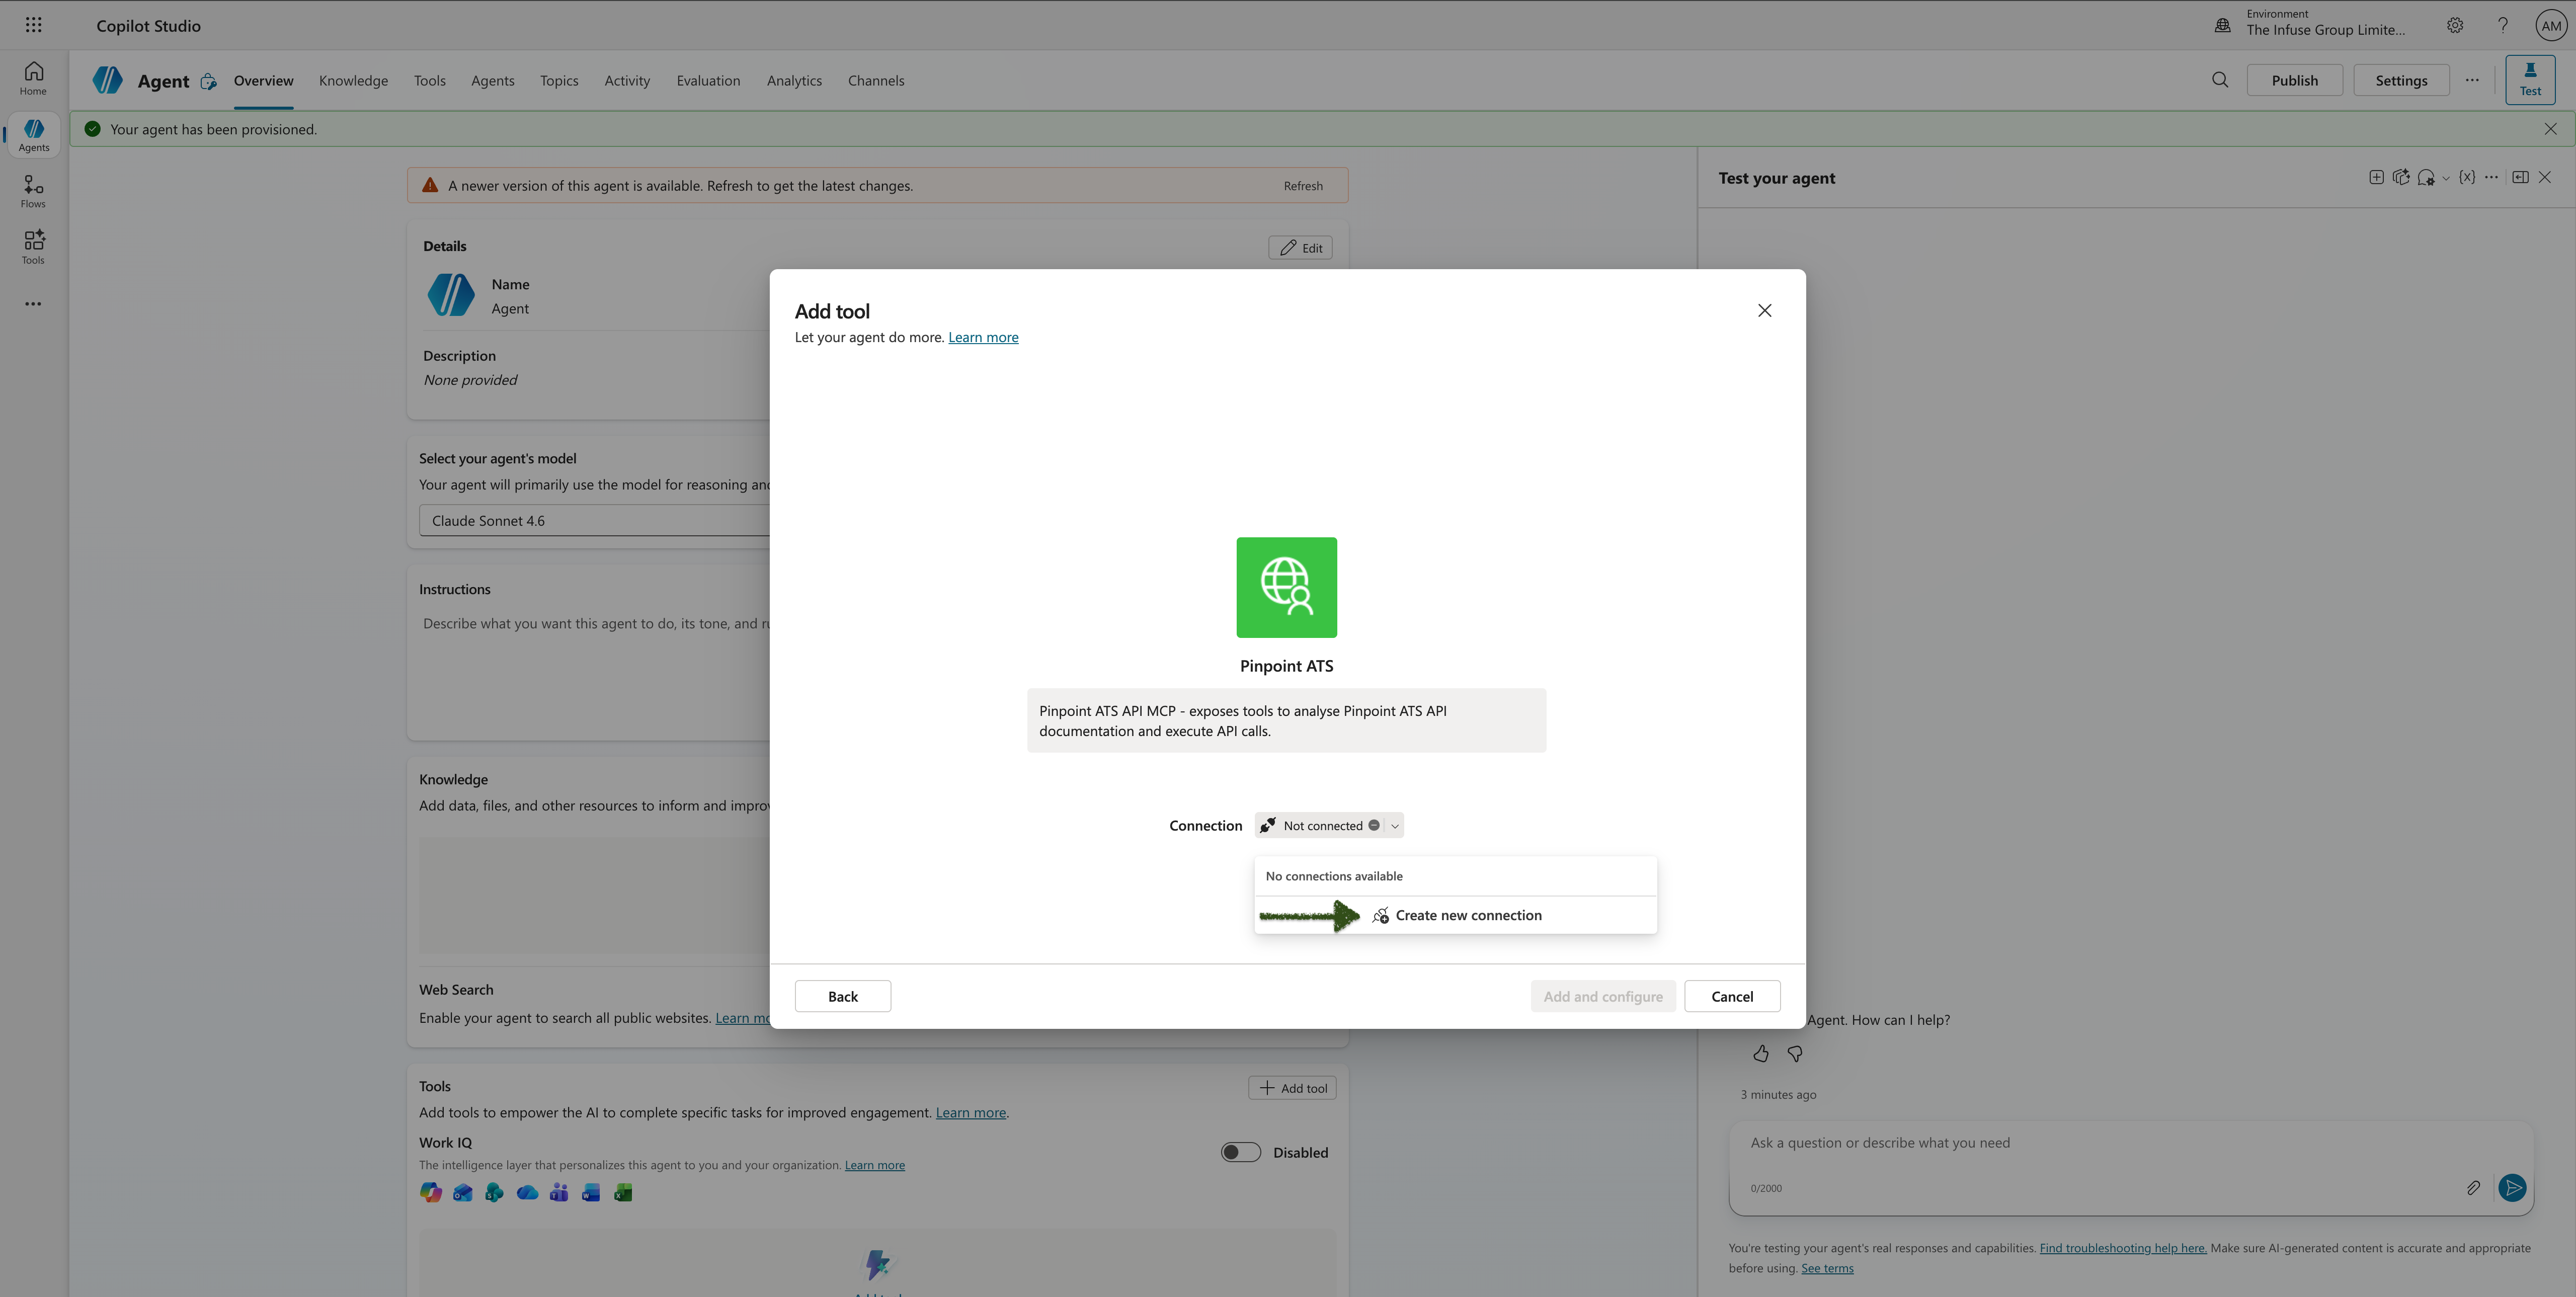
Step 10 — Enter your API key and finalise adding
A Connect to Pinpoint API dialog appears. Enter your Pinpoint API key in the api_key field and click Create.
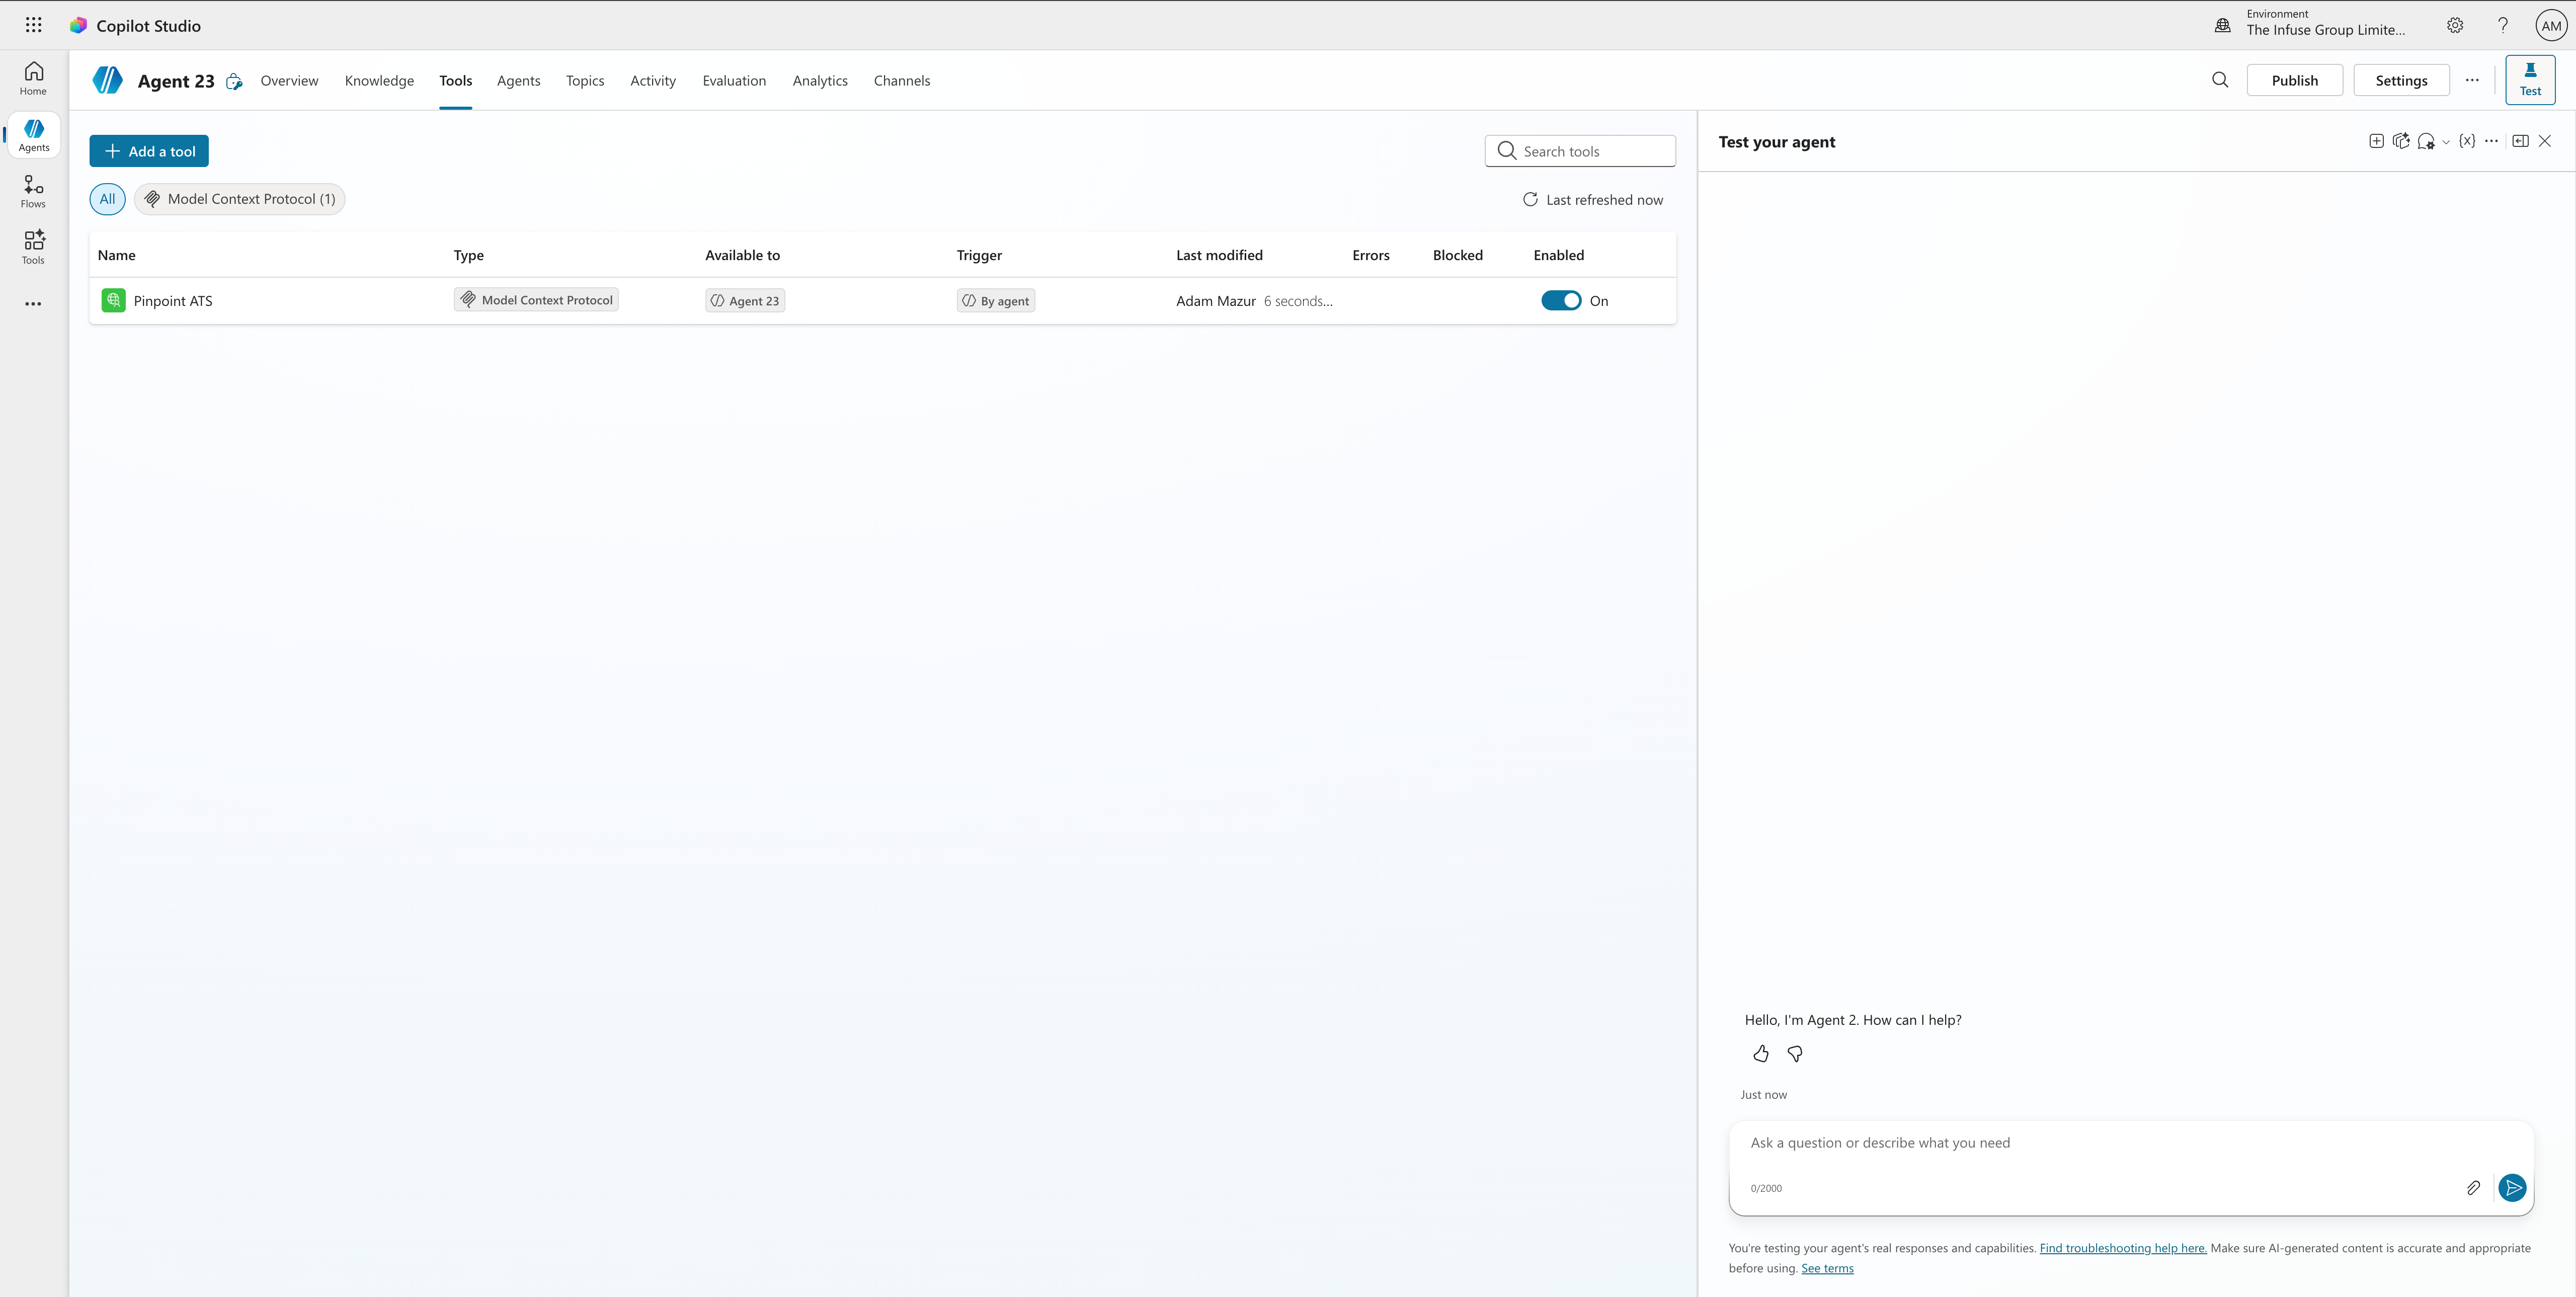
The connection is now shown as Pinpoint API — connected. Click Add to add the tool to your agent.

Step 12 — Configure the X-Original-Host input
- On the agent's Tools tab, click on the Pinpoint ATS tool to open its settings.
- Go to the Inputs section and click Add input. Select X-Original-Host
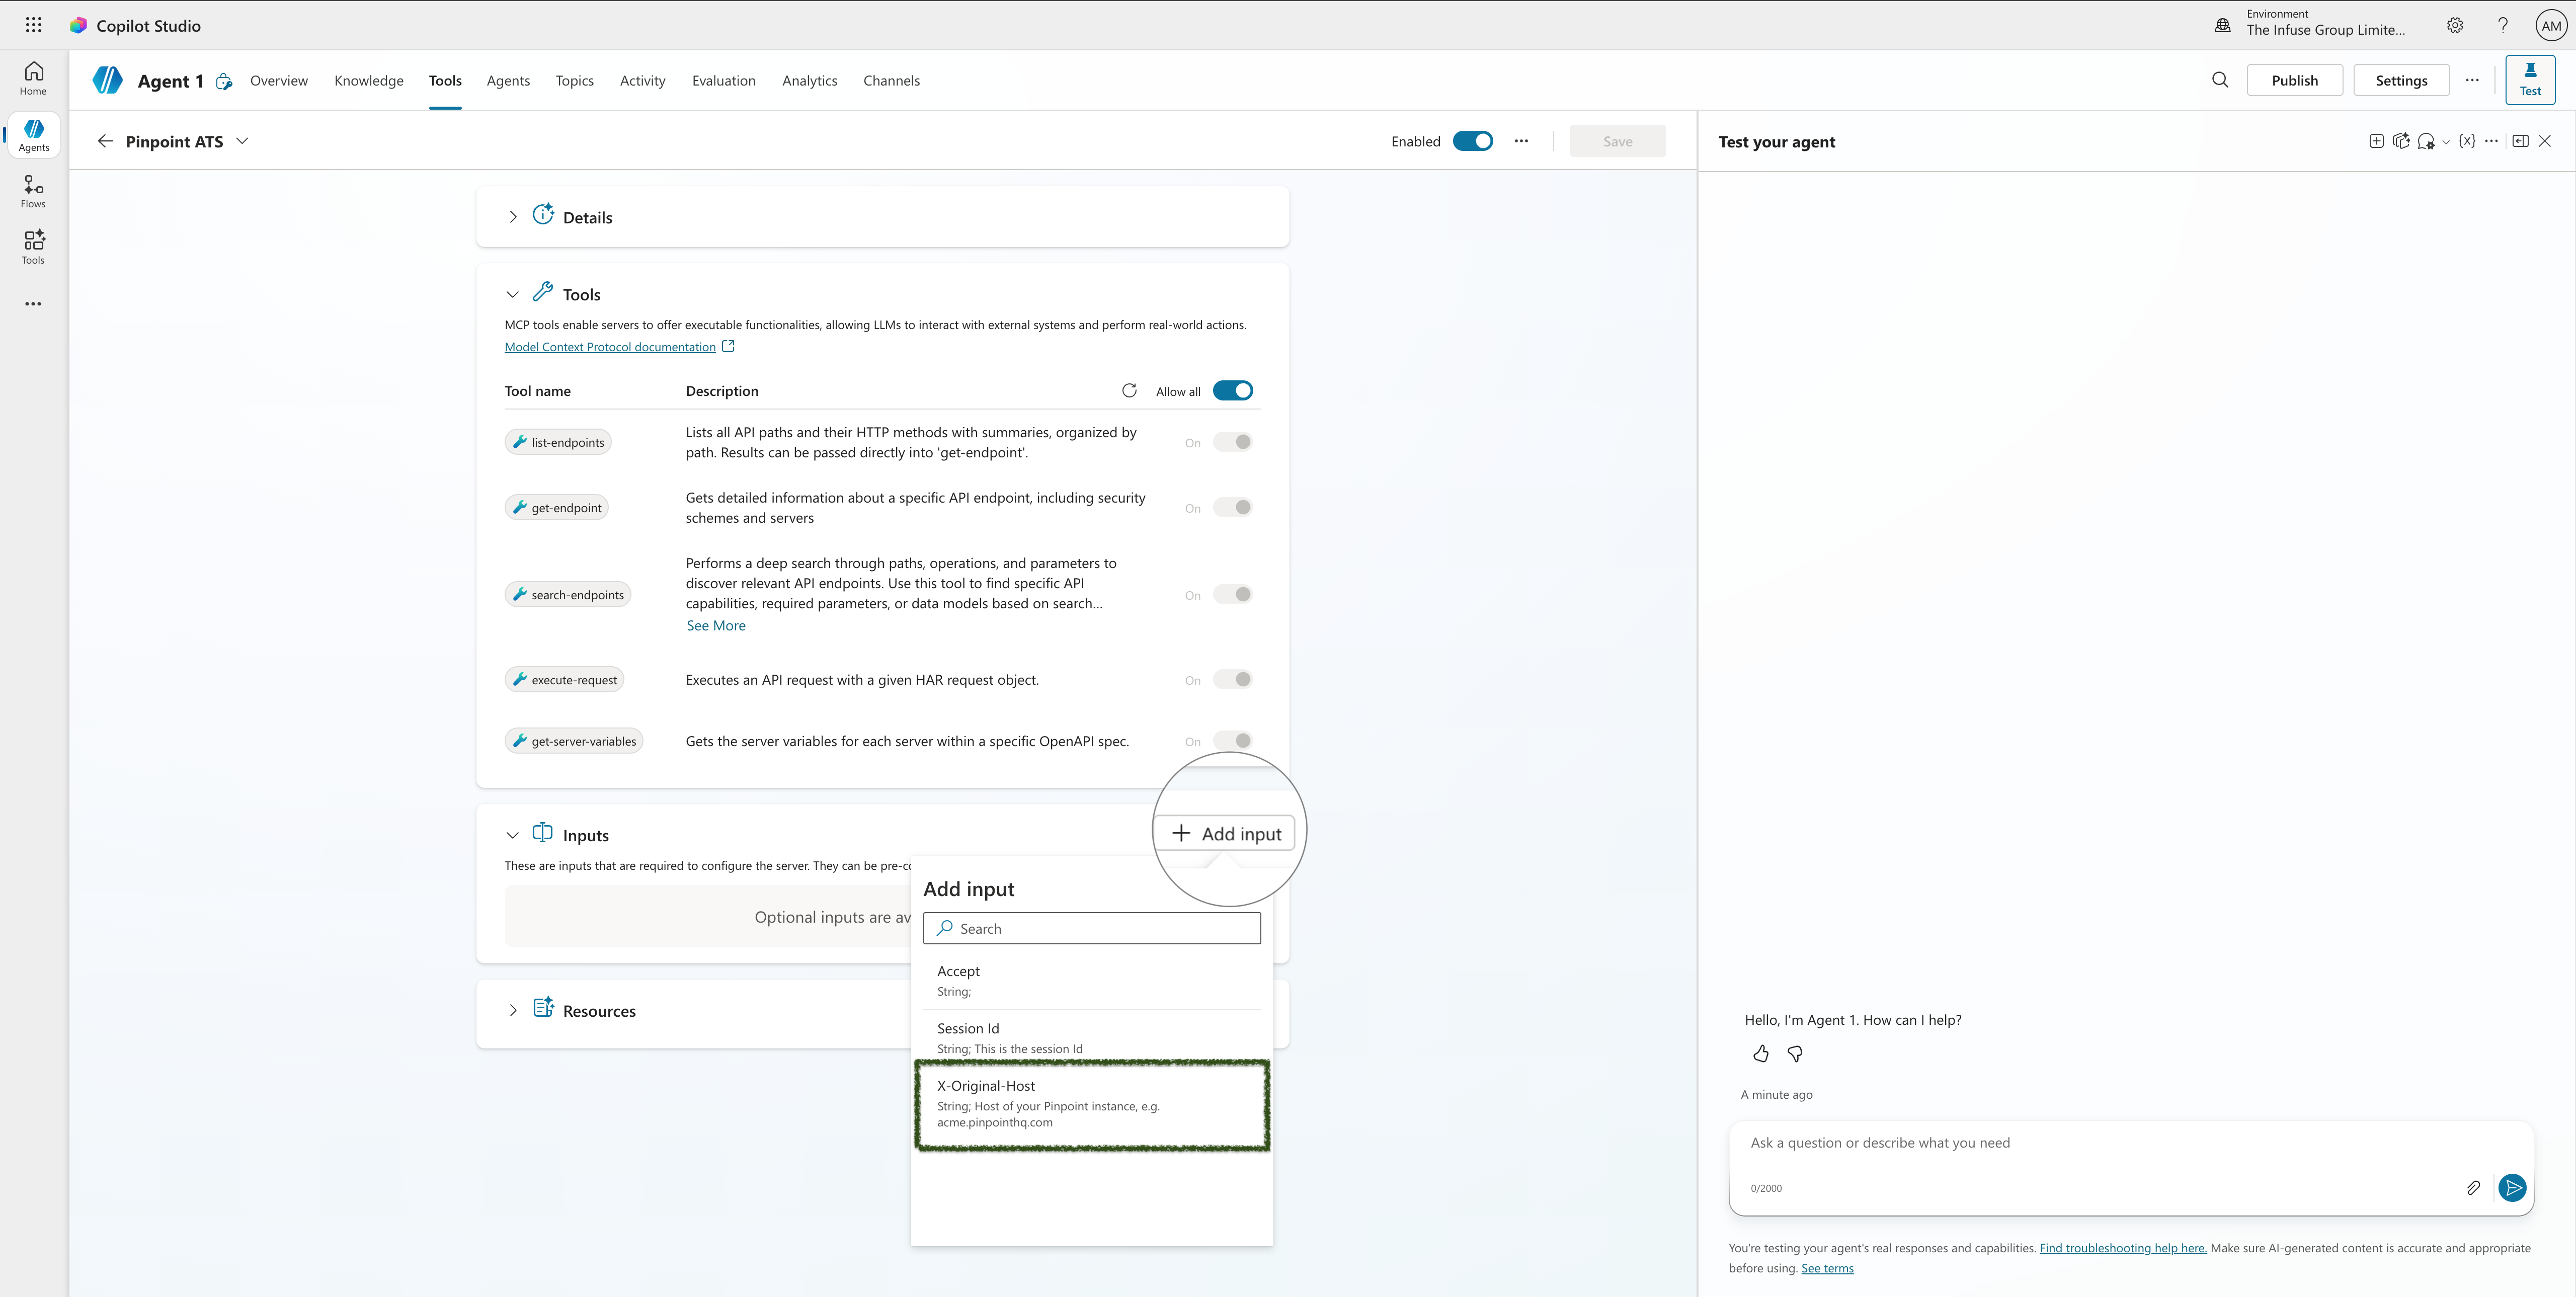
- Set
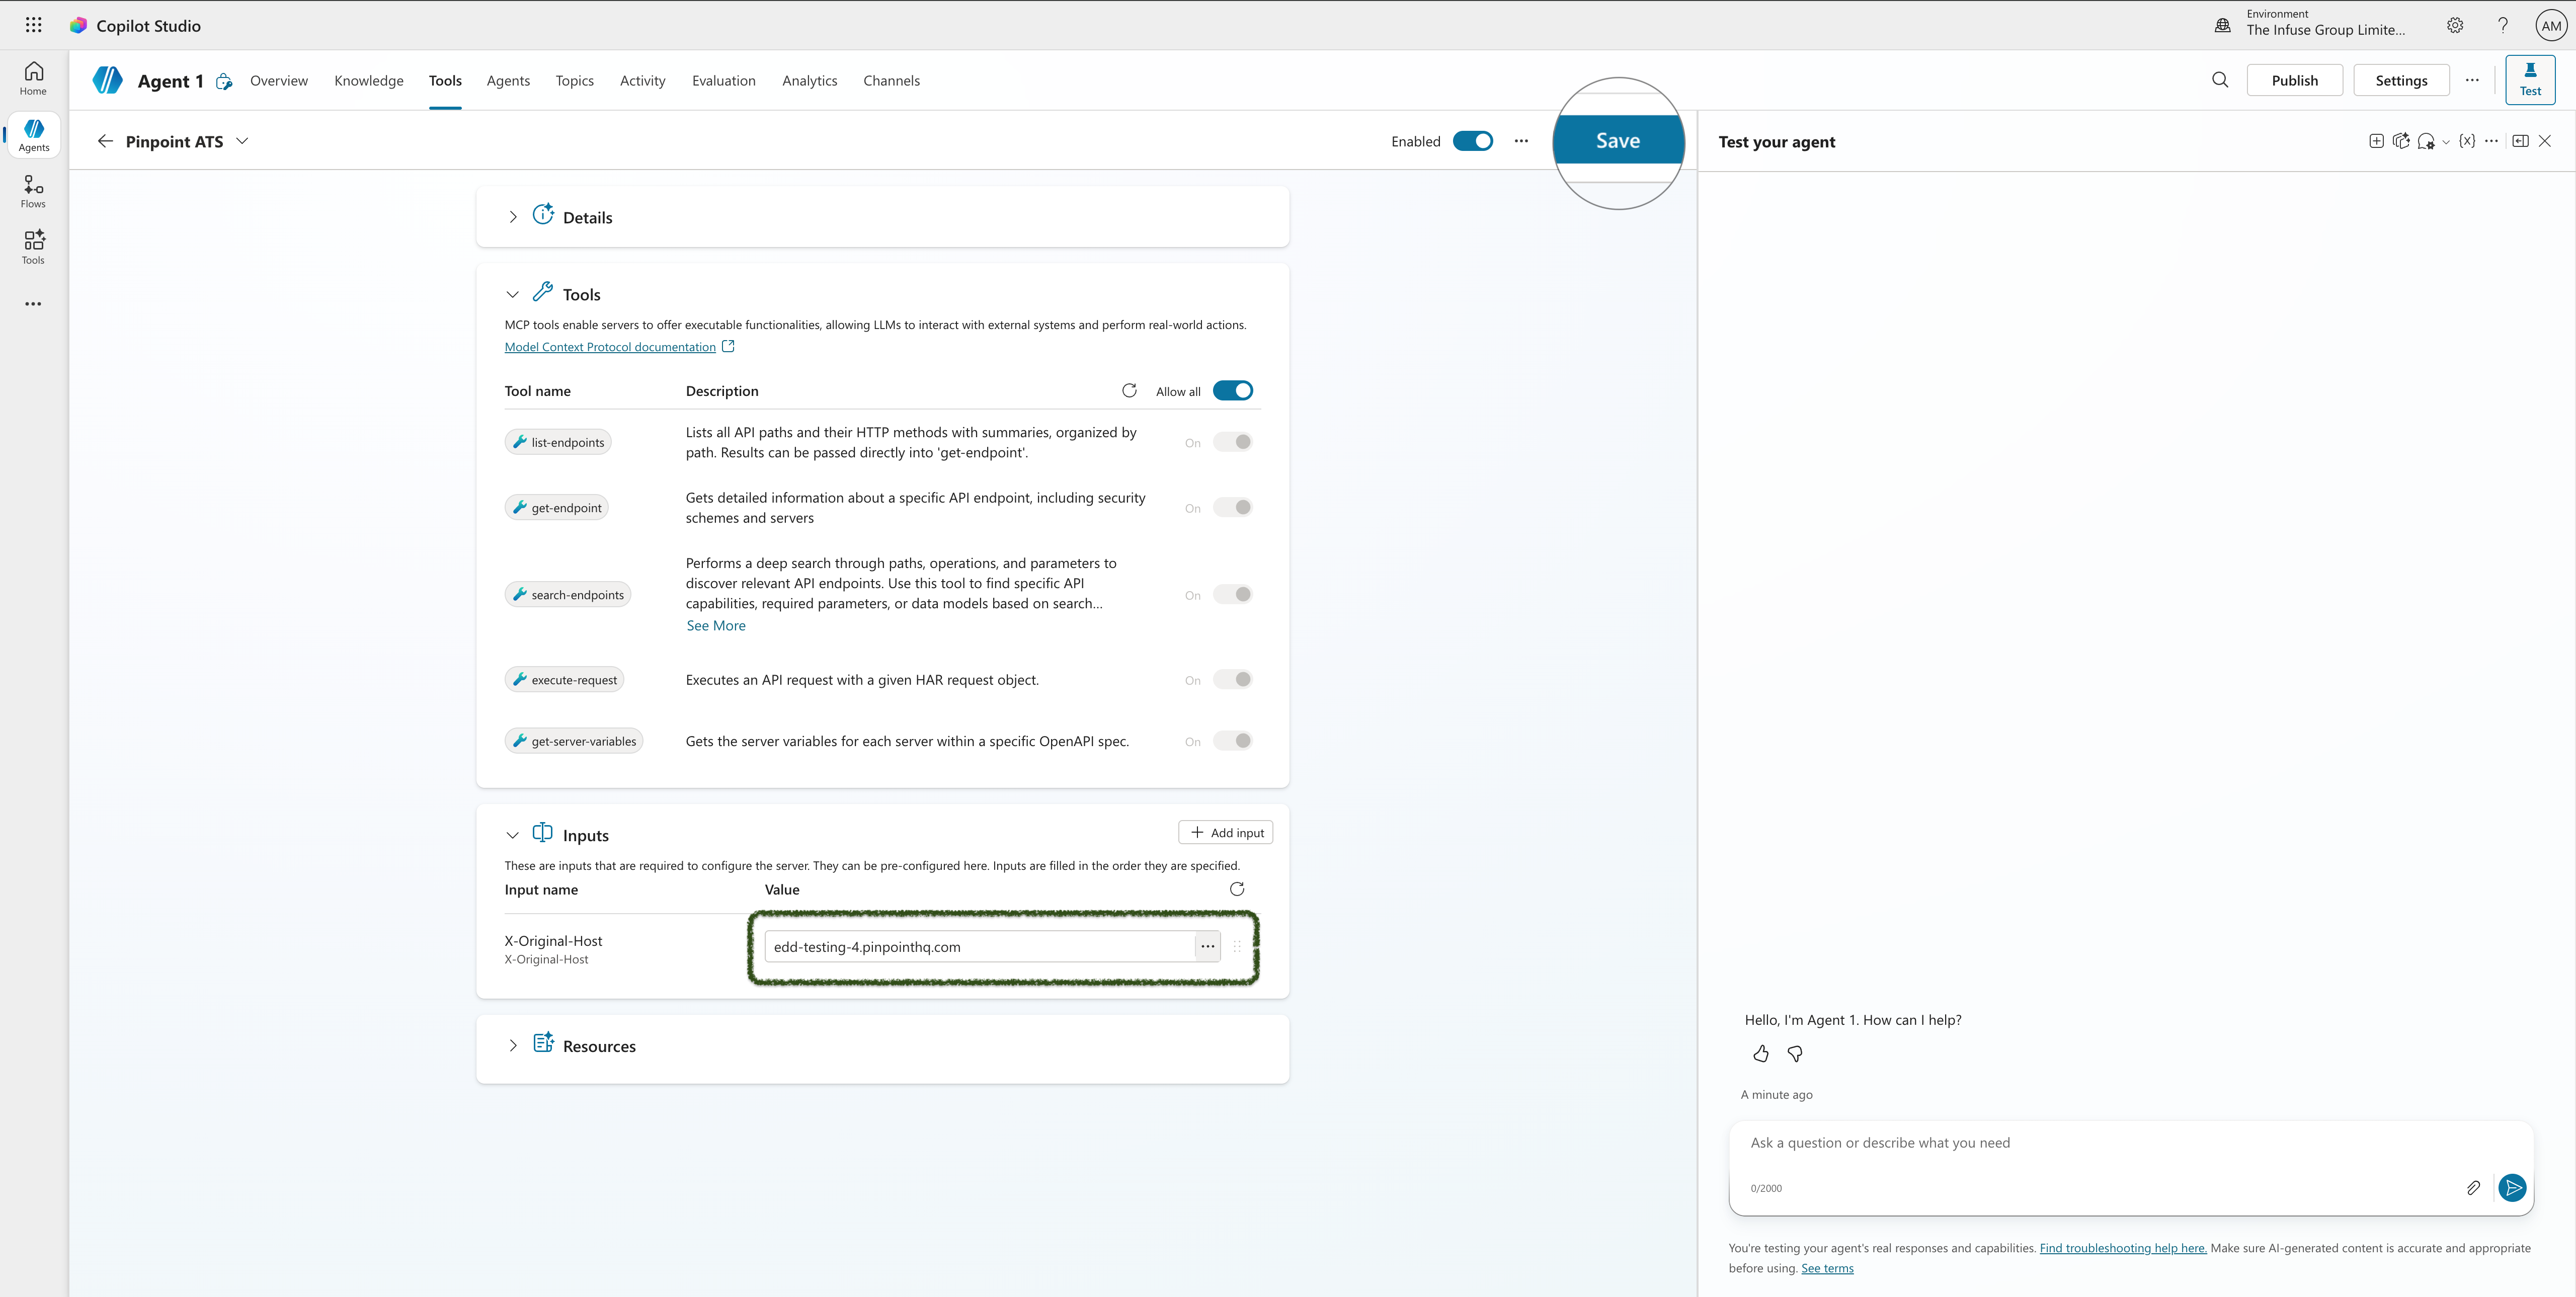
X-Original-Hostvalue to your Pinpoint instance host:
<your-subdomain>.pinpointhq.comReplace <your-subdomain> with your Pinpoint subdomain (e.g. if your URL is acme.pinpointhq.com, enter acme.pinpointhq.com).
- Save the tool.
Part 3 — Test the Integration
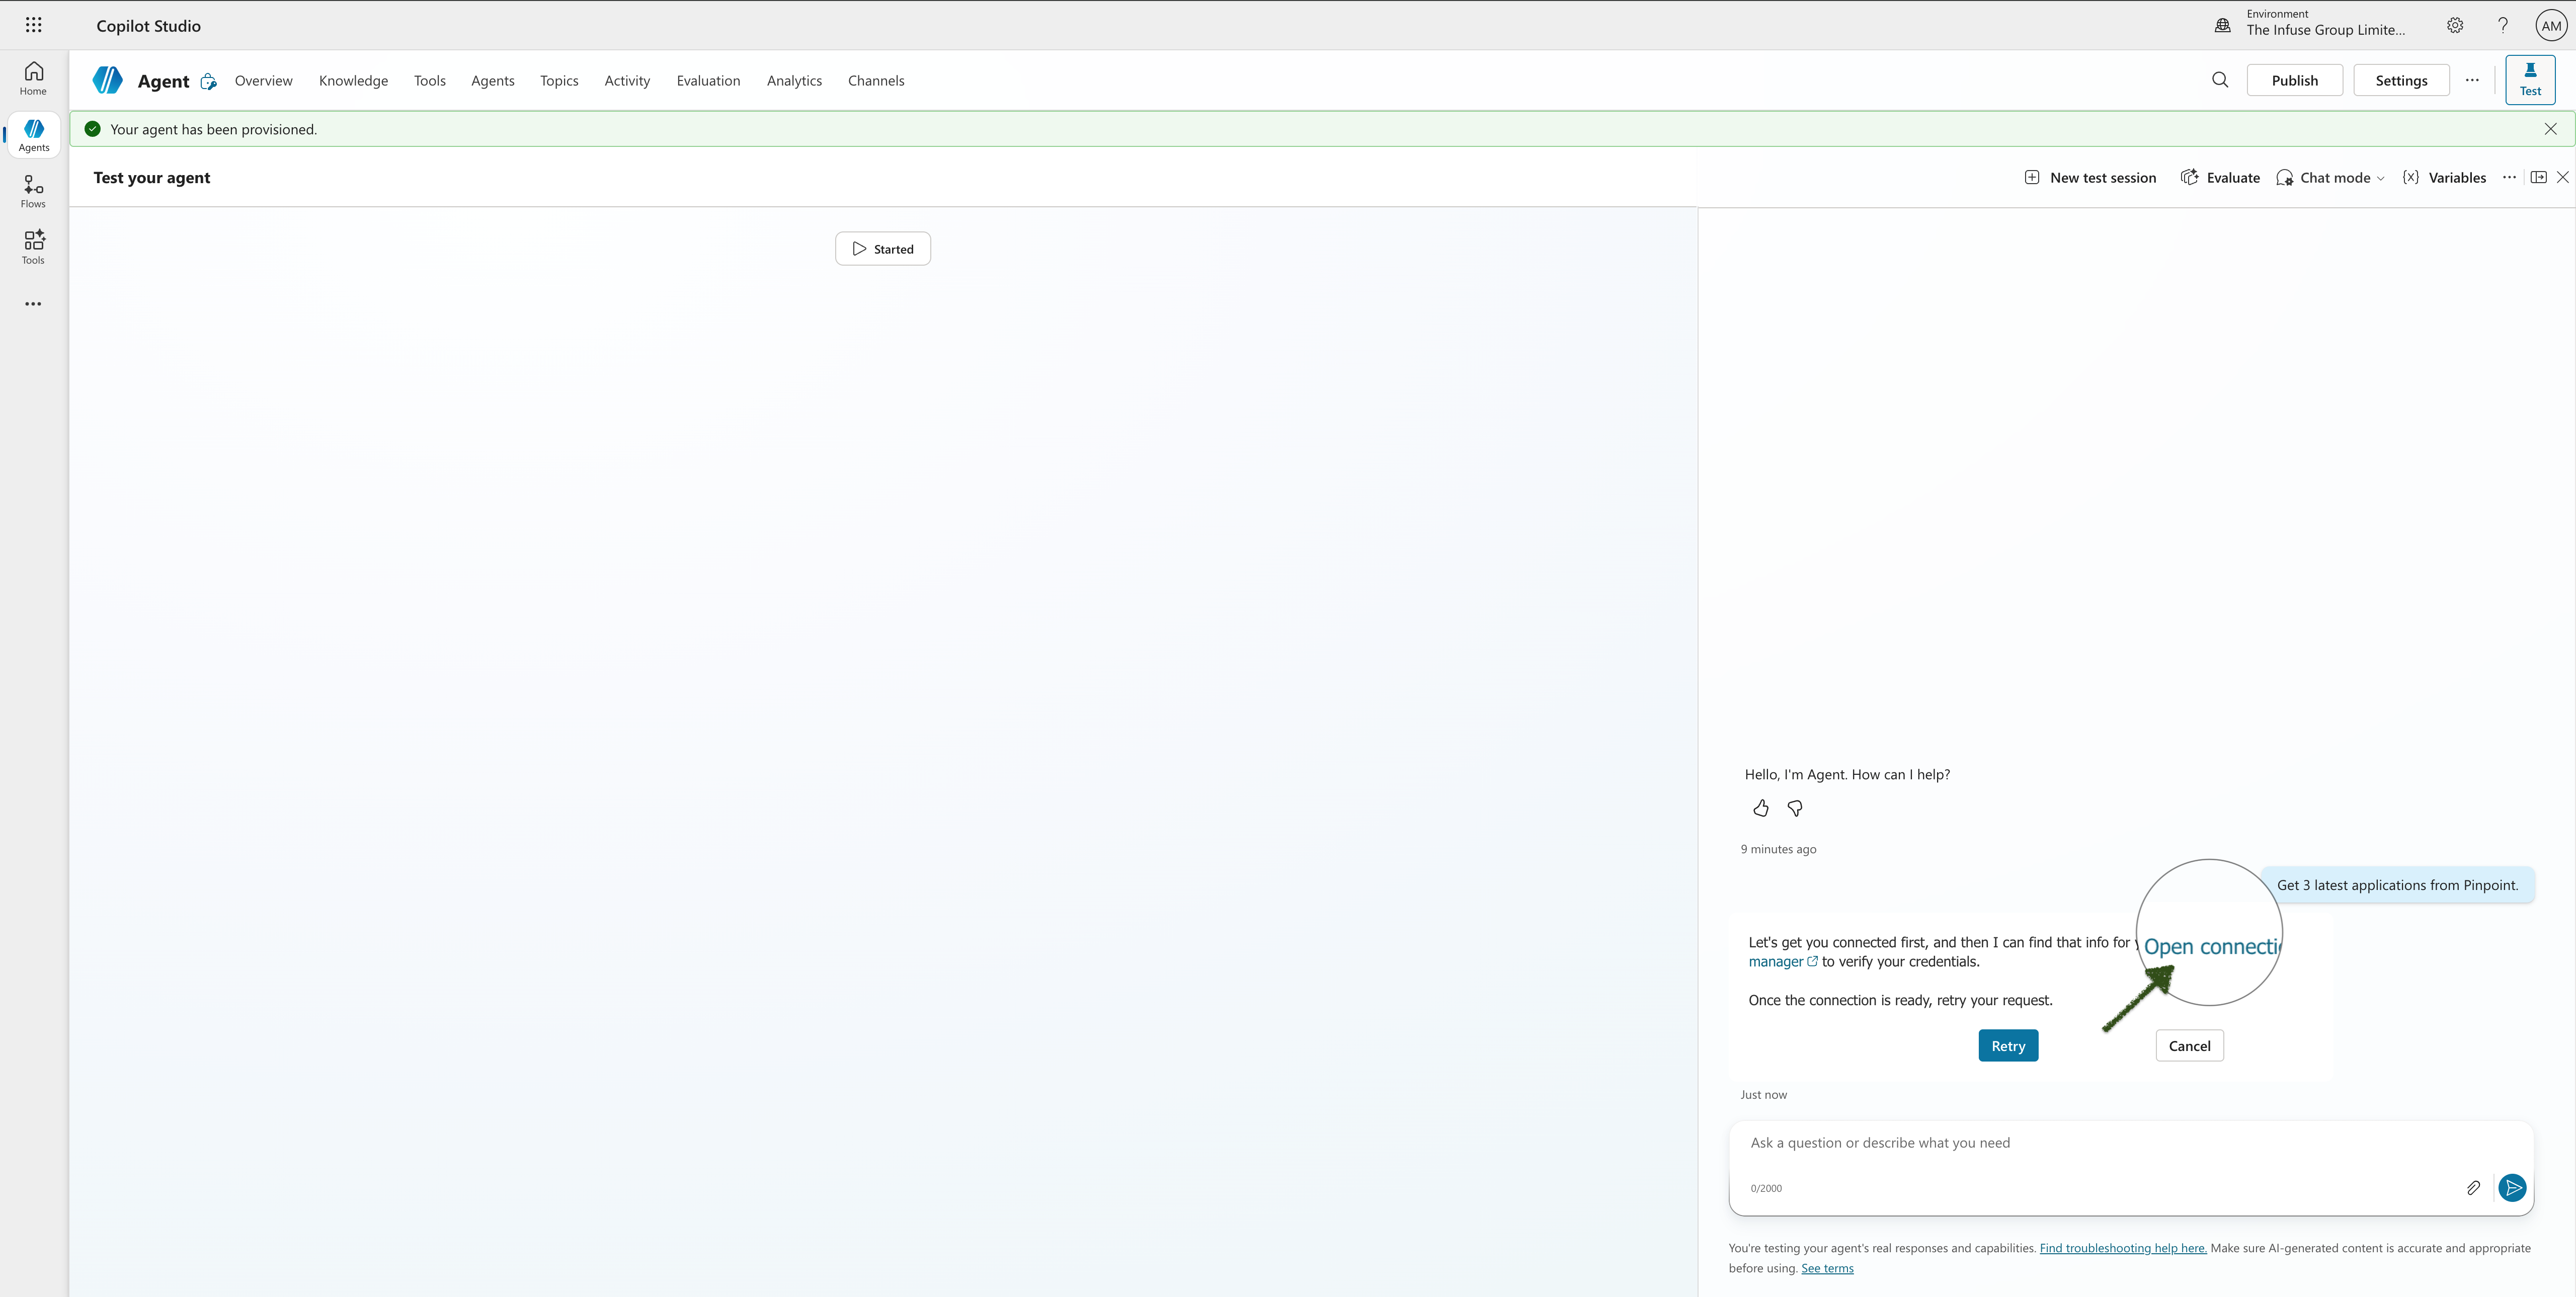
Step 13 — Ask the agent a question
In the Test your agent panel, type a prompt such as:
Get the latest application from Pinpoint
The agent will indicate it needs a connection and show a Manage connections link. Click it.
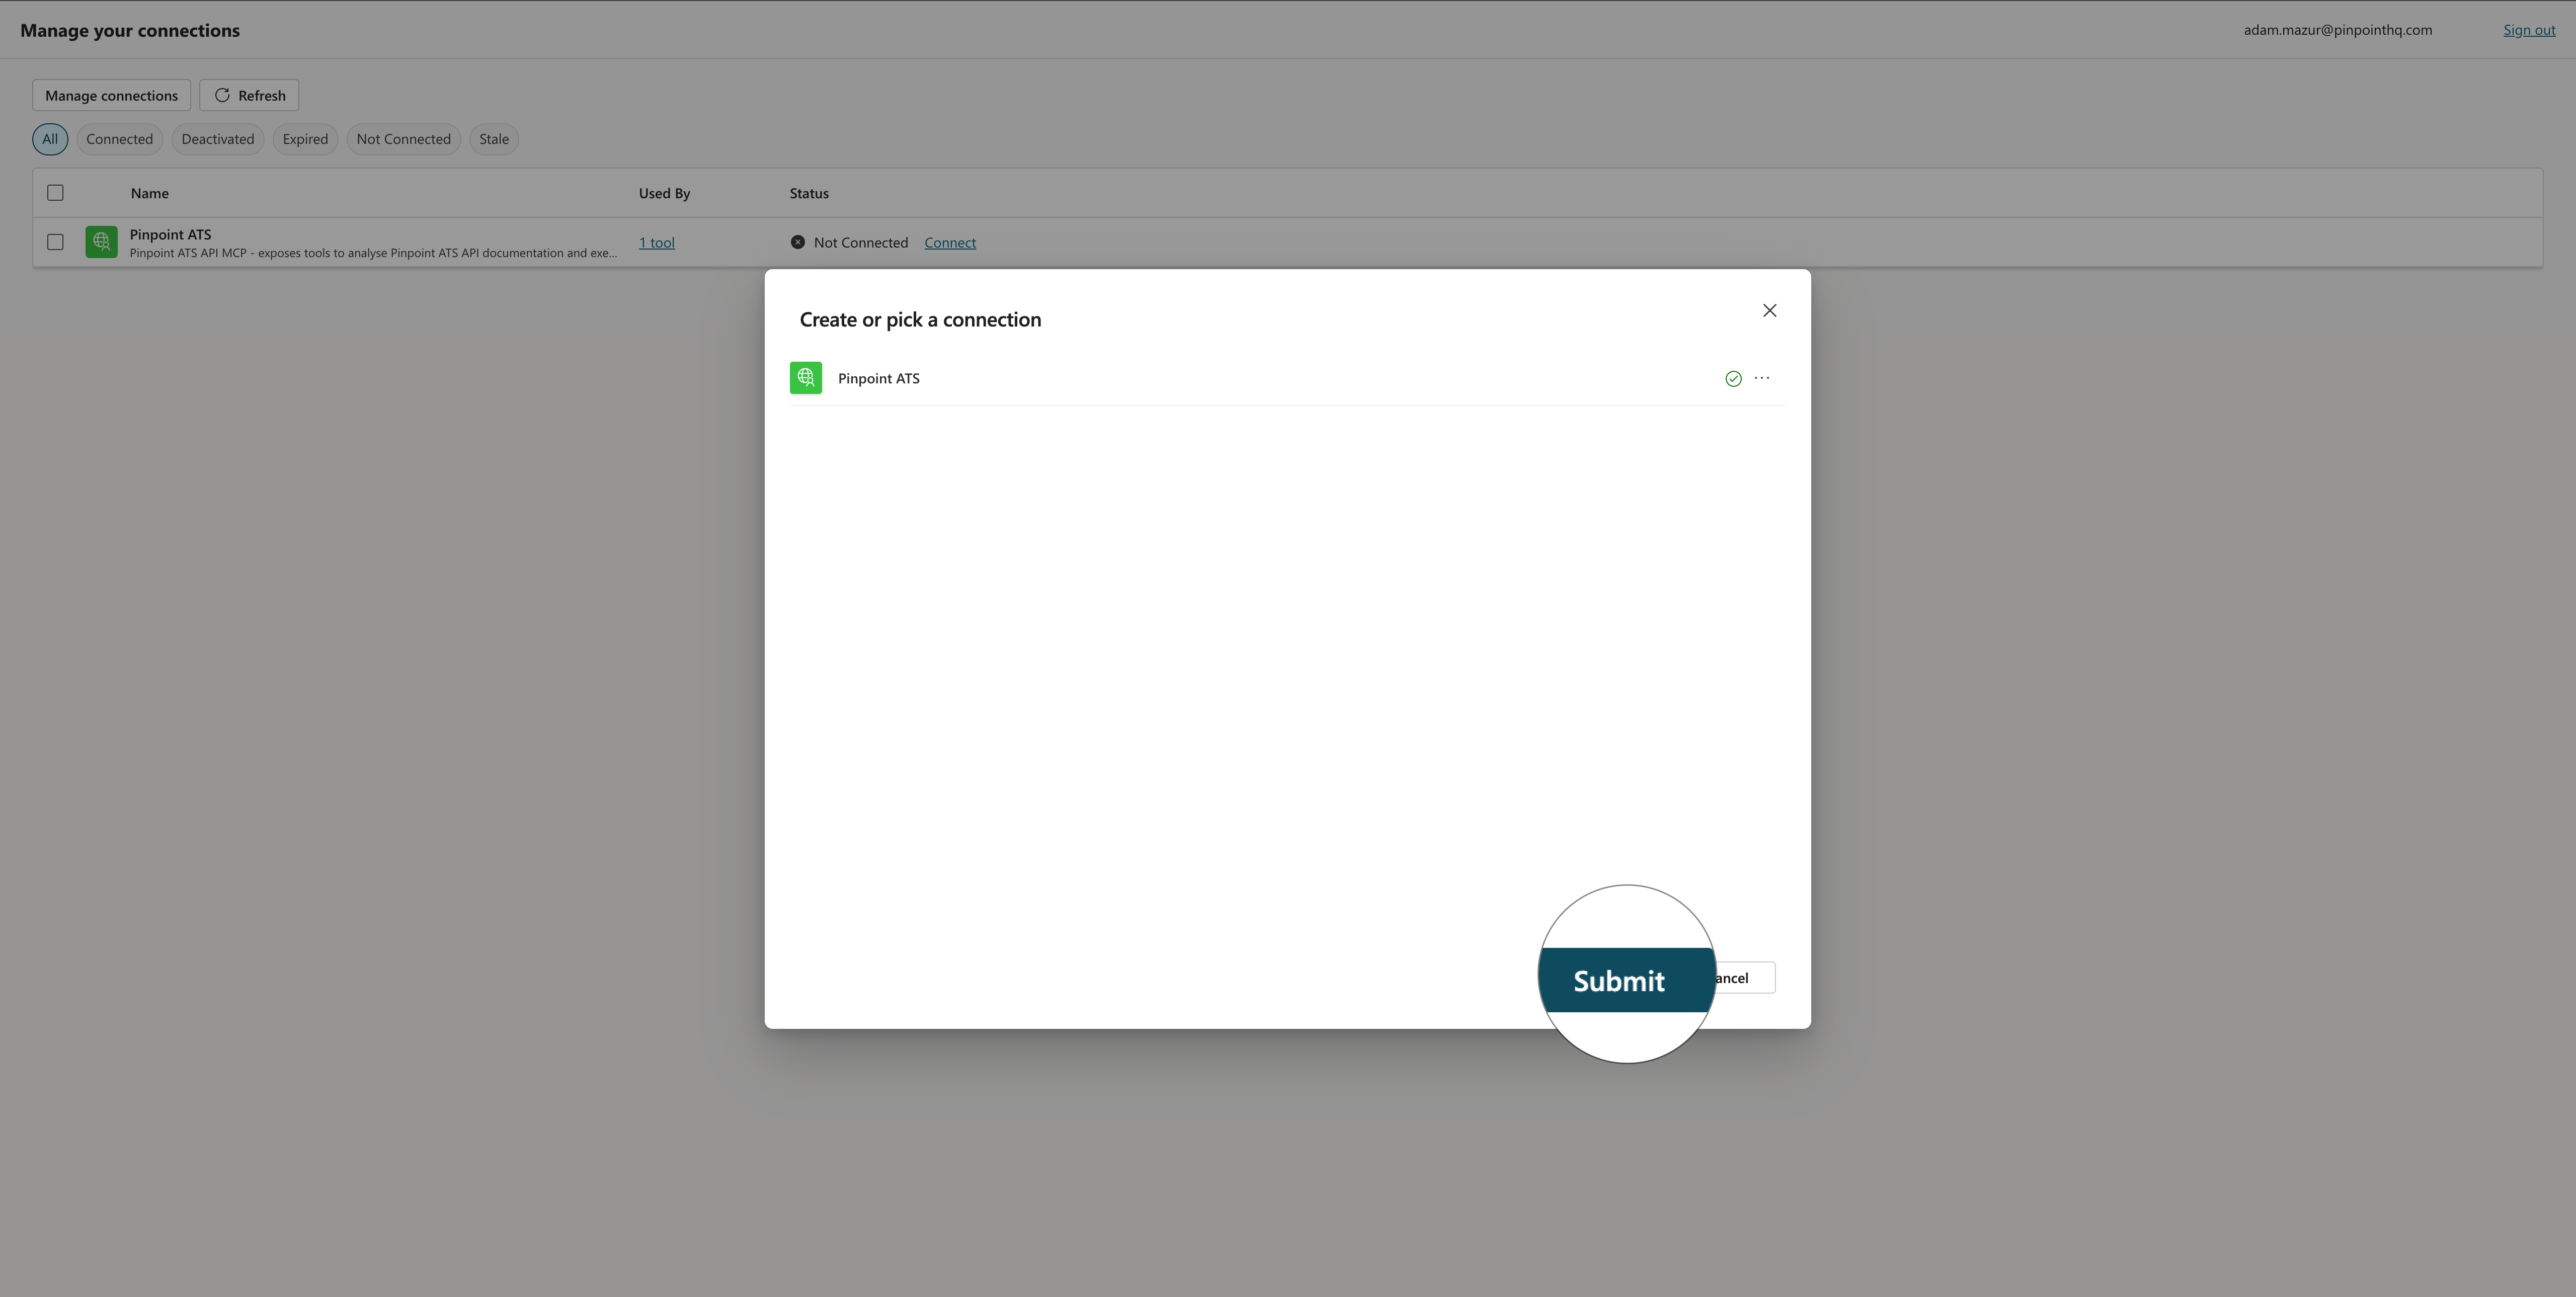
Step 14 — Connect in the connections manager
On the Manage connections page, find Pinpoint ATS listed as Not Connected and click Connect. A Create or pick a connection dialog will appear — your connection will be listed. No need to modify anything here. Just click Submit.
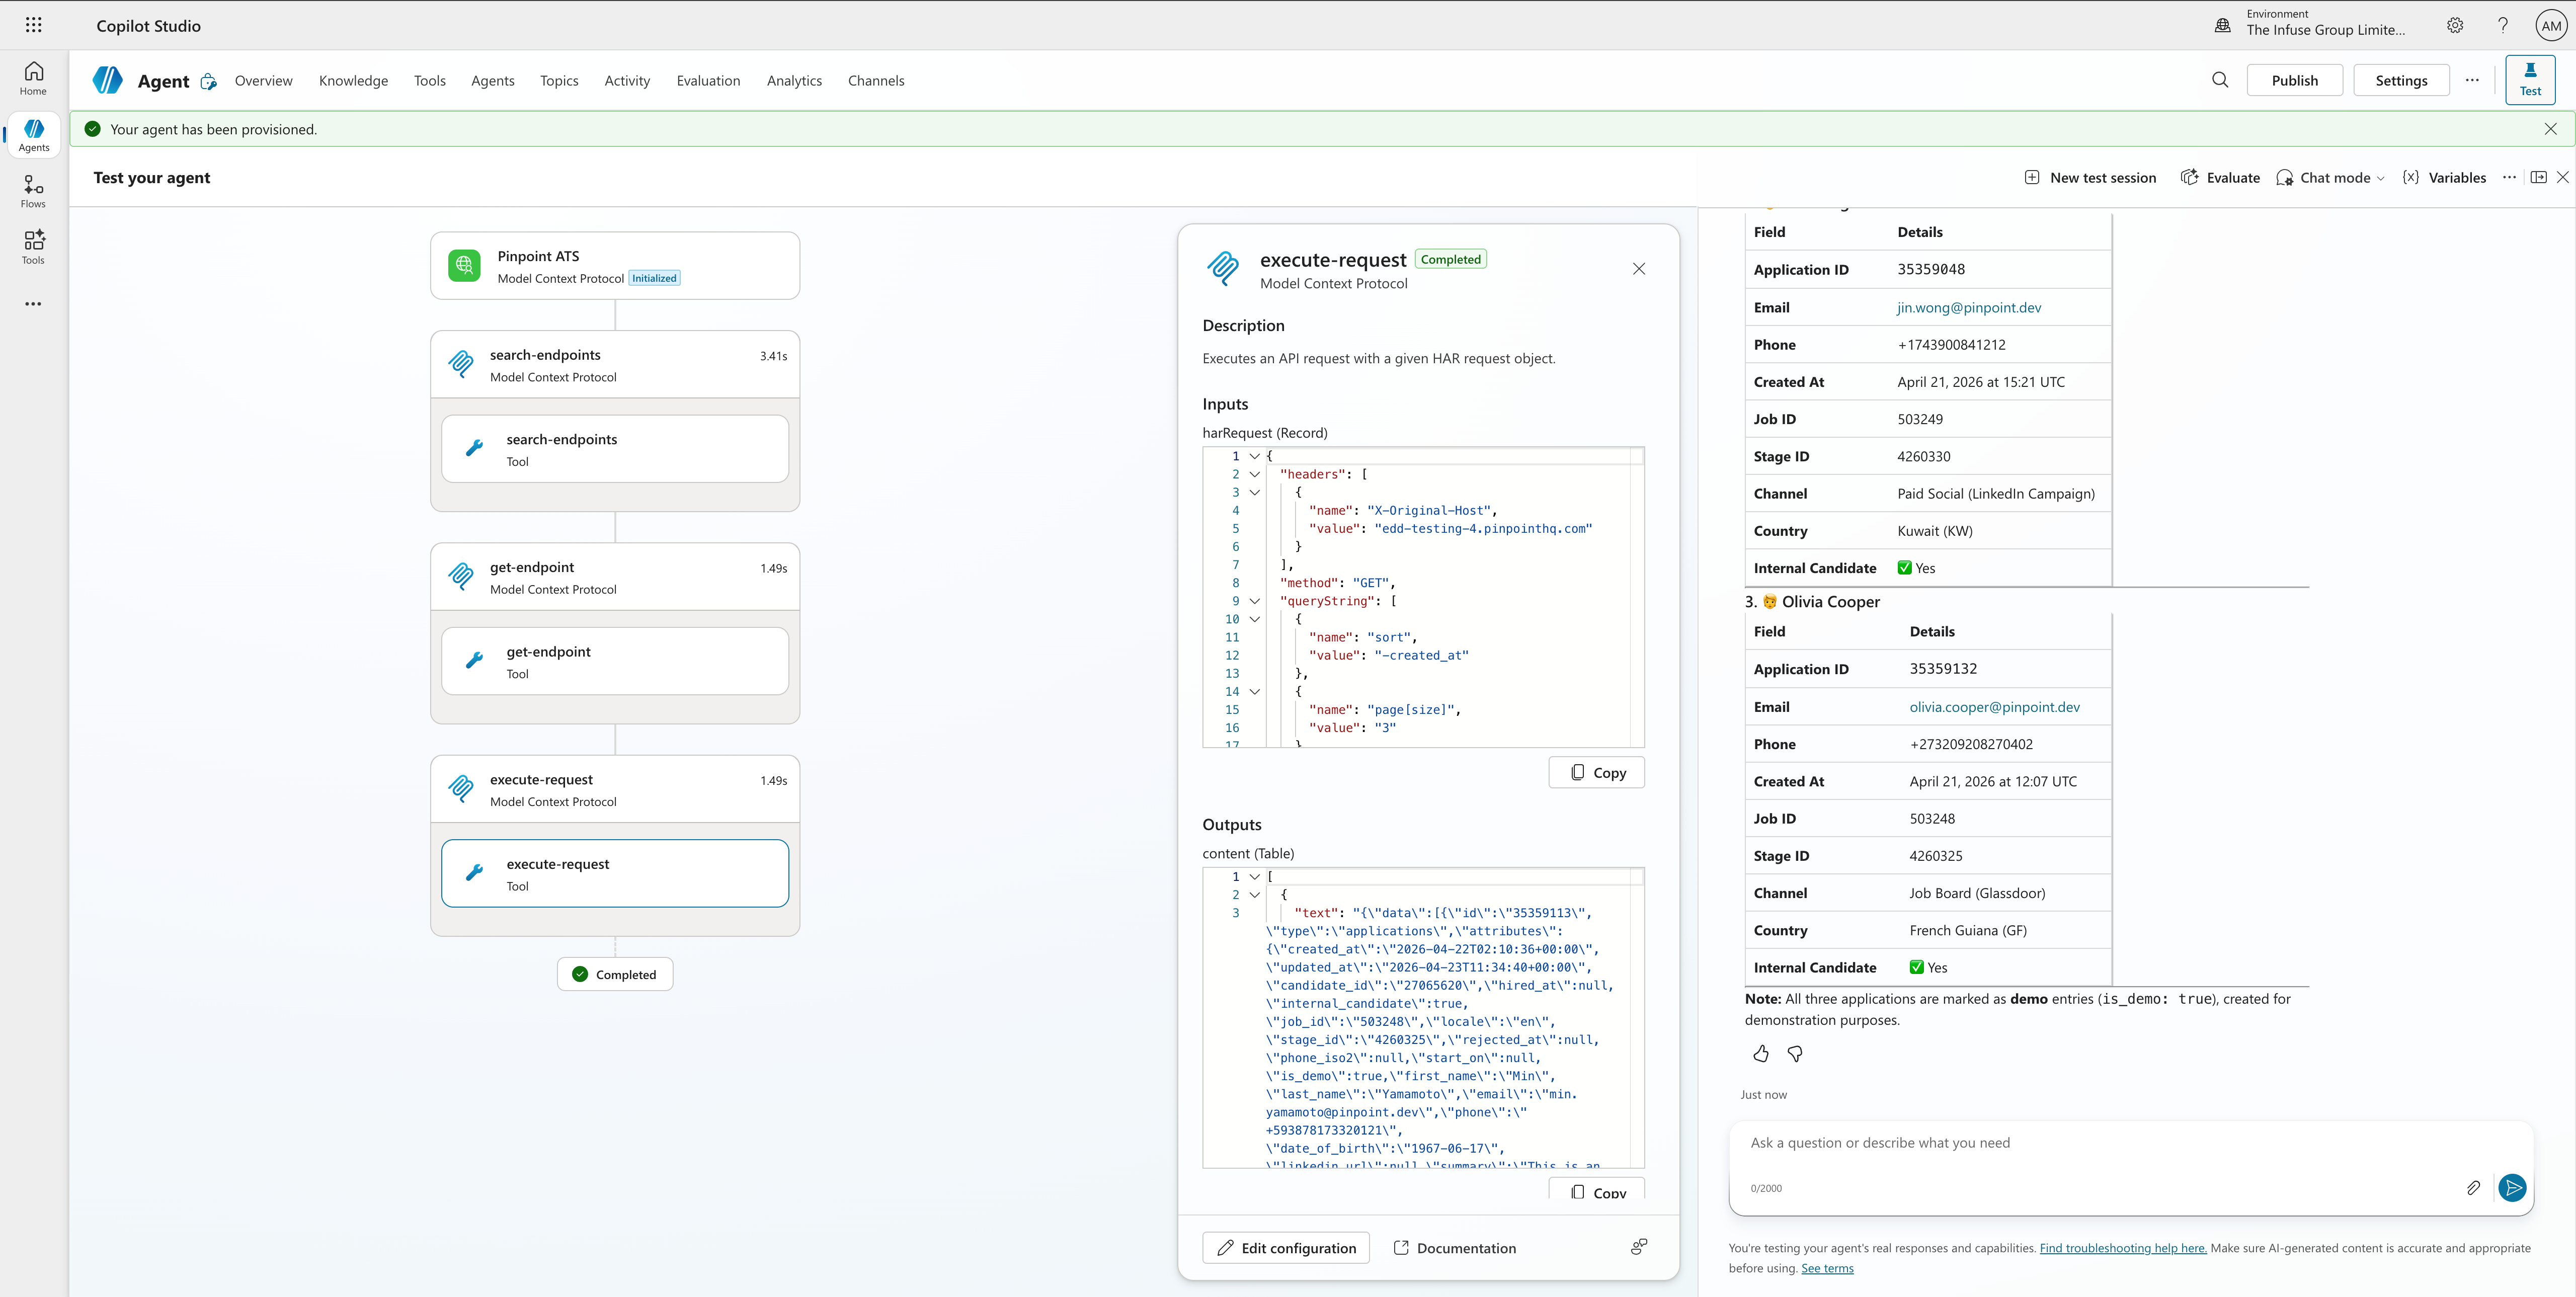
Step 15 — Retry and verify
Return to the agent tab and click Retry.
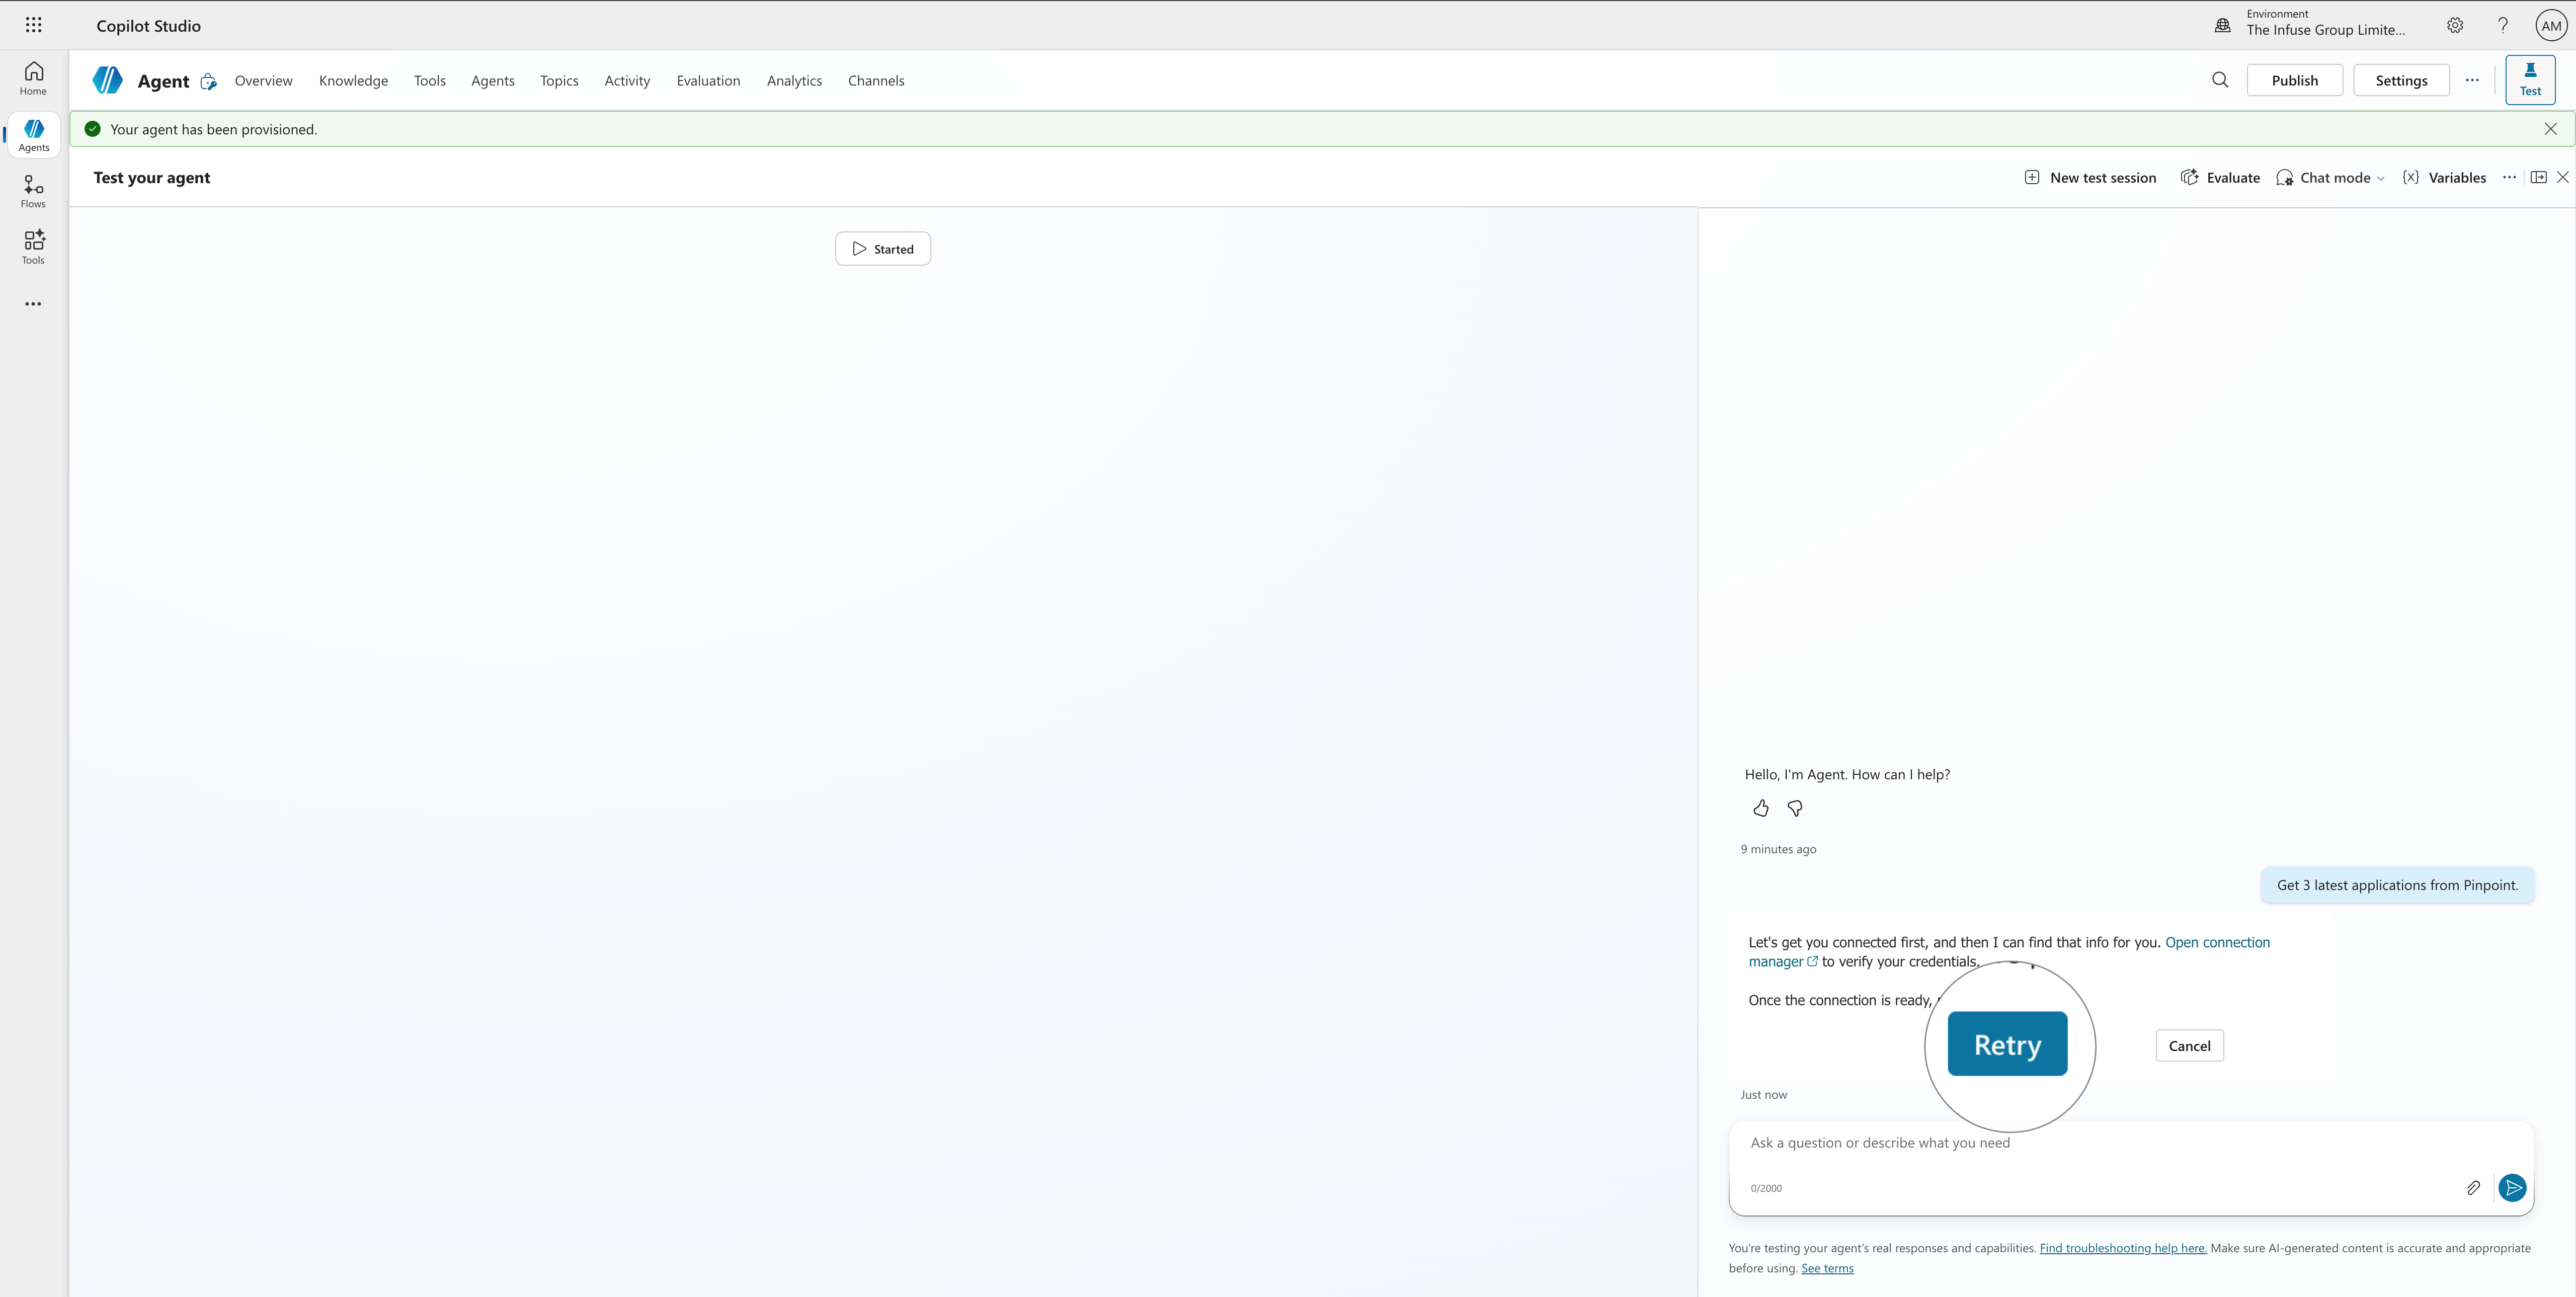
The agent will now successfully query Pinpoint and return the requested application data.
If the agent will ask you for missing subdomain or API key. Just share your Pinpoint instance subdomain.
If you agent keeps asking about subdomain, you can add the following to you agent instructions:
My Pinpoint subdomain is YOUR-PINPOINT-SUBDOMAIN - use it for Pinpoint MCP execute-calls tool(replace
your-pinpoint-subdomainwith your Pinpoint subdomain).
Never share your Pinpoint API Key with the agent!
If there are issues with connection/permissions please check your Pinpoint API Key permissions.
To exchange the API key you need to
- go Tools tab in your Agent,
- Select the Pinpoint ATS tool,
- Click on the Connection dropdown
- Click Create new connection.