
Configuring Pinpoint MCP in Microsoft Copilot Studio (Manual Method)
Manual Method
There is a more reliable way of setting up the Pinpoint MCP. If you have access to creating custom connectors in Power Apps or Power Automate we recommend checking our recommended method.
This guide walks through manually adding the Pinpoint ATS MCP server as a tool in a Copilot Studio agent.
Prerequisites
- Access to Microsoft Copilot Studio
- A Pinpoint API key
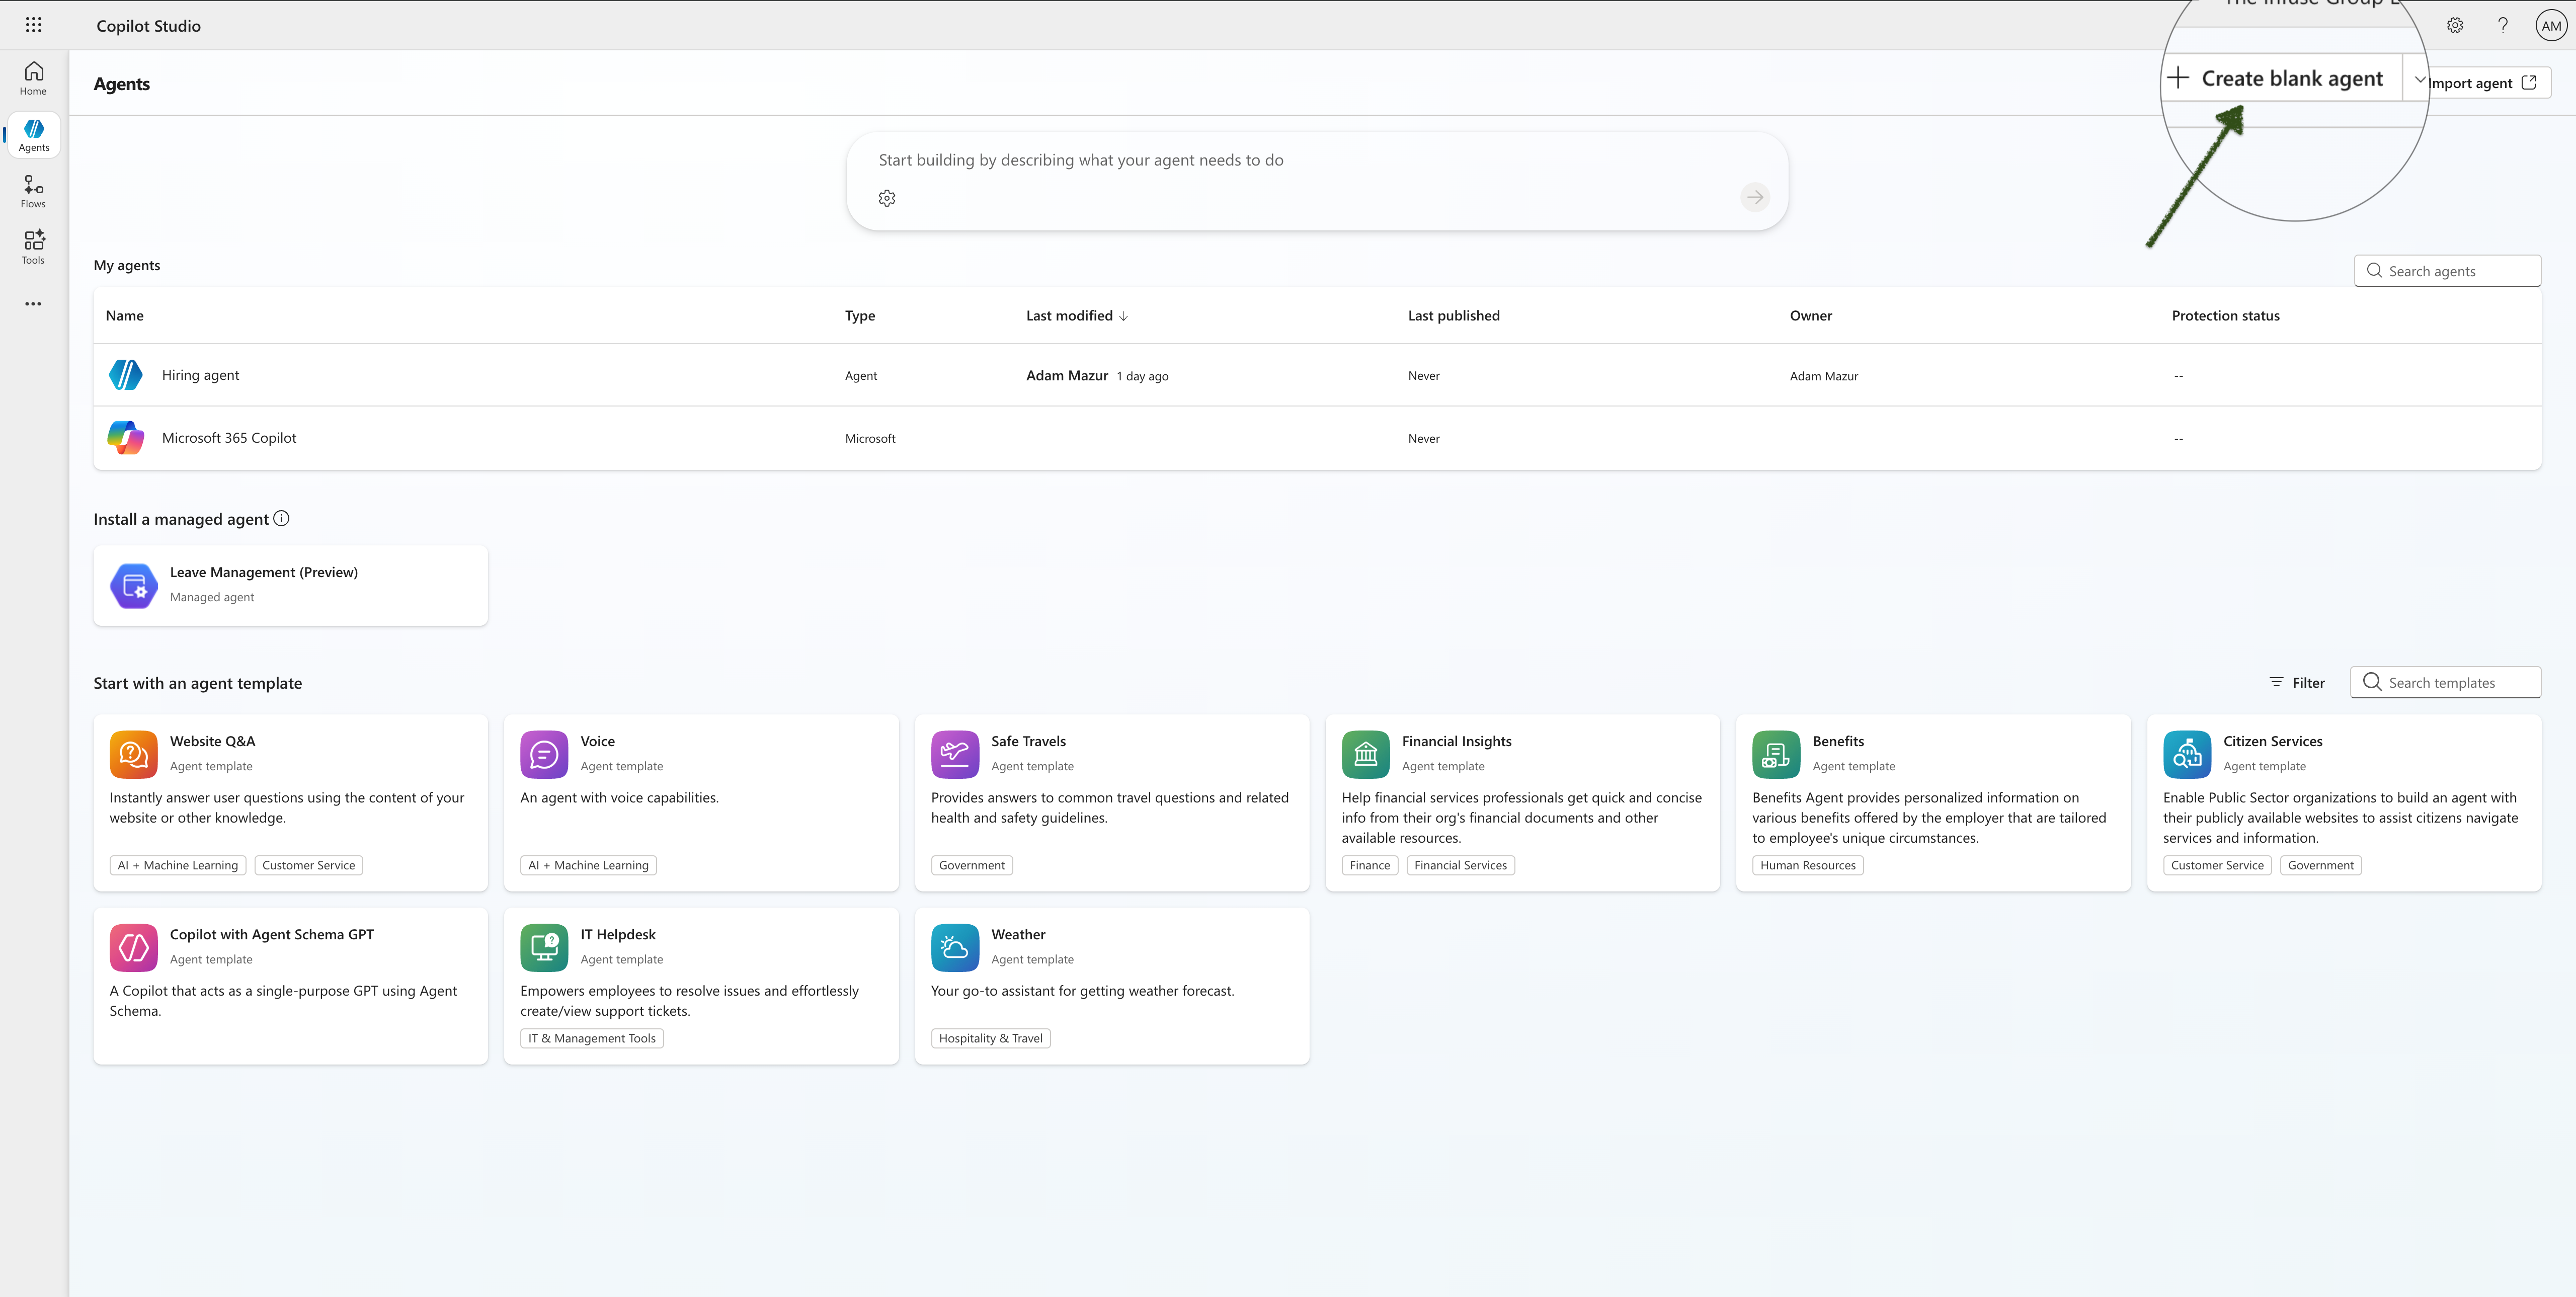
Step 1 — Create or open an agent
In Copilot Studio, go to Agents in the left navigation. You can either open an existing agent or create a new one by clicking Create blank agent in the top right.
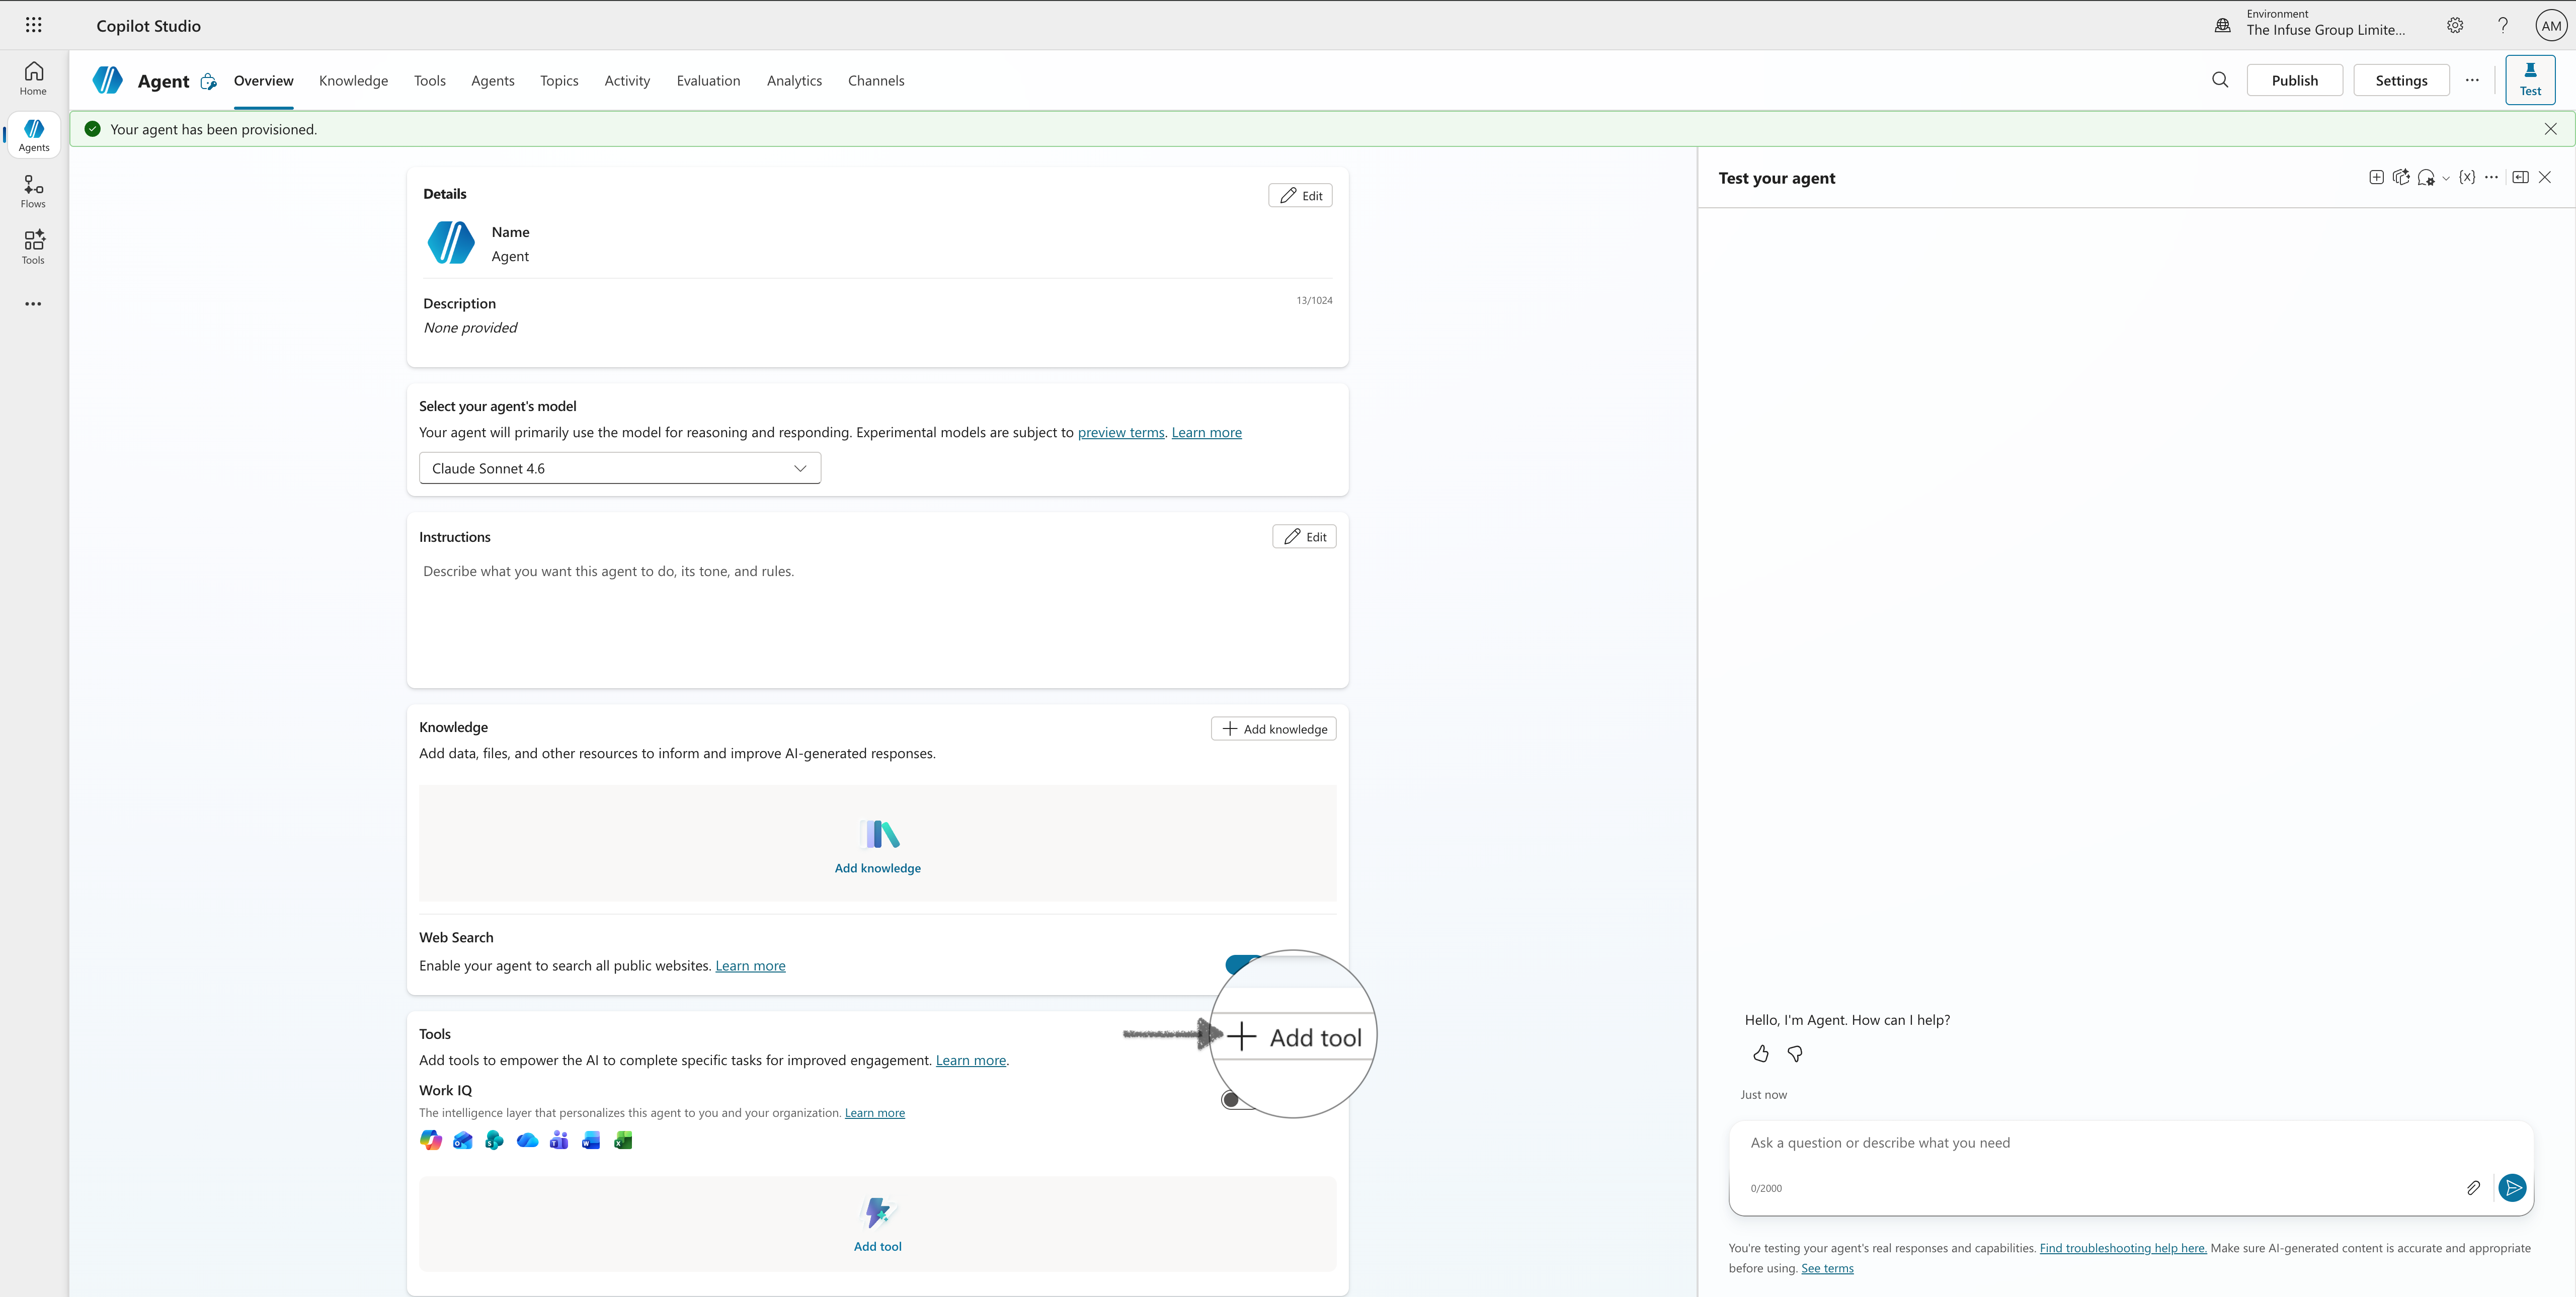
Step 2 — Open the Add tool dialog
Once inside the agent, scroll down to the Tools section and click Add tool.
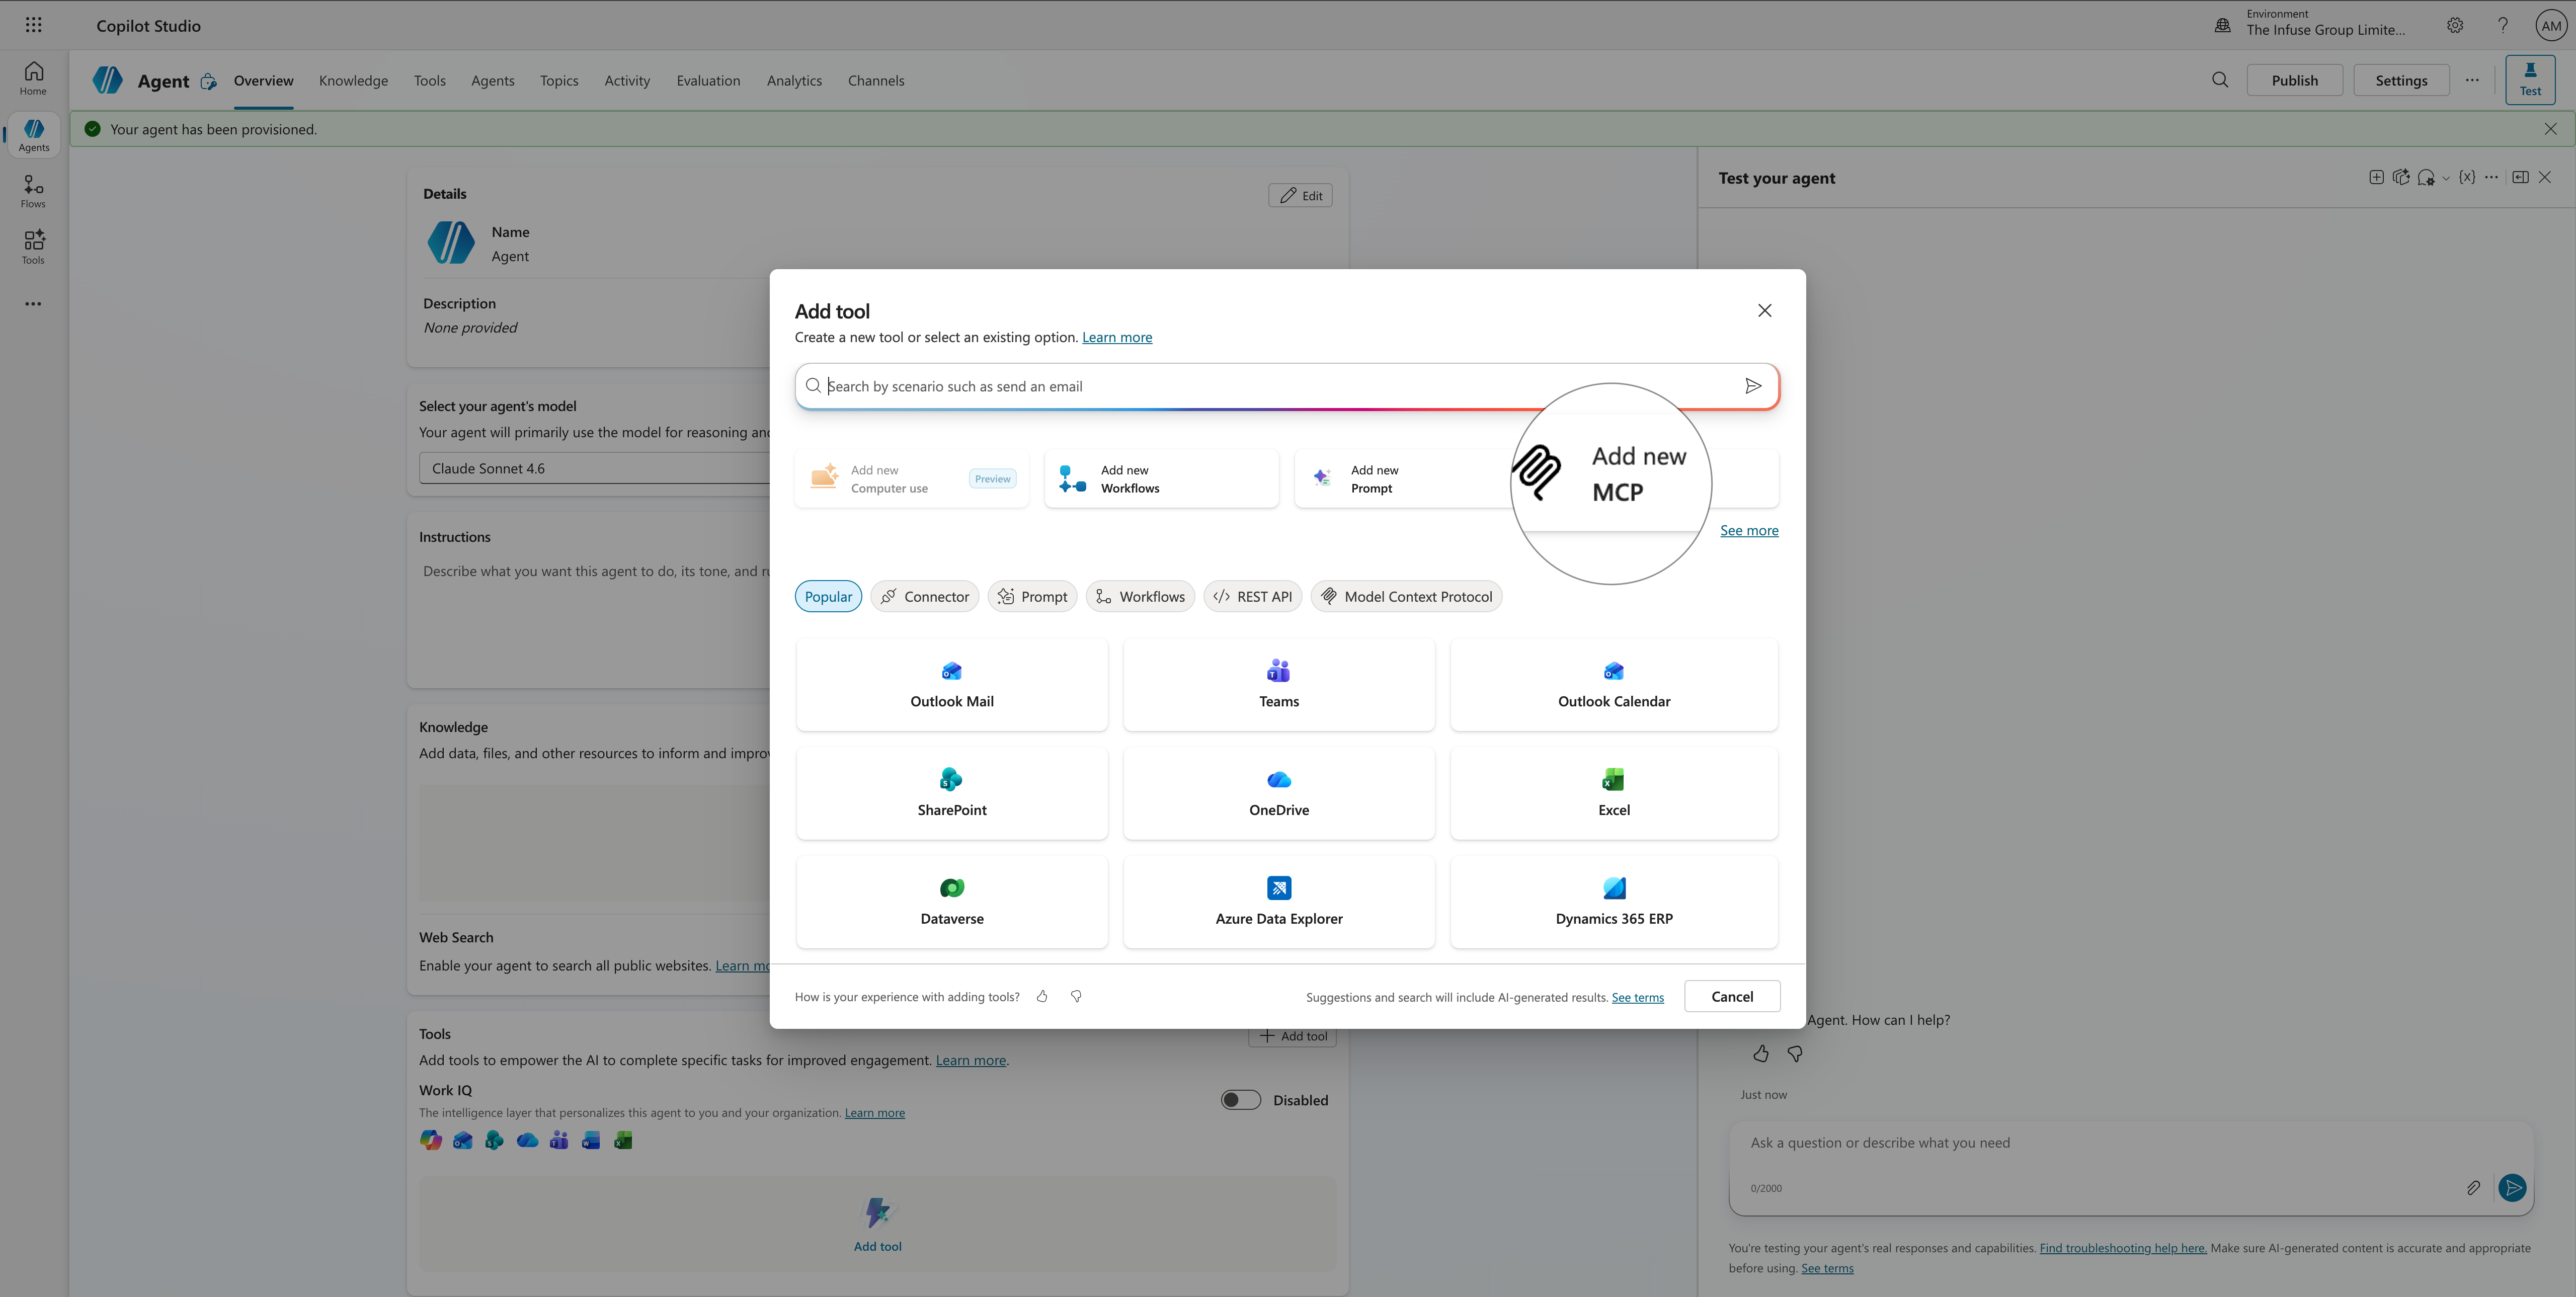
Step 3 — Select Model Context Protocol
In the Add tool dialog, click Add new MCP (or select the Model Context Protocol tab and choose that option).
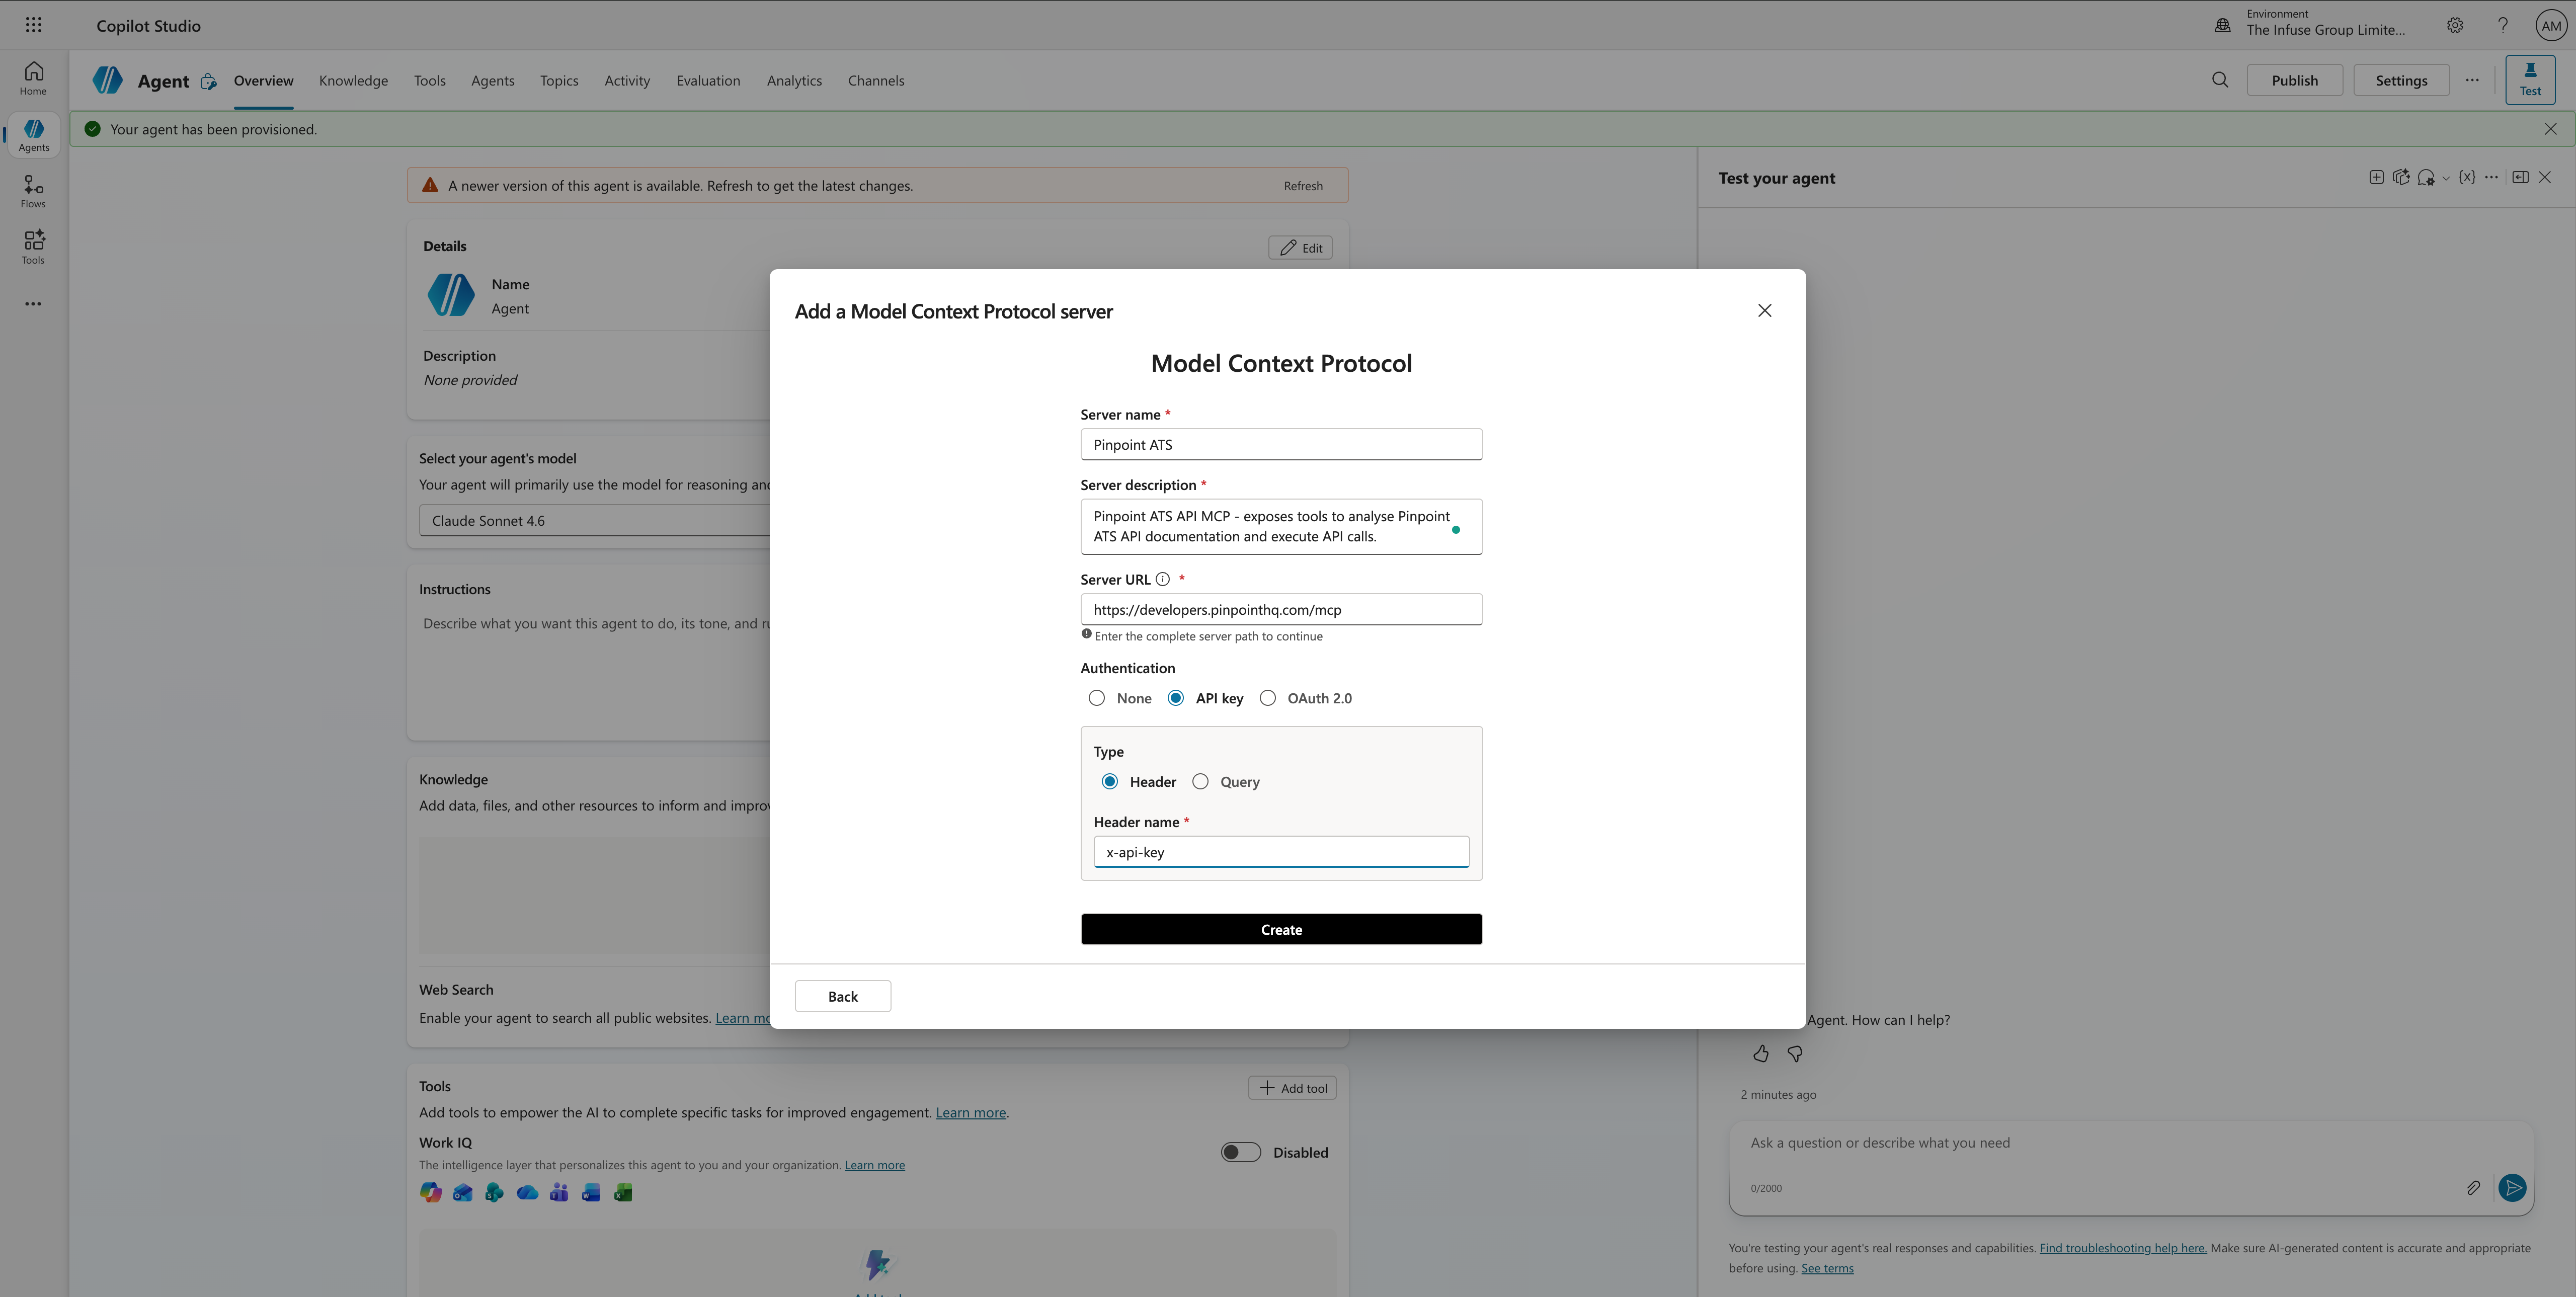
Step 4 — Fill in the MCP server details
Complete the Model Context Protocol form with the following values, then click Create:
| Field | Value |
|---|---|
| Server name | Pinpoint ATS |
| Server description | e.g. Pinpoint ATS API MCP – exposes tools to analyse Pinpoint ATS API documentation and execute API calls. |
| Server URL | https://developers.pinpointhq.com/mcp |
| Authentication | API key |
| Type | Header |
| Header name | x-api-key |
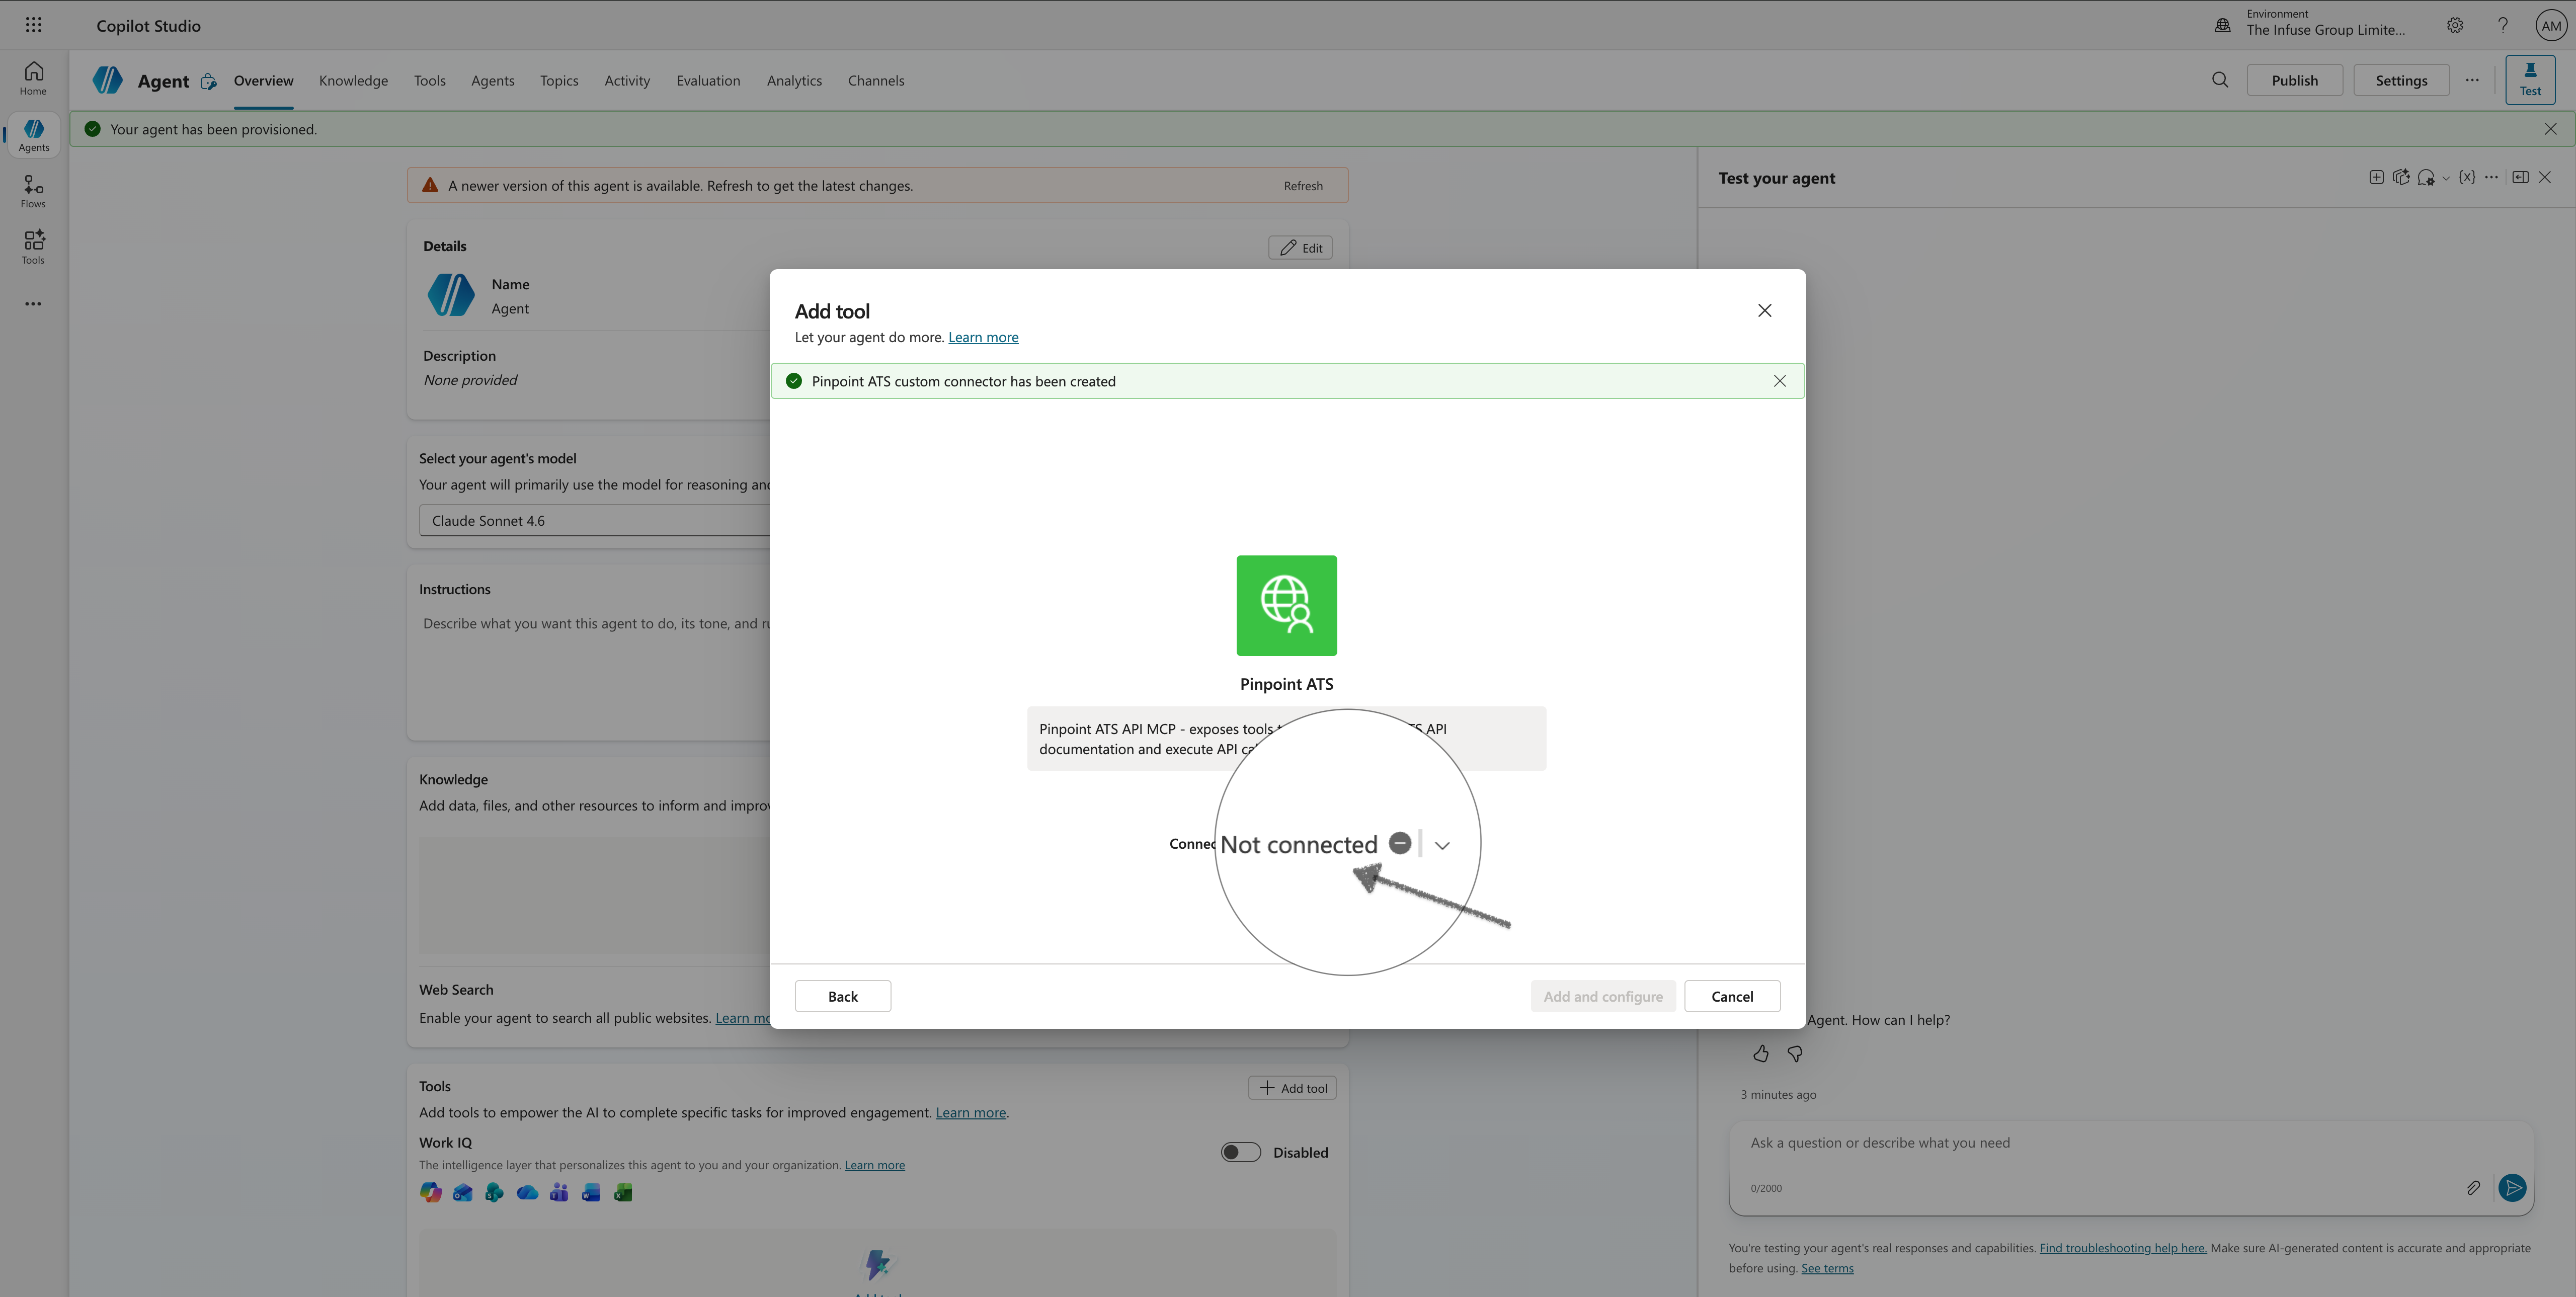
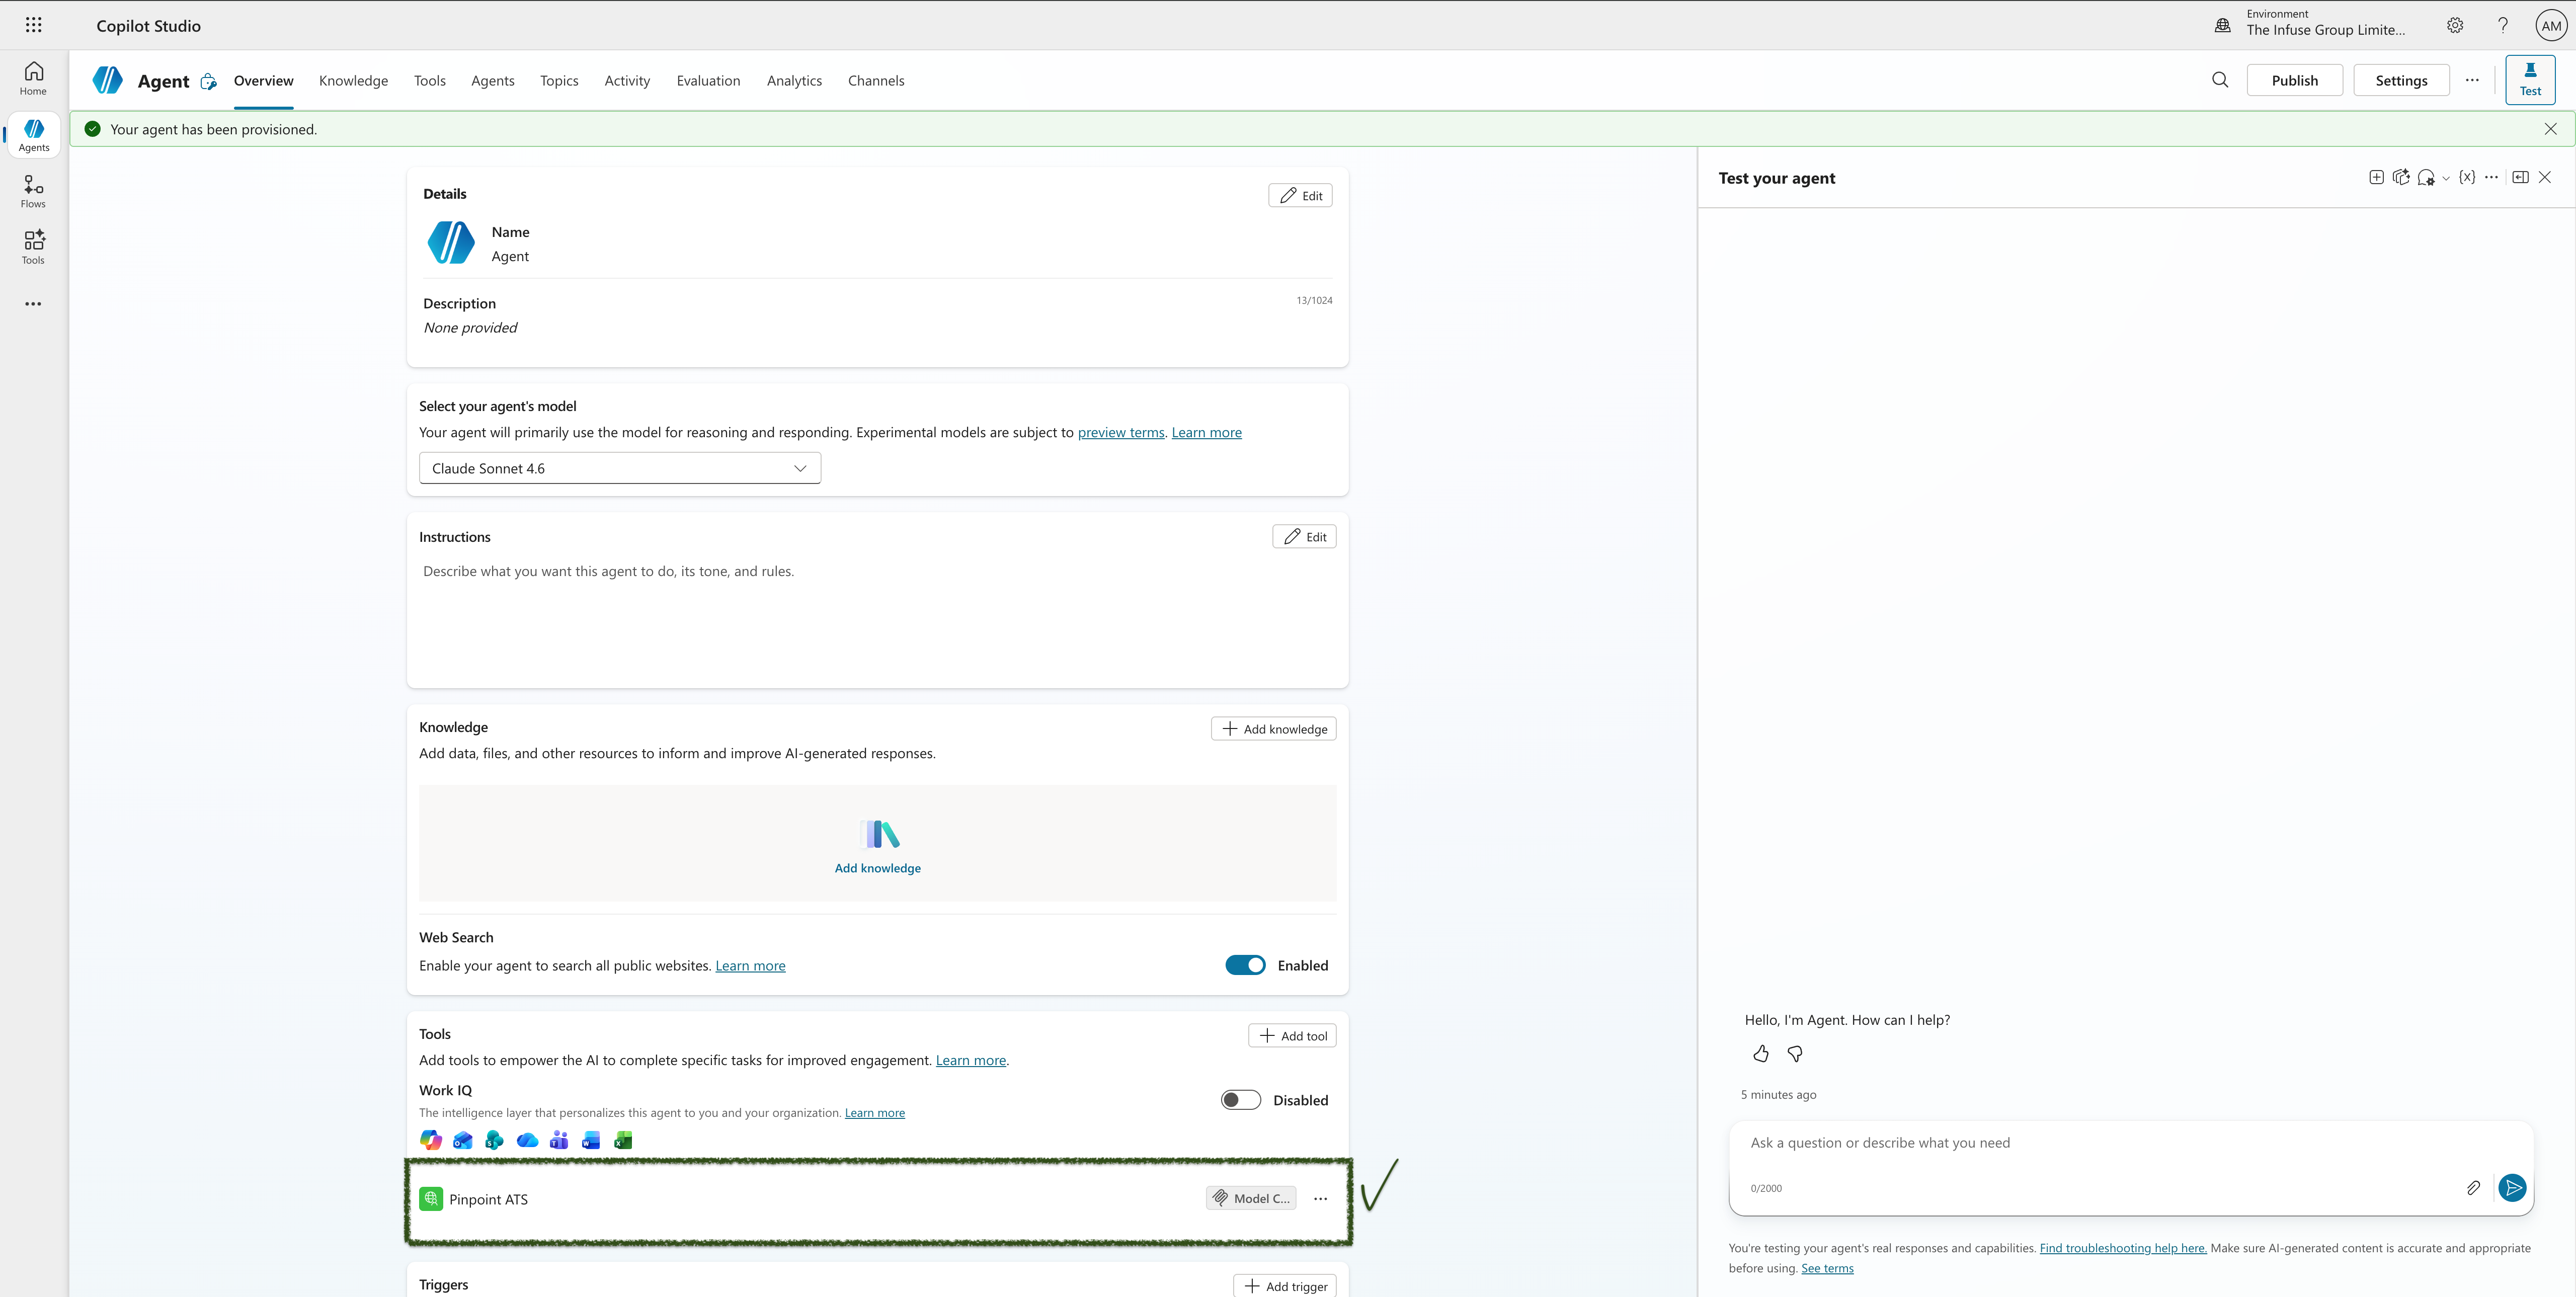
Step 5 — Review the created tool
After clicking Create, you will see a confirmation that the Pinpoint ATS custom connector has been created. The tool preview shows the description and a Connection section. Click Add and configure to proceed.
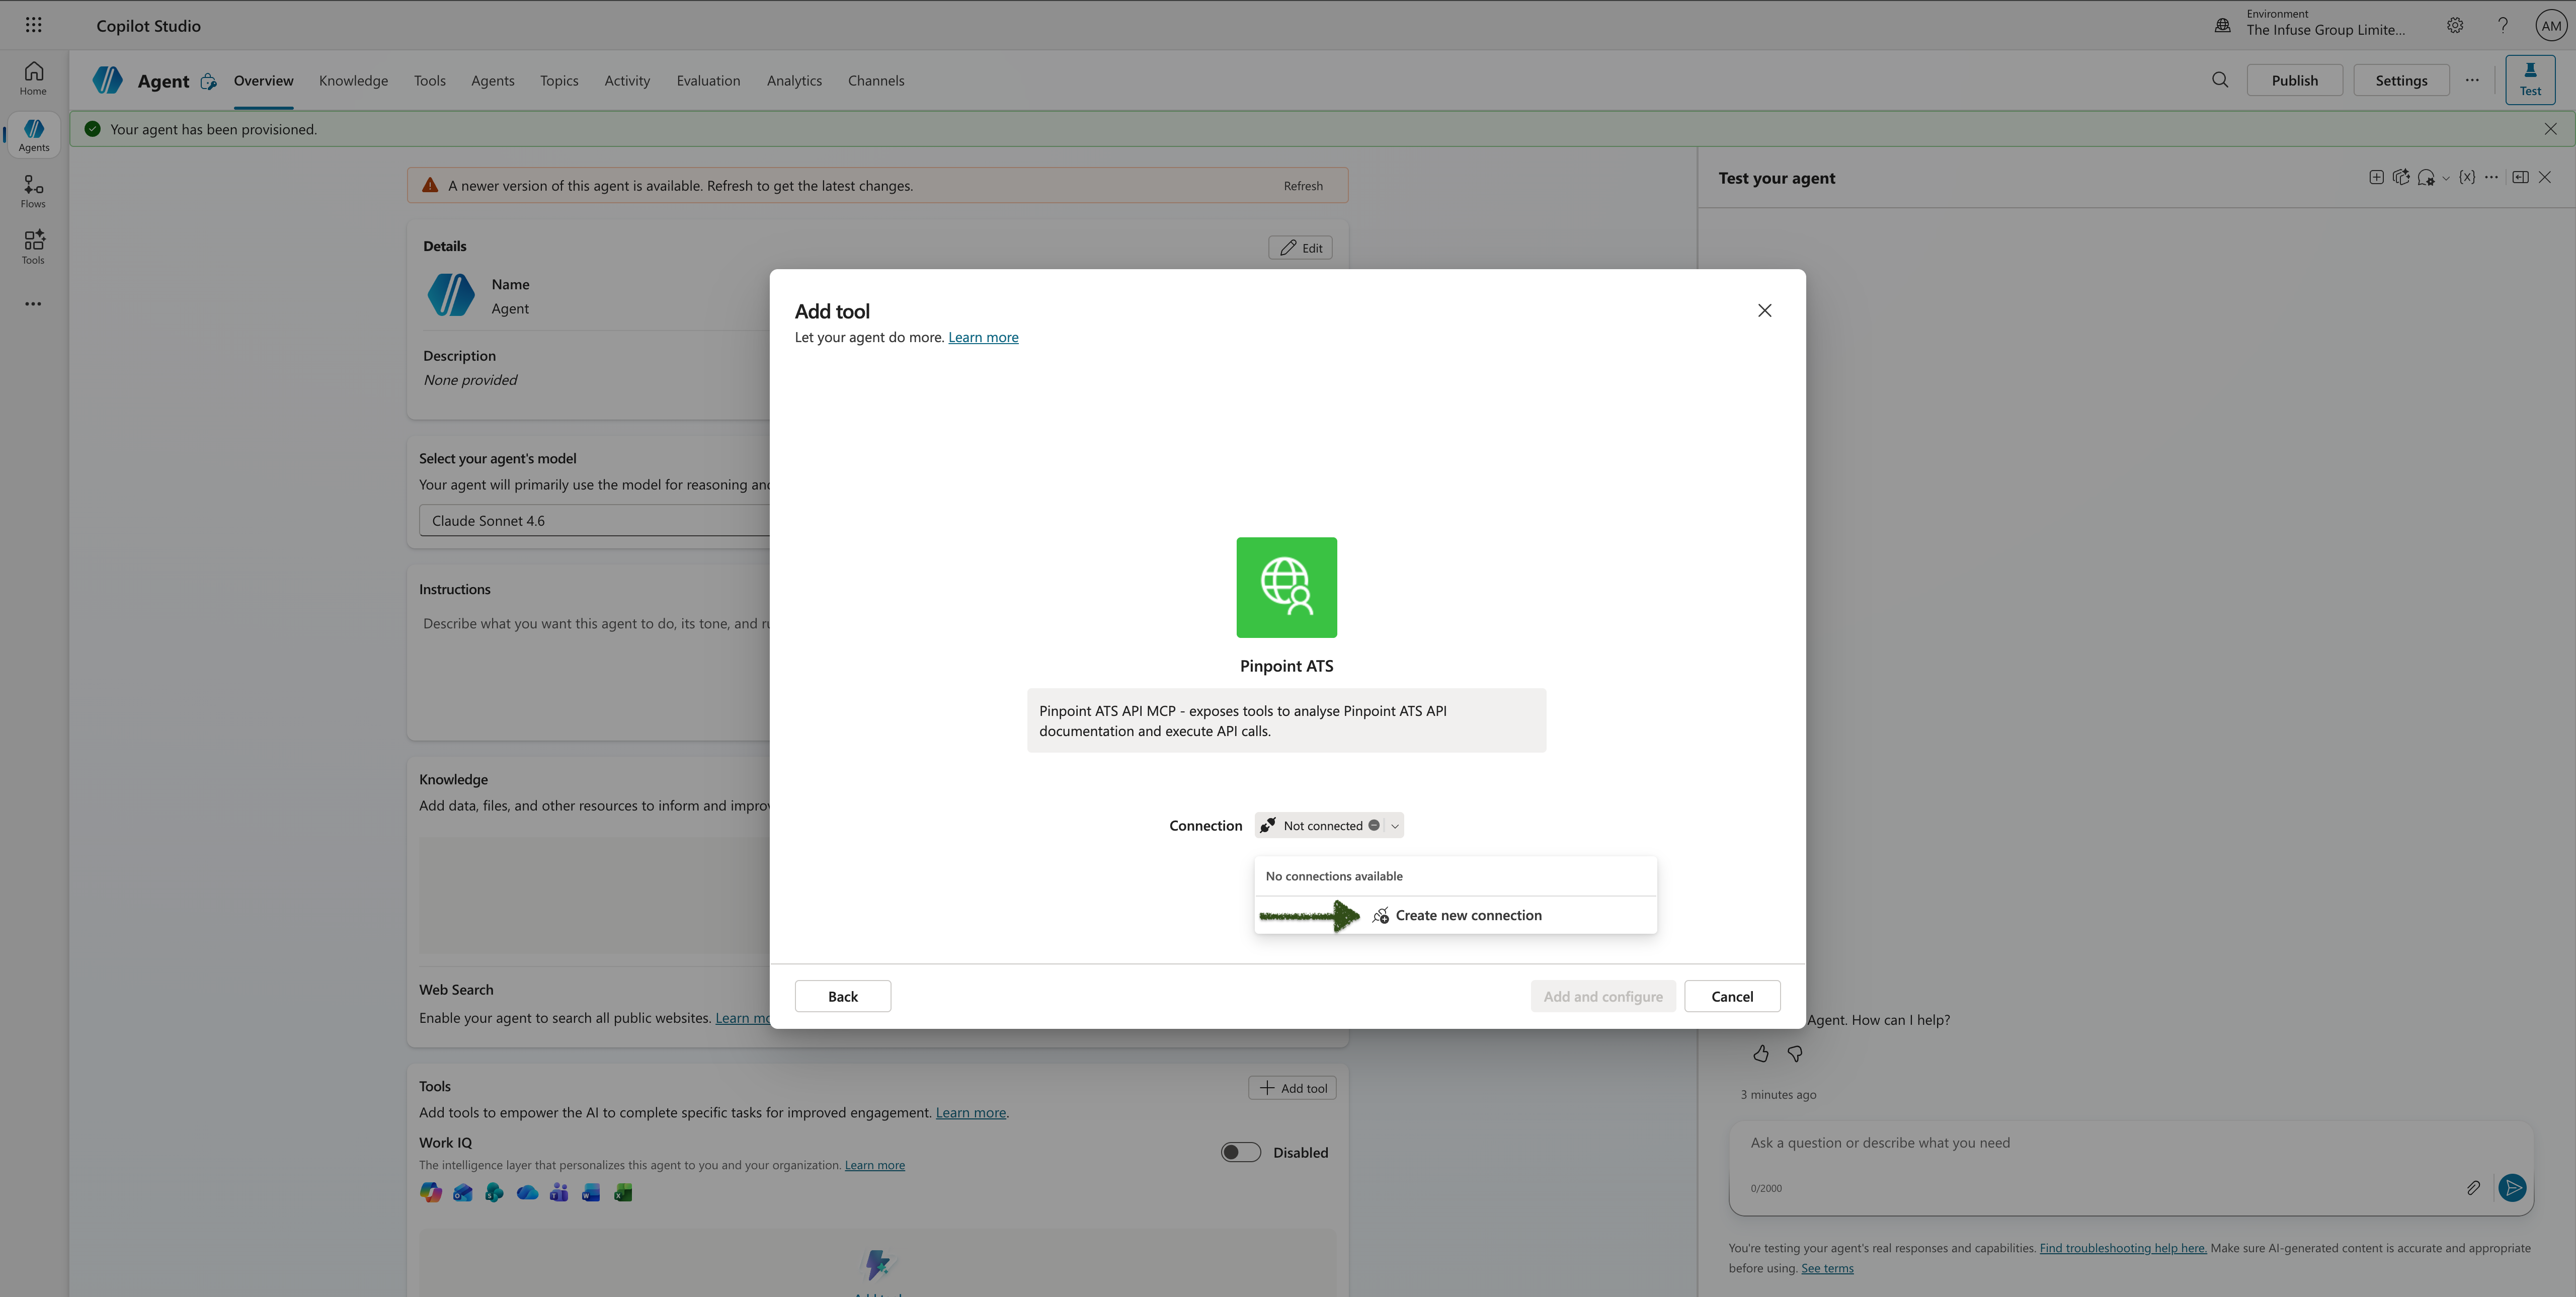
Step 6 — Create a new connection
The connection status shows Not connected. Click the Connection dropdown and select Create new connection.
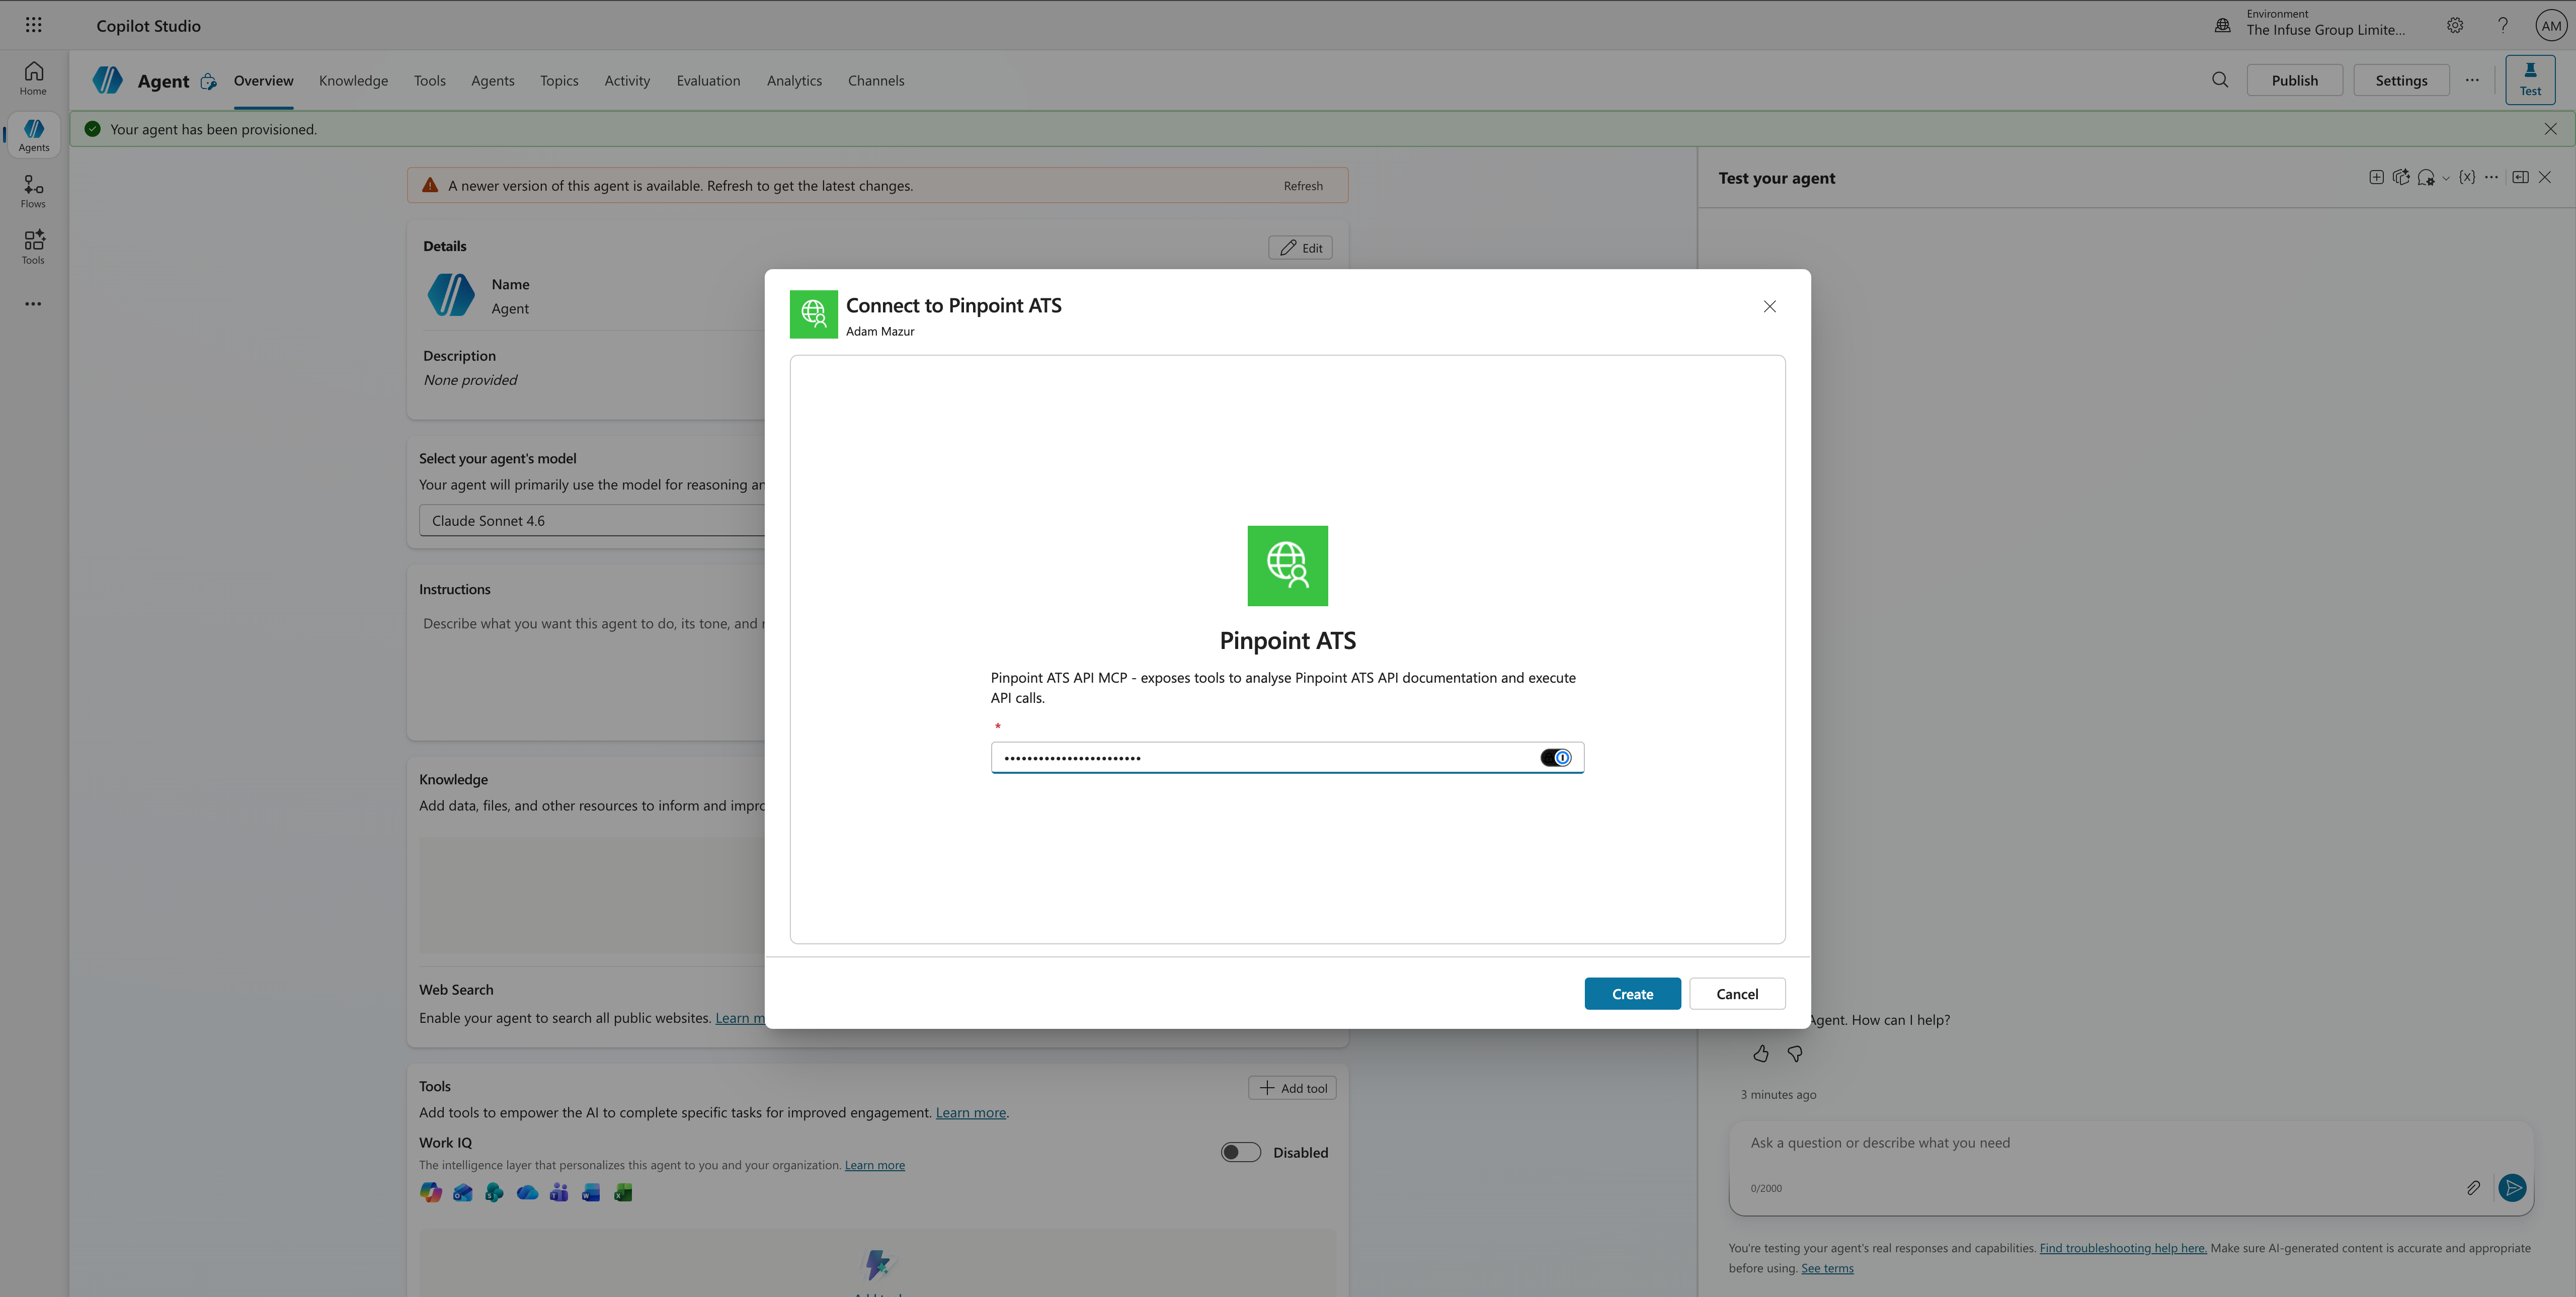
Step 7 — Enter your API key
A Connect to Pinpoint ATS dialog appears. Paste your Pinpoint API key into the field and click Create.
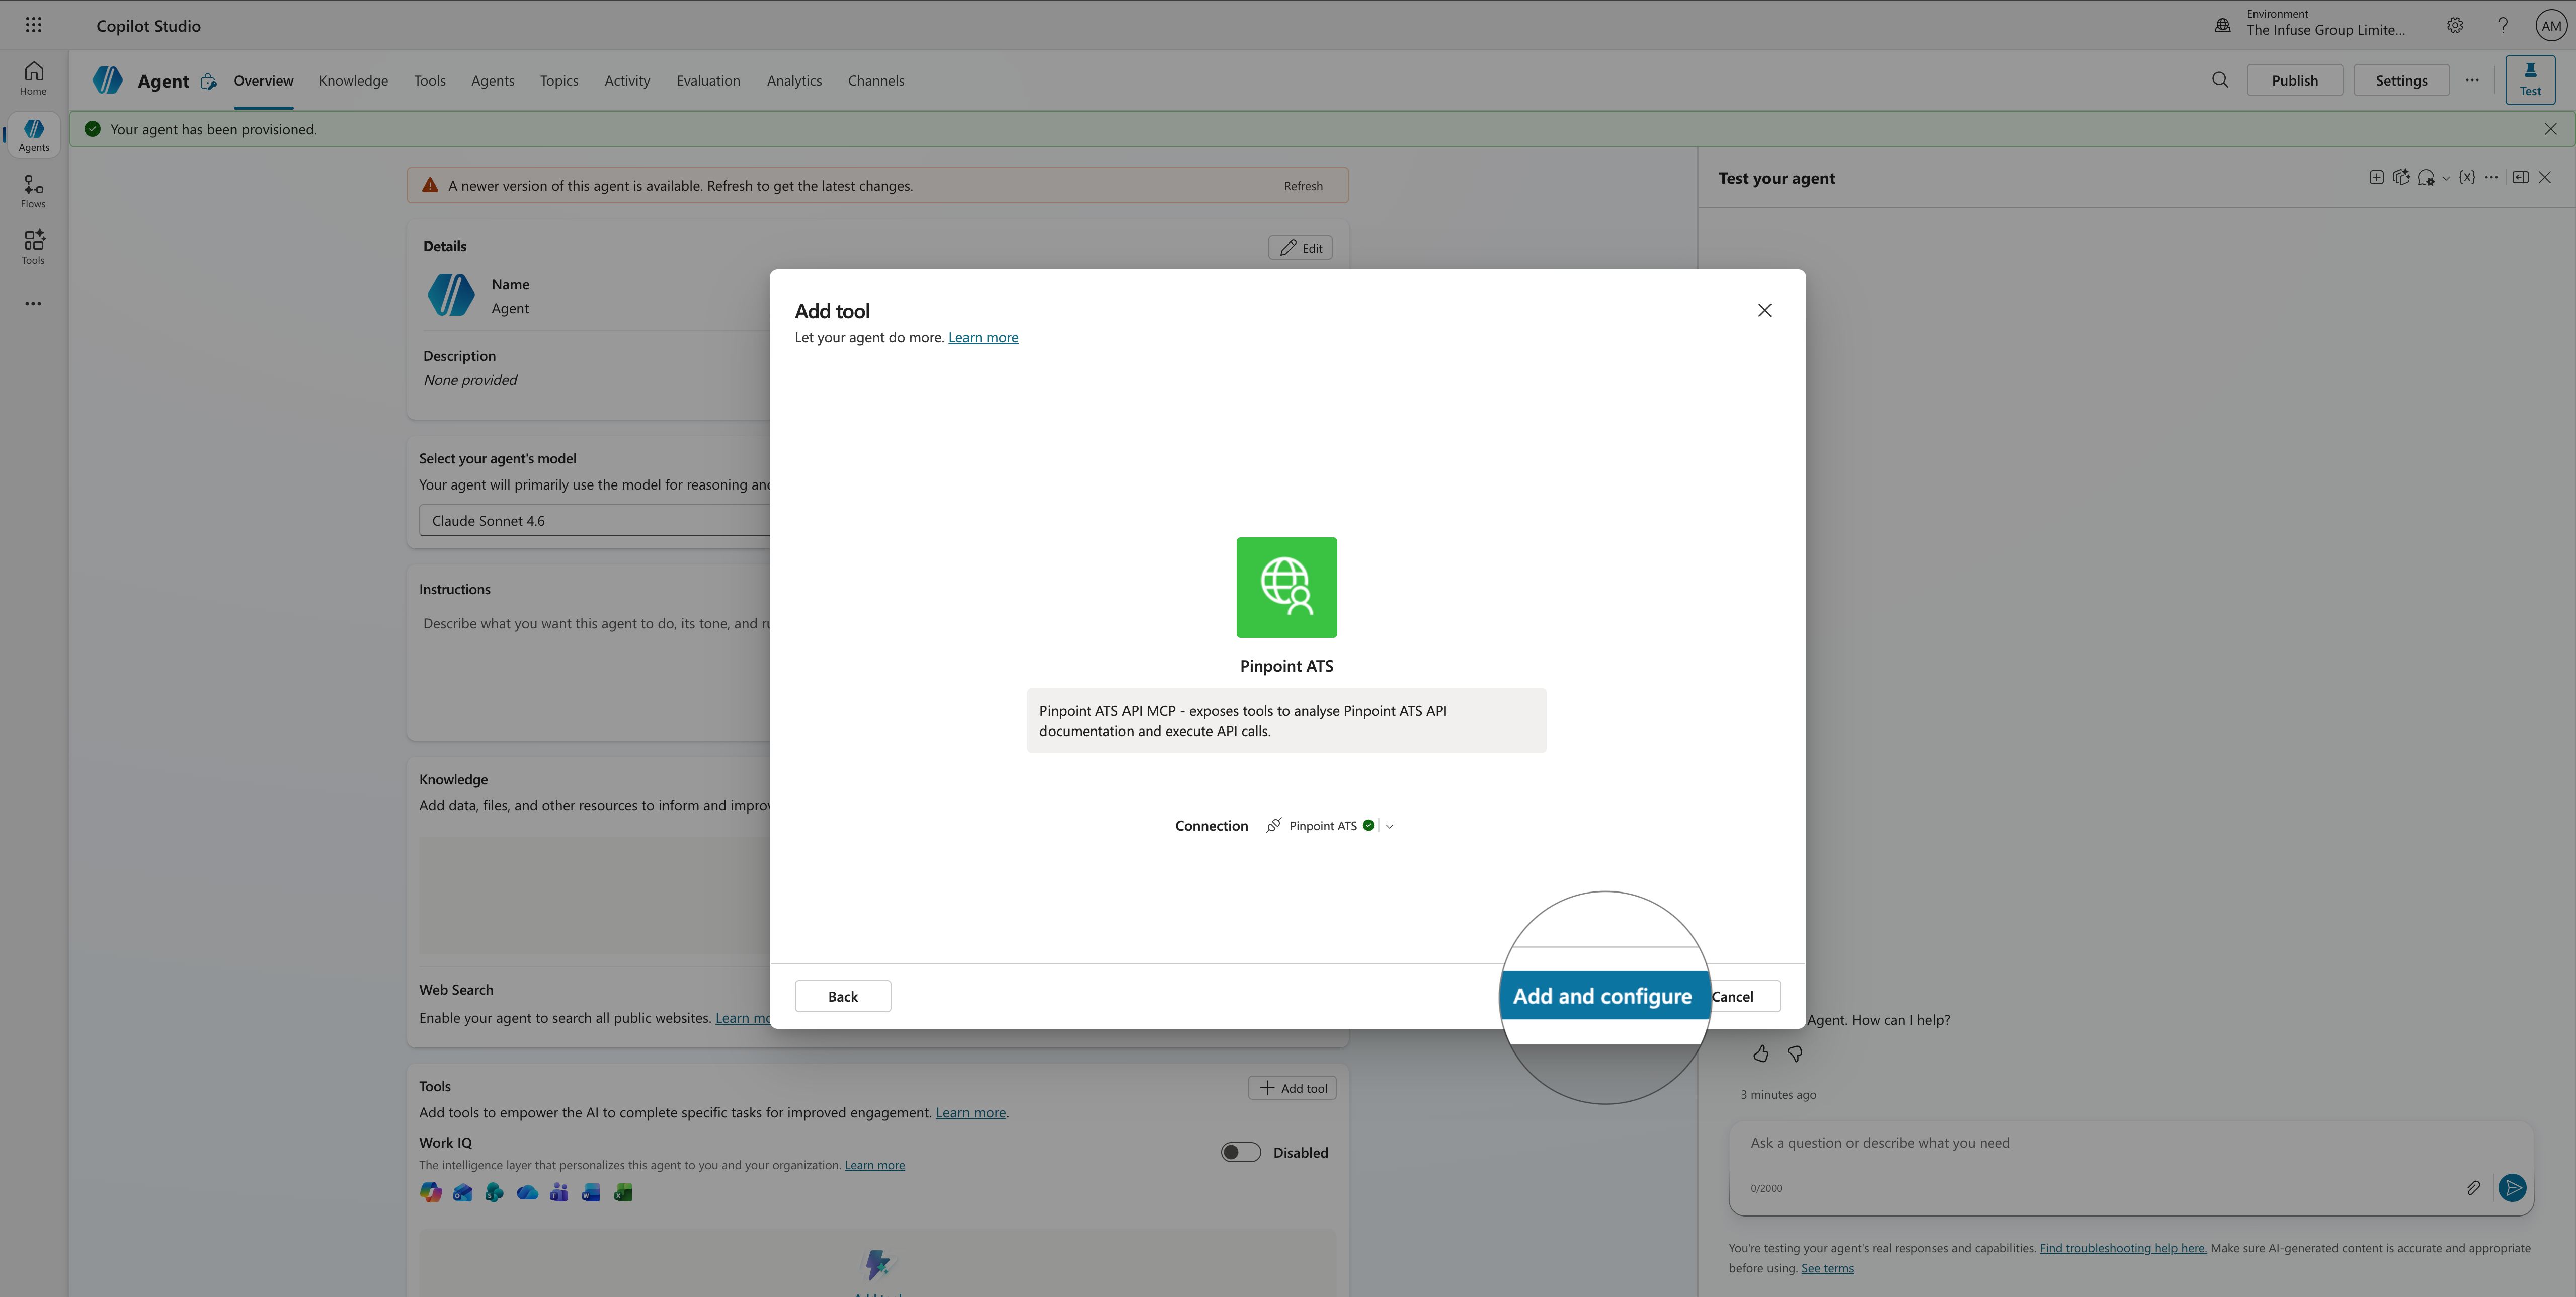
Step 8 — Confirm the connection and add the tool
The connection will show as Pinpoint ATS — connected. Click Add and configure to add the tool to your agent.
Step 9 — Verify the tool appears in your agent
Back on the agent overview, you should now see Pinpoint ATS listed under the Tools section.
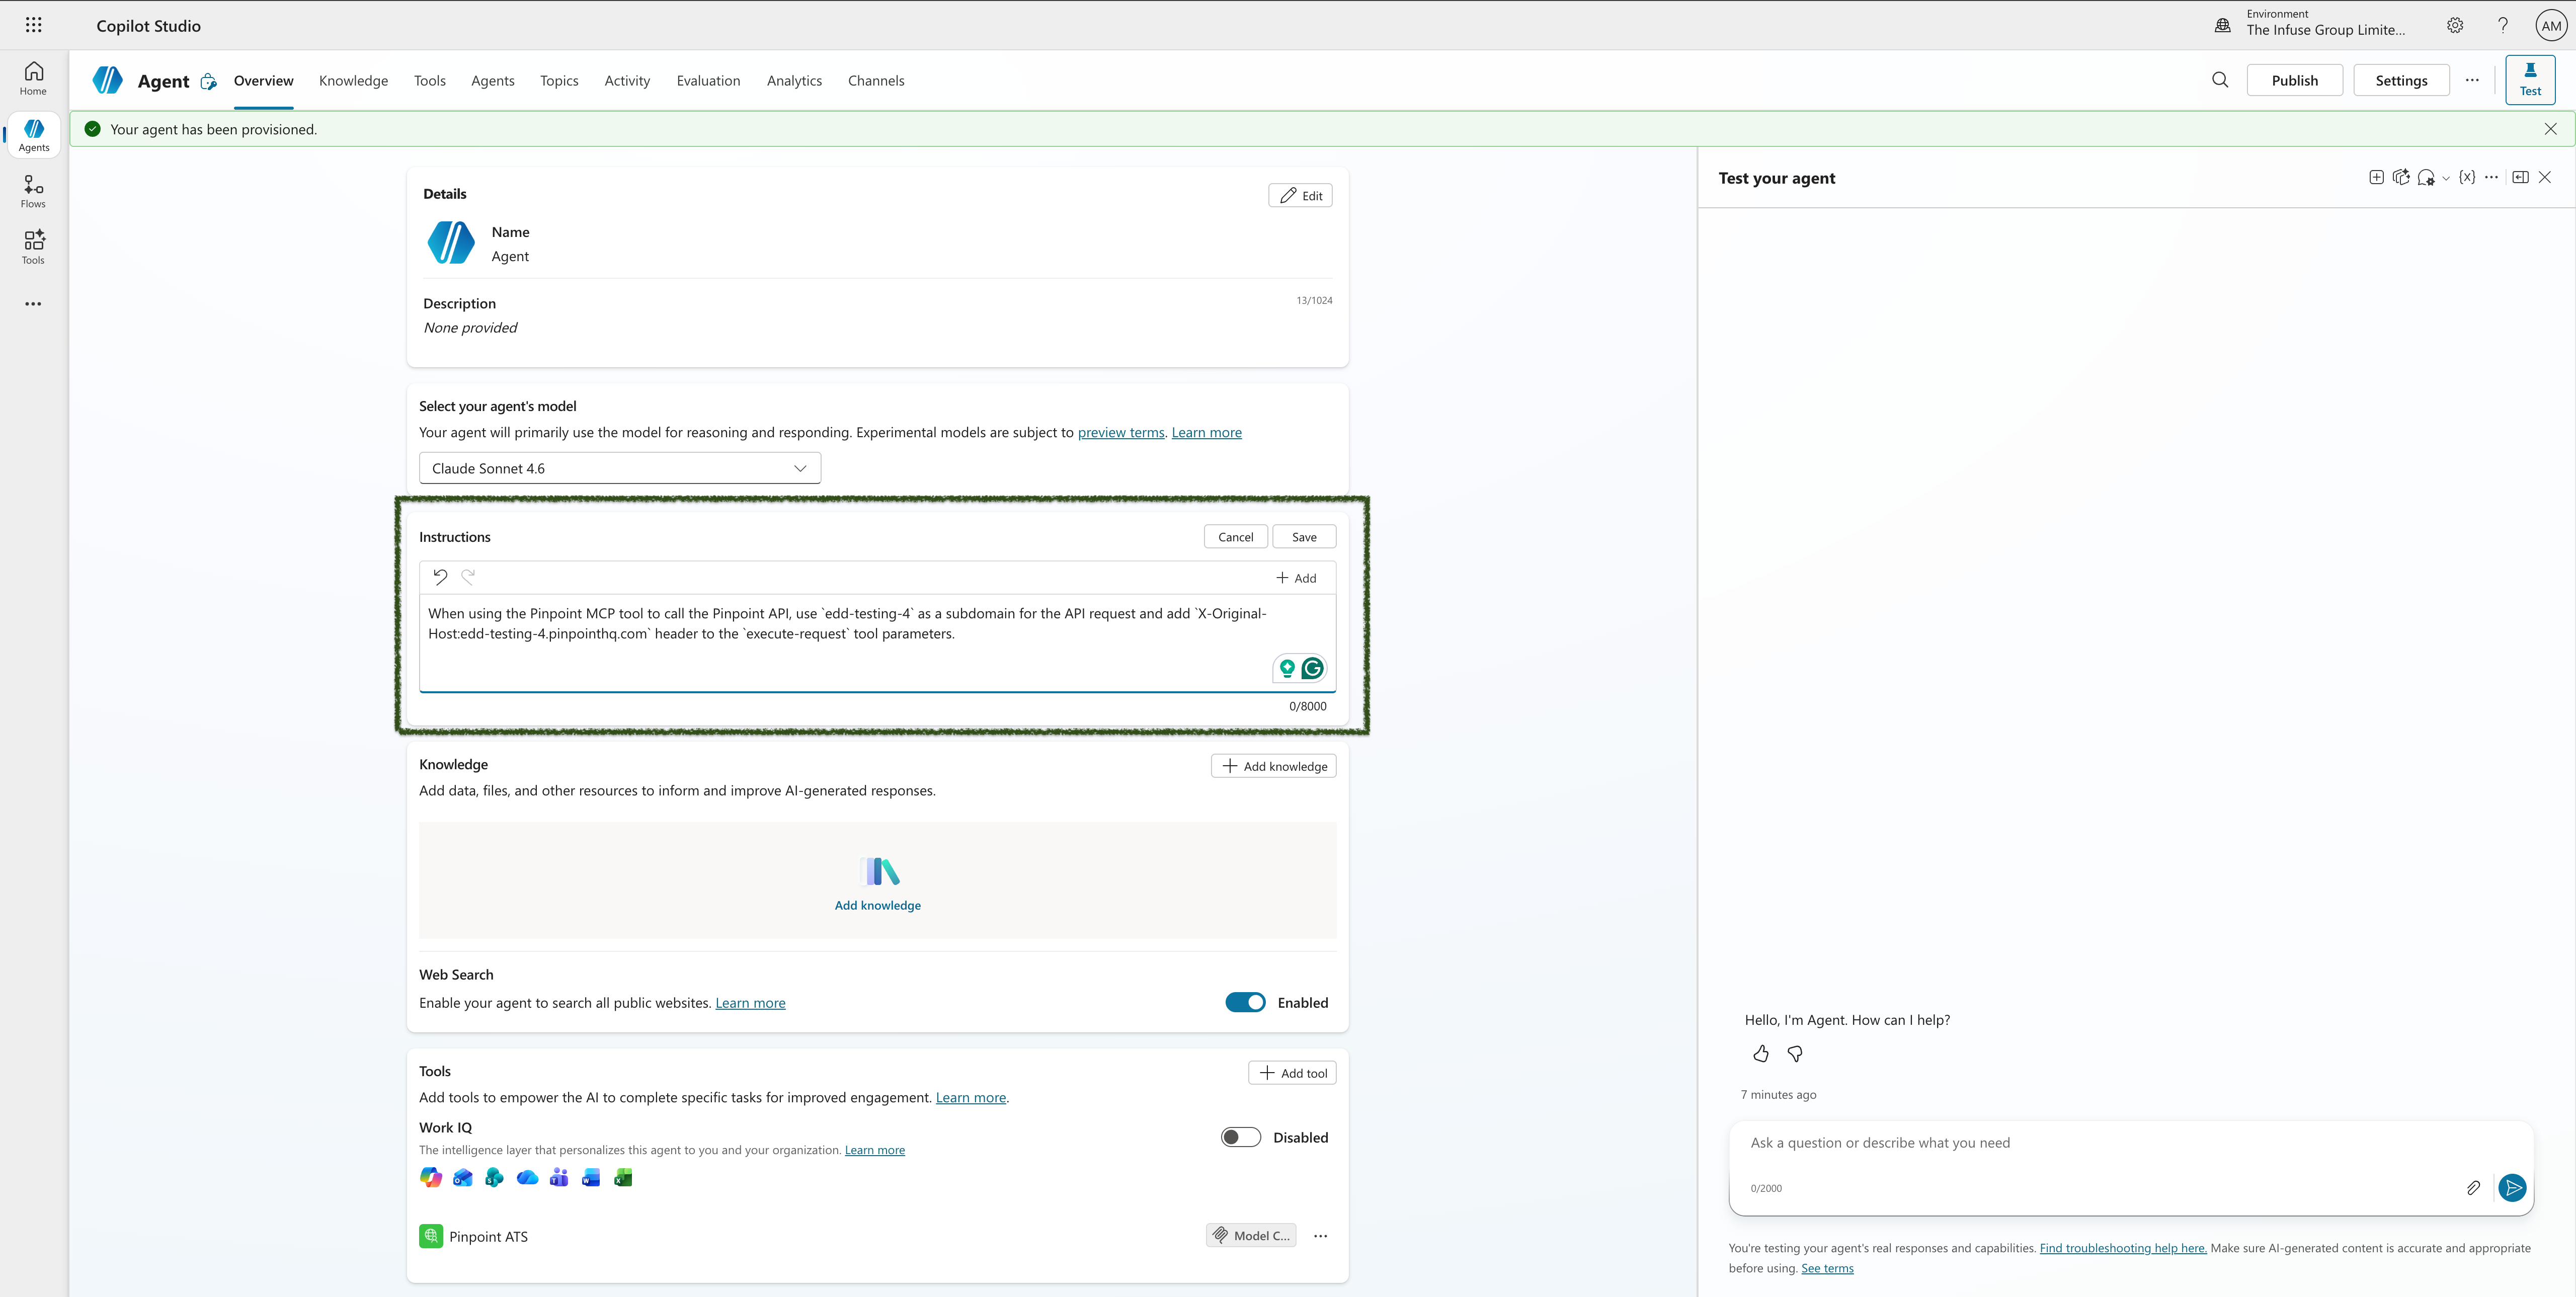
Step 10 — Add the required agent instructions
Click Edit next to the Instructions field and add the following text, replacing <your-subdomain> with your Pinpoint instance subdomain:
When using the Pinpoint MCP tool to call the Pinpoint API, use '<your-subdomain>' as a subdomain for the API request and add 'X-Original-Host: <your-subdomain>.pinpointhq.com' header to the 'execute-request' tool parameters.For example, if your Pinpoint URL is acme.pinpointhq.com, your subdomain is acme. Make sure to replace both occurrences!
Click Save when done.
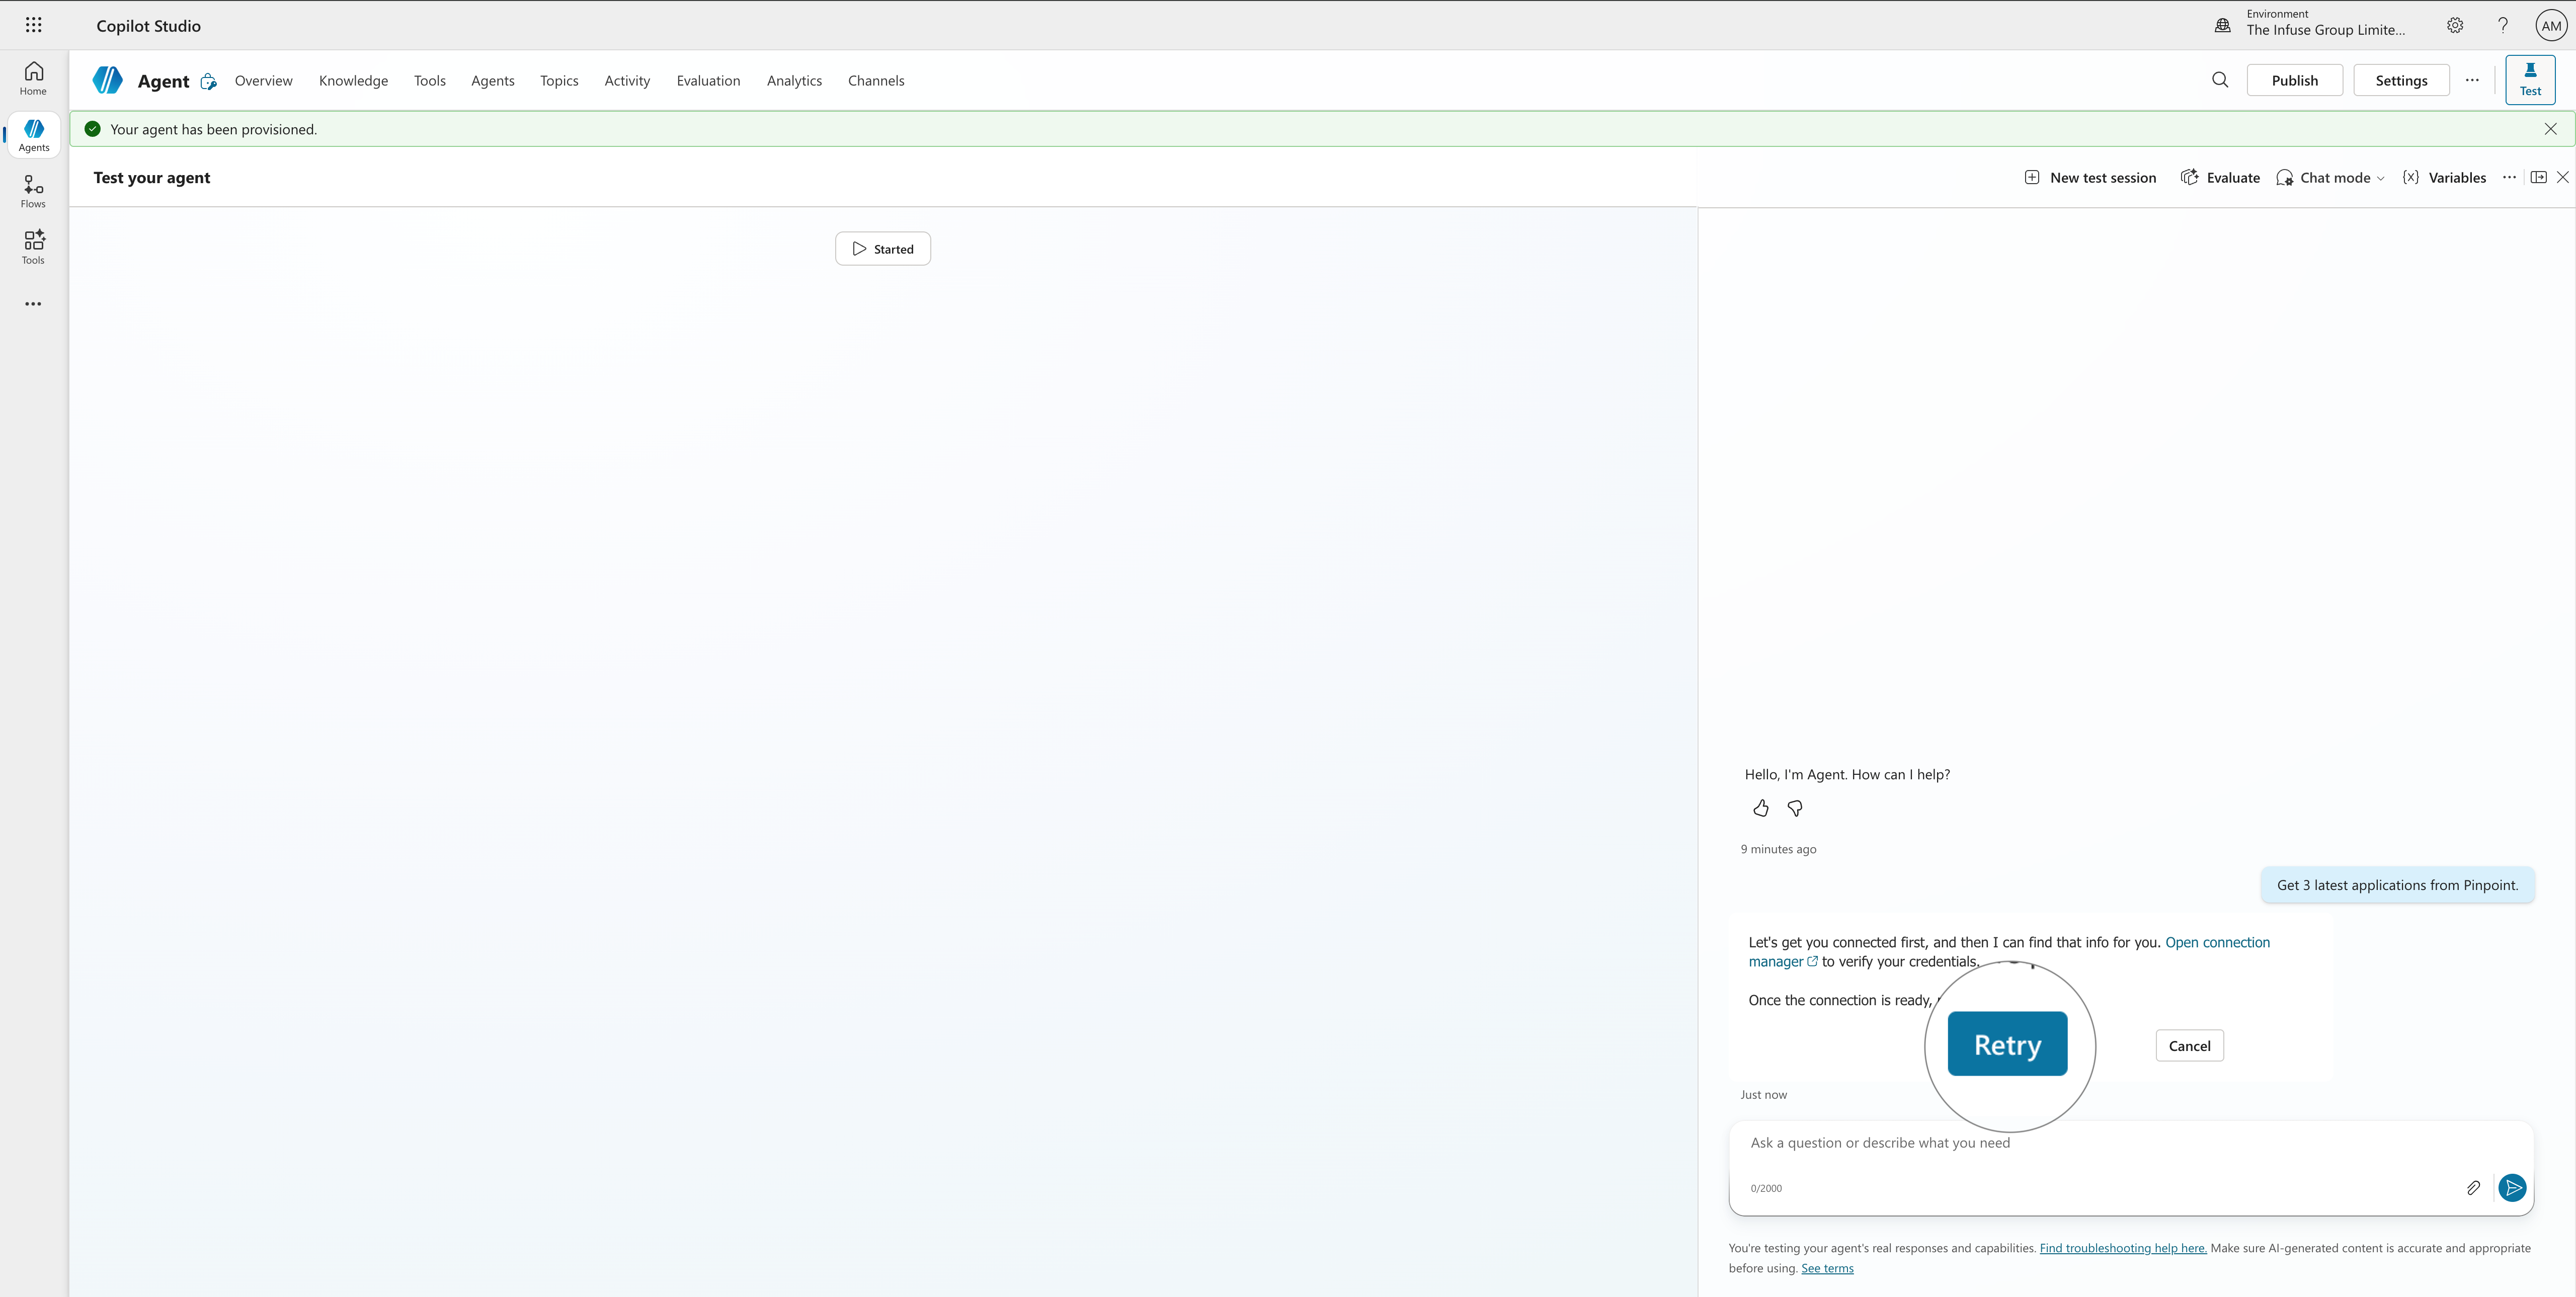
Step 11 — Test the agent
In the Test your agent panel on the right, type a prompt such as:
Get the 3 latest applications from Pinpoint
The agent will respond that it needs to establish a connection first, and will show an Open connection manager link.
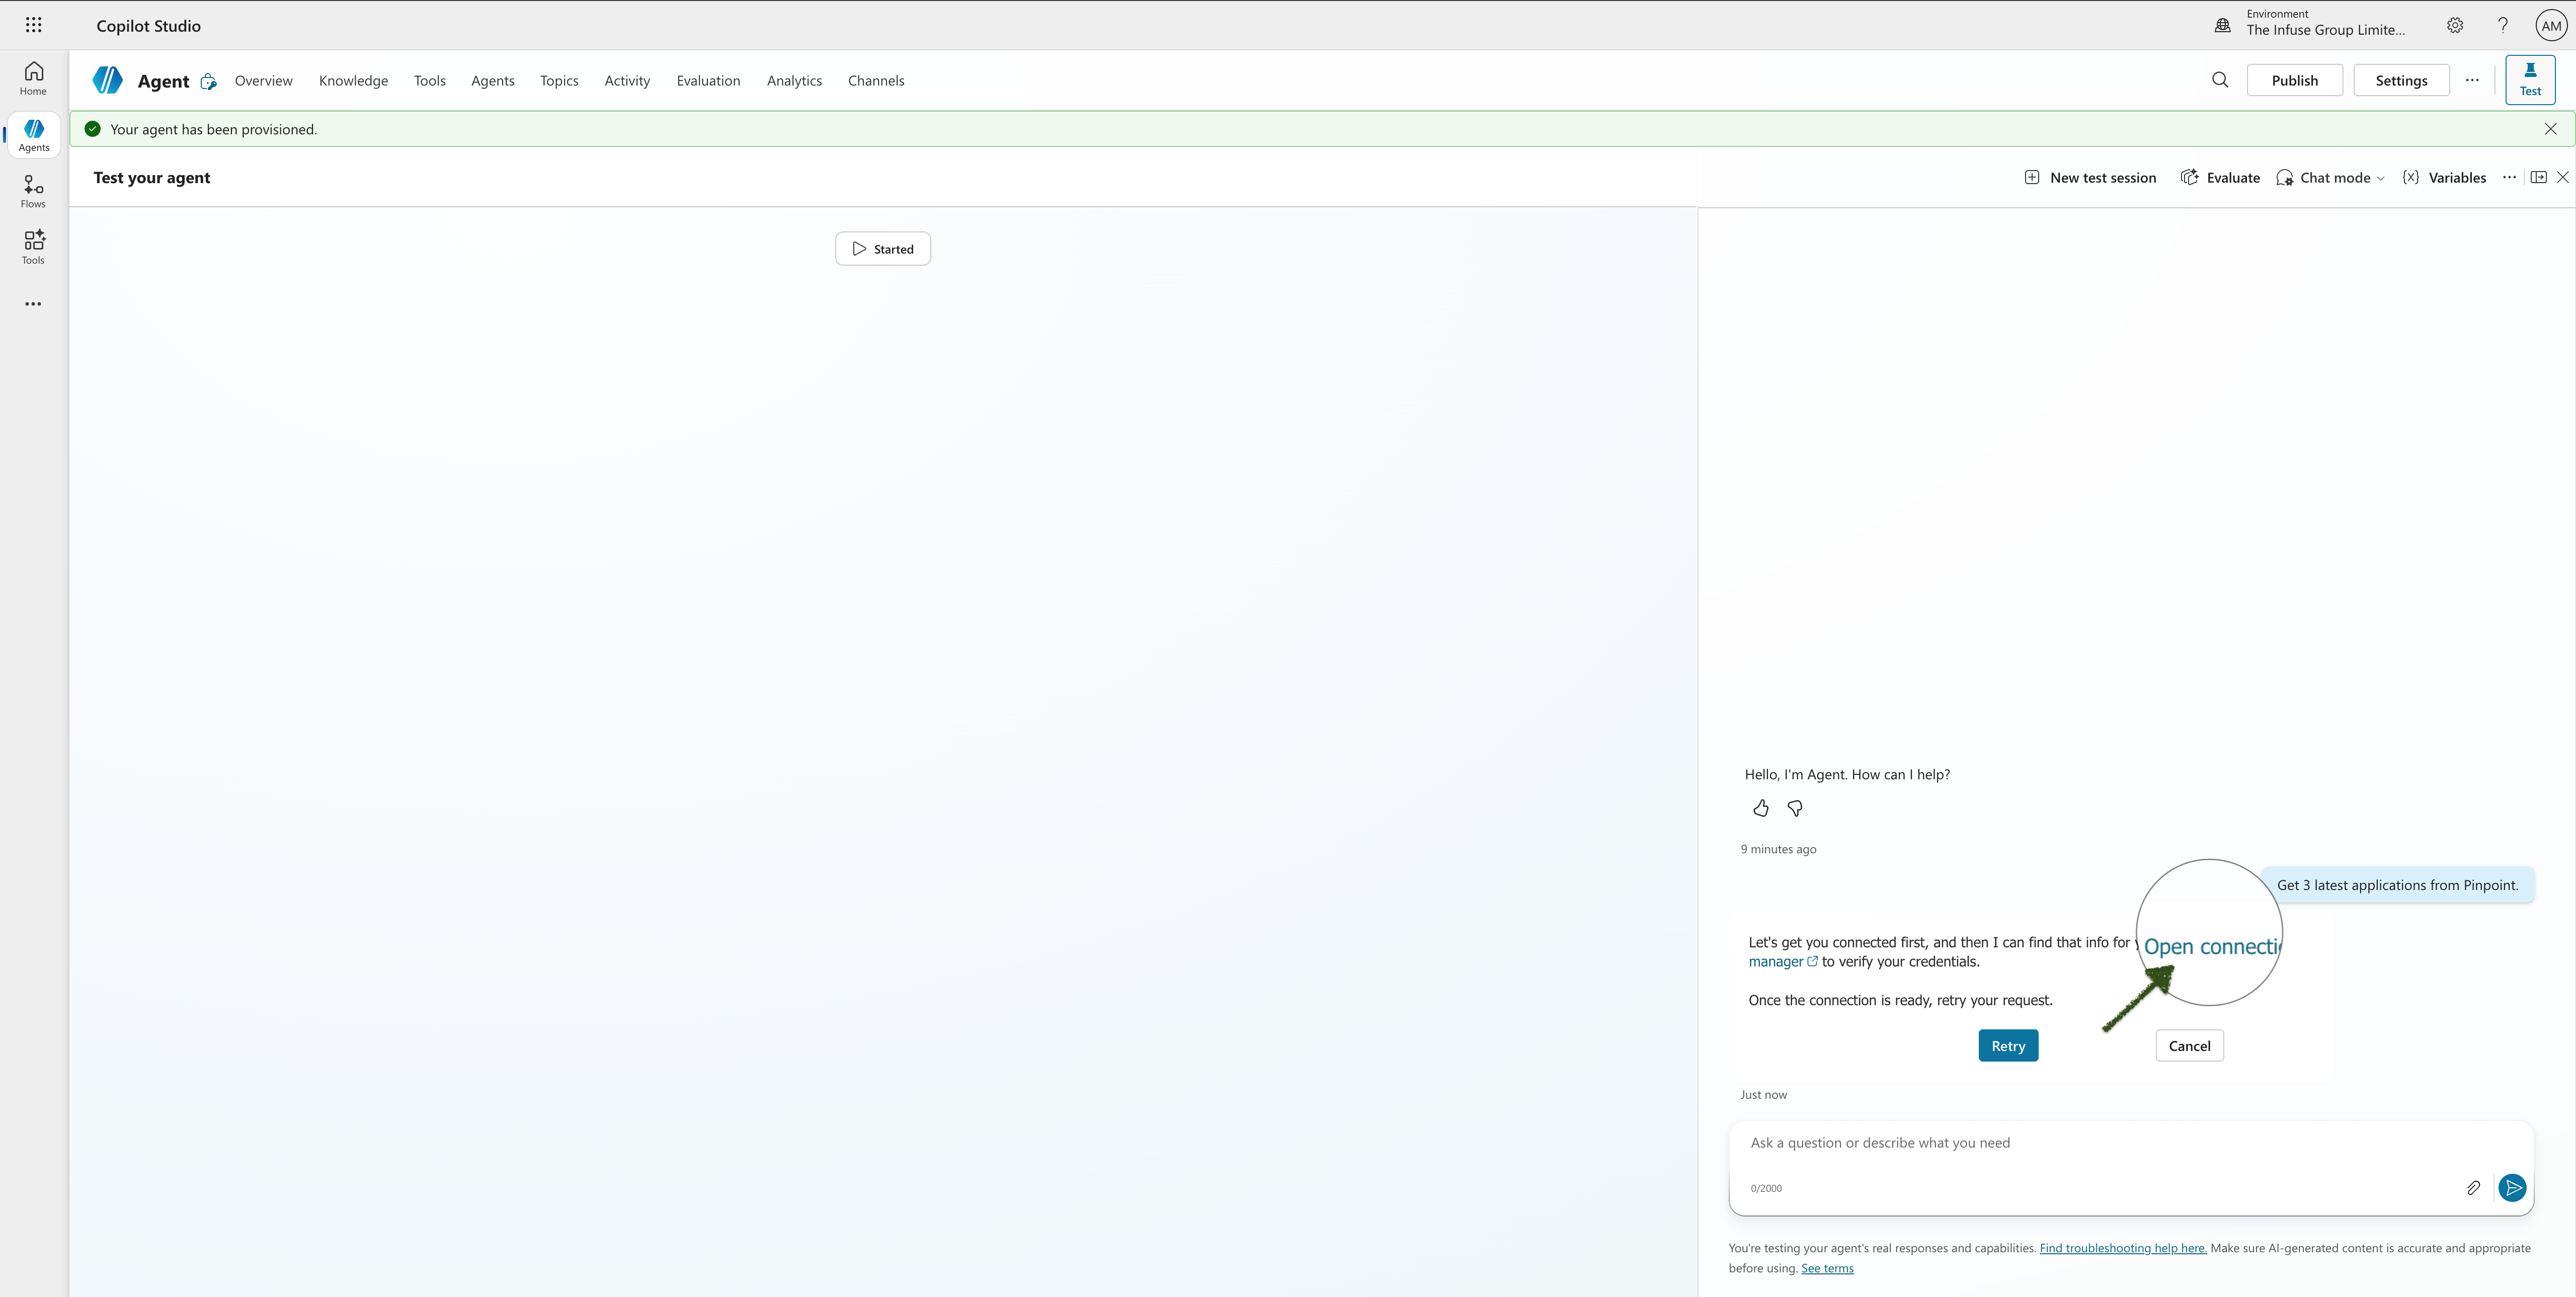
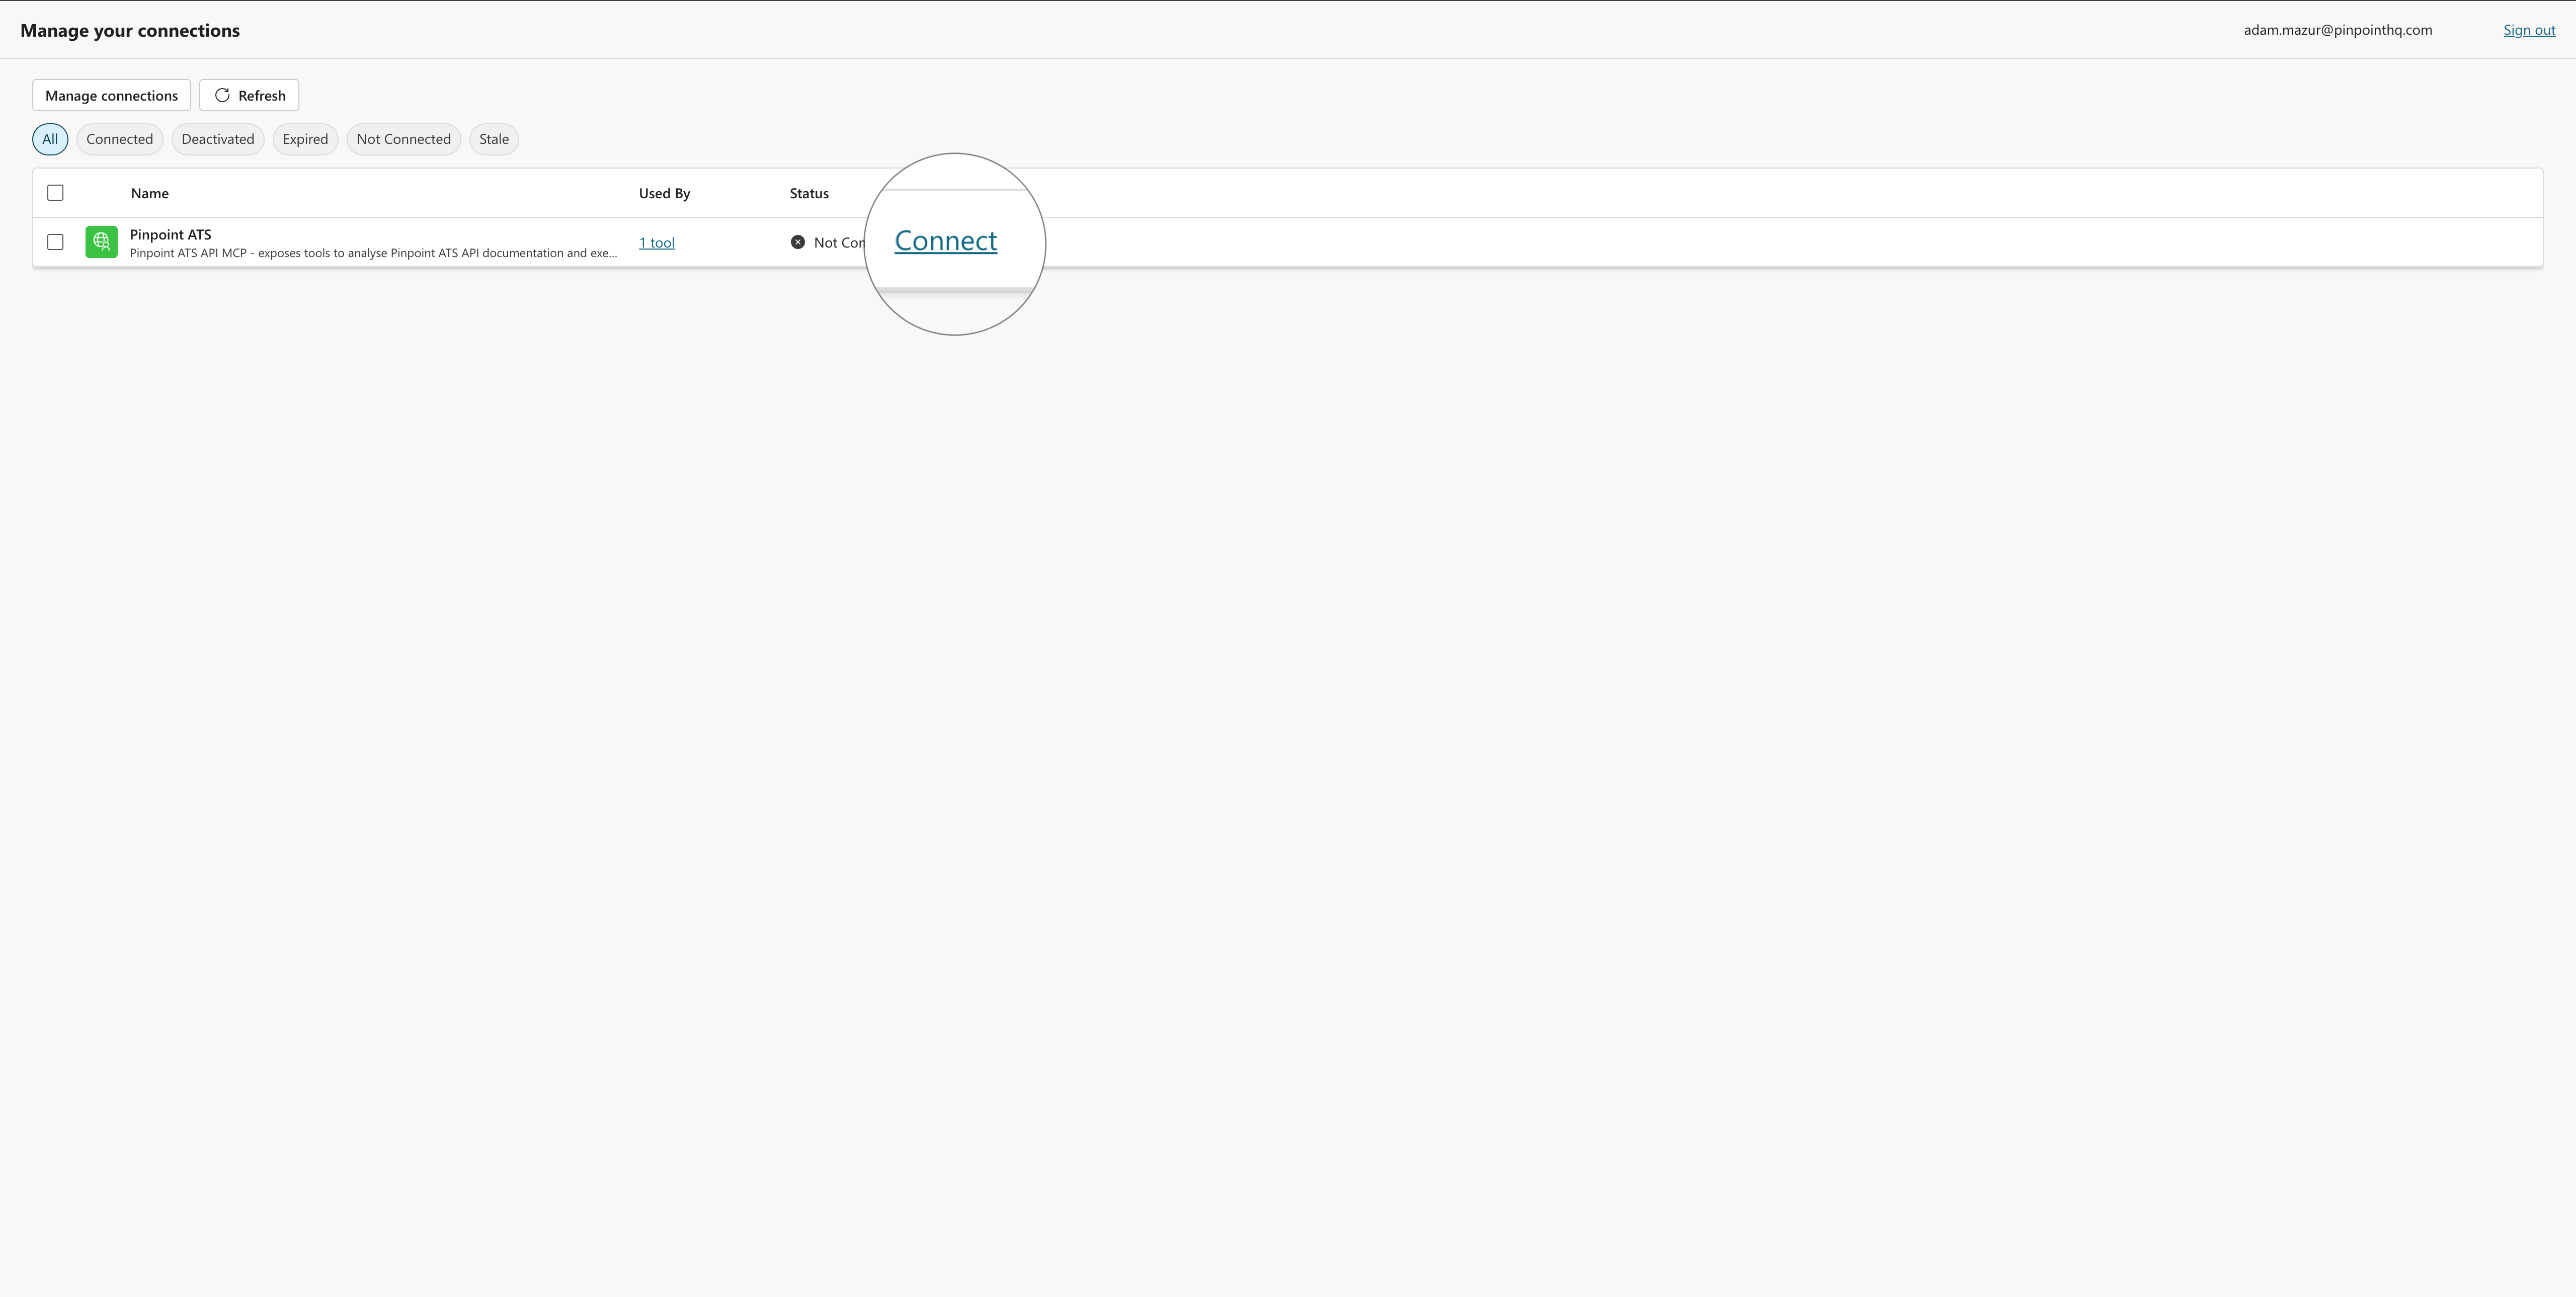
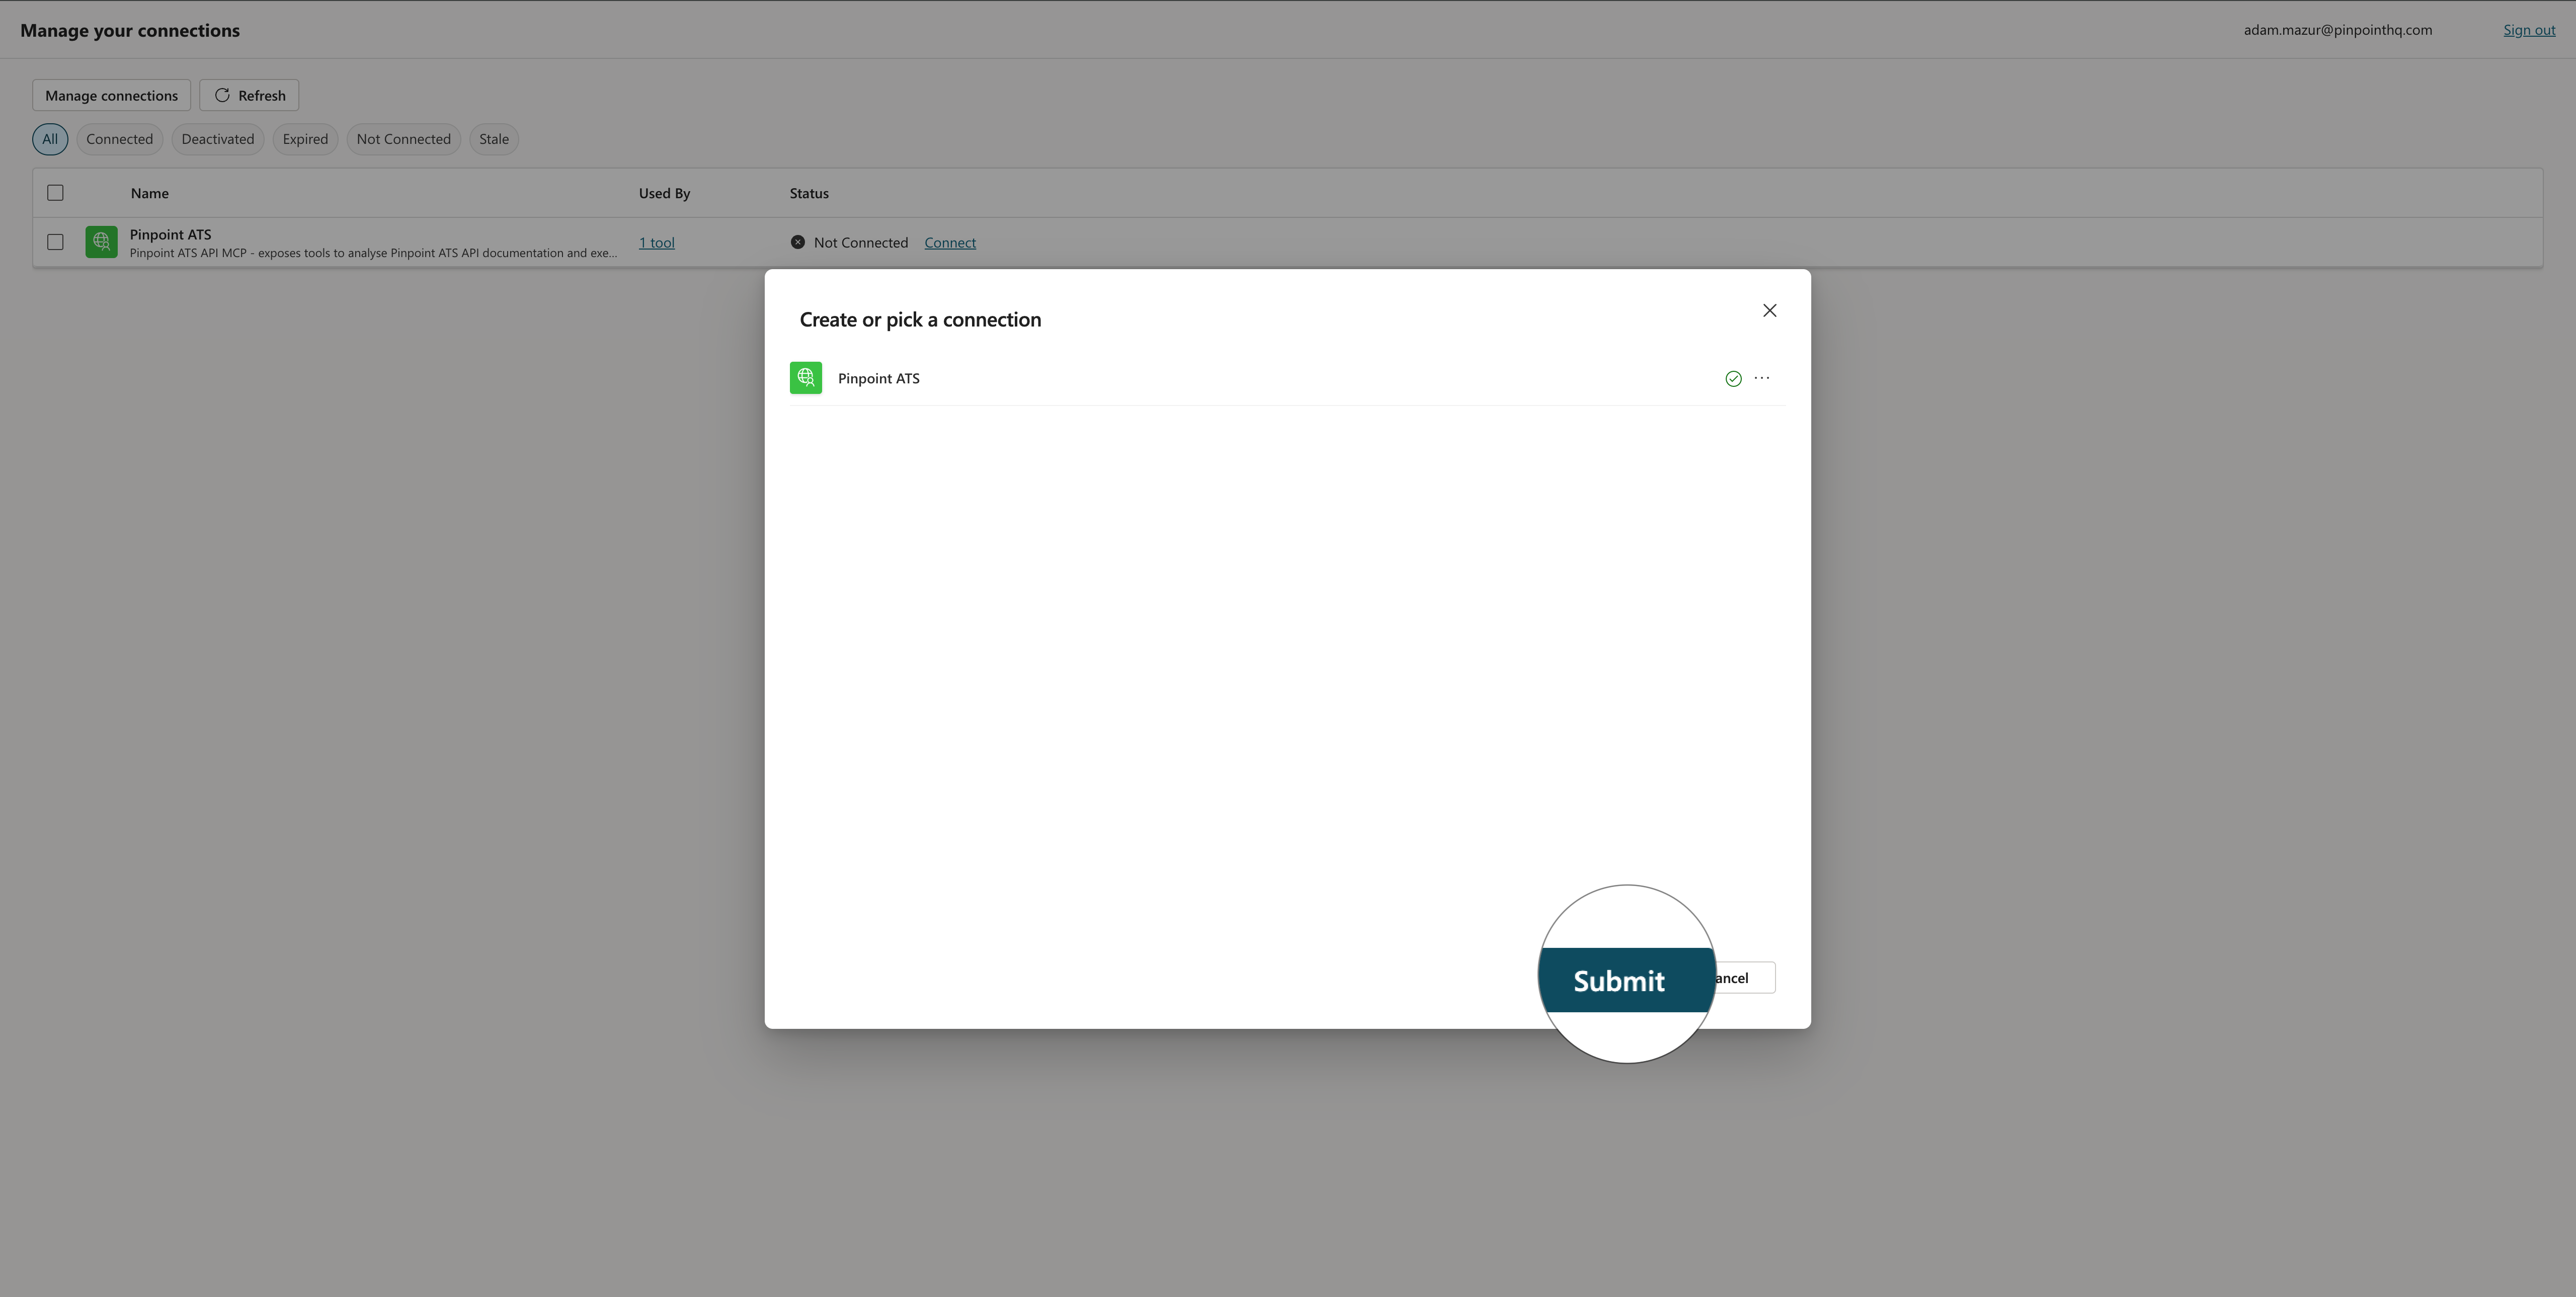
Step 12 — Open the connection manager
Click Open connection manager. This opens the Manage connections page in a new tab, where Pinpoint ATS is listed as Not Connected. Click Connect.
Step 13 — Submit the connection
A Create or pick a connection dialog appears with Pinpoint ATS listed and showing a connected status. Click Submit.
Step 14 — Retry the request
Return to your agent tab. Click Retry in the test panel.
Step 15 — Done
The agent now successfully retrieves data from Pinpoint. You can see application details returned from the Pinpoint API, including Application ID, email, phone, stage, channel, country, and internal candidate flag.
